How to disable the Windows 10 lock screen
Go directly to the login screen. Do not pass the lock screen. Do not view any pretty pictures.


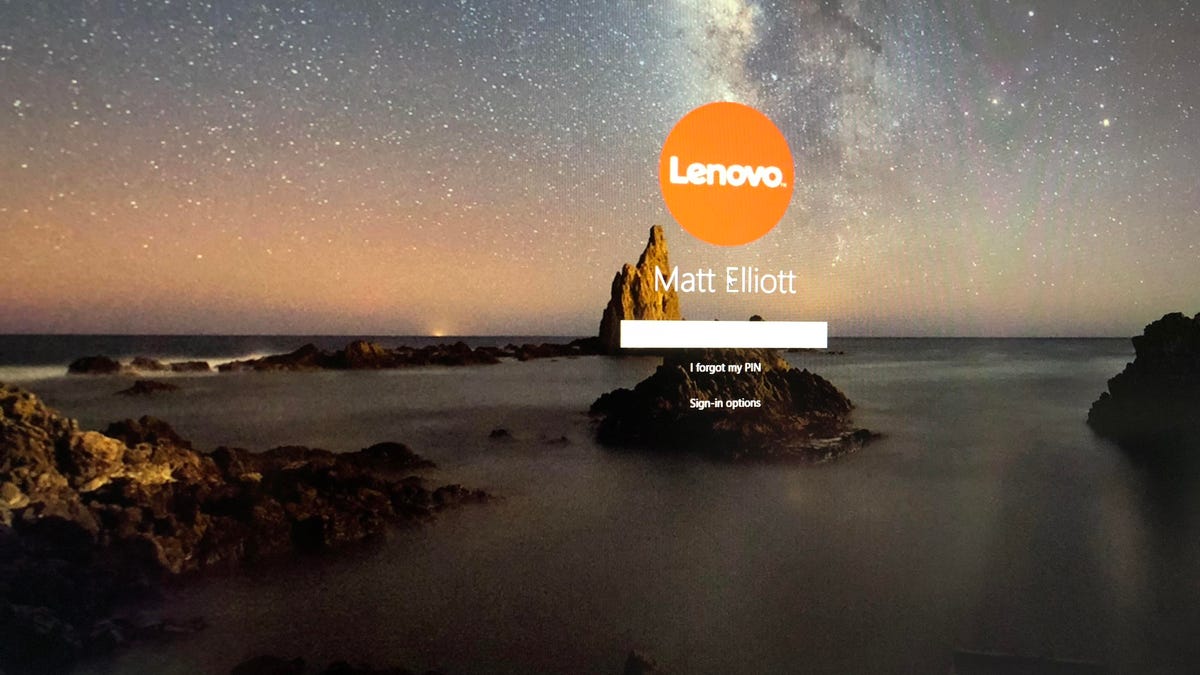
Sure, the Windows lock screen greets you with a stunning vista when you turn on your PC or open your laptop. It doesn't serve any security purpose, however, and you have likely stopped appreciating the grandeur of its scene long ago. To my eyes, the lock screen is just an annoyance that I must tap or swipe away before I get to the actual login screen, behind which the contents of my PC are locked and secured. Thankfully, there's a way to disable the lock screen on Windows 10 April 2018 Update (version 1803) if you are willing to make a quick registry change.
After jettisoning the lock screen, here are 13 other things to tweak when setting up a Windows 10 laptop and what's new in settings. And if you have just updated to Windows 10 April 2018 Update, check out its best new features, hidden gems and security and privacy improvements.
Get rid of the Windows 10 lock screen
Here's how you can tell Windows to ditch the lock screen and send you straight to the login screen when you start up your PC:
- Search for regedit and run command
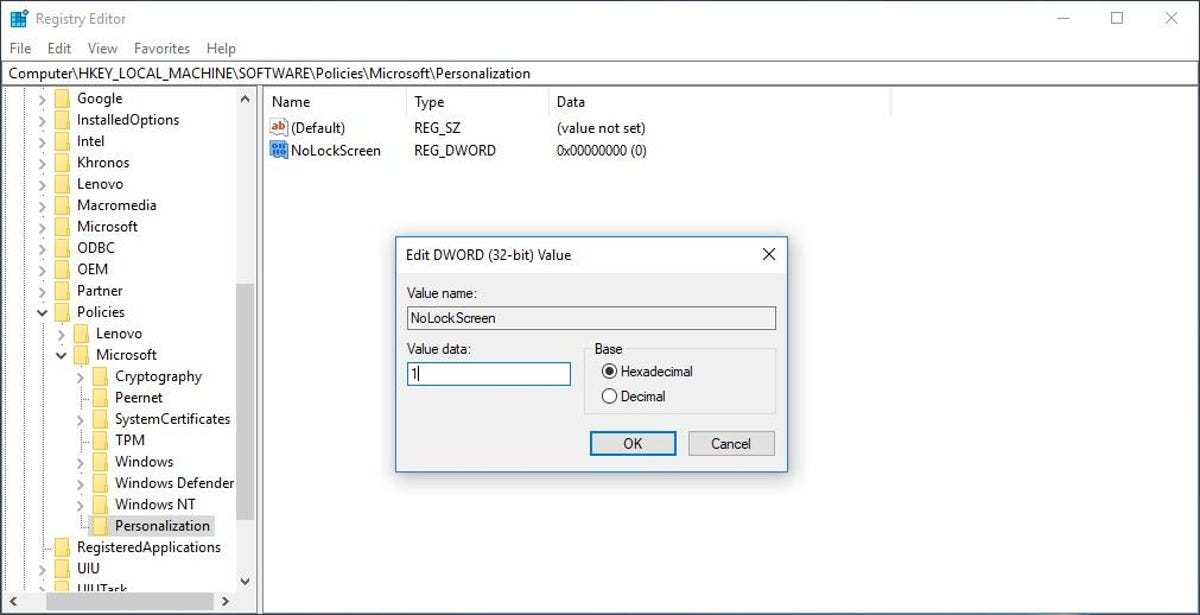
- Double-click to expand HKEY_LOCAL_MACHINE in the left pane.
- Double-click to expand SOFTWARE.
- Double-click to expand Policies.
- Double-click to expand
Microsoft
.
- Now, don't double-click but right-click Windows.
- Click New and then click Key.
- Rename New Key #1 that you just created as Personalization and hit Enter
- In the Personalization folder, right-click in the right pane of the Registry Editor, select New and then select DWORD (32-bit) Value. You will see a new item pop-up in the right pane of the Registry Editor, titled New Value #1. Rename it as NoLockScreen and hit Enter.
- Double-click NoLockScreen to open its value data. Under Value data, change the value from 0 to 1 and click OK.
- Exit out of the Registry Editor and restart your PC.
Now, you will bypass the lock screen and go straight to the login screen, where you'll need to enter your password or PIN to log in to your PC. And you can still peep the lock-screen scene behind the login prompt.


First published on October 28, 2015.
Update, June 14, 2018: Updated to reflect changes made in the Windows 10 April 2018 Update.