DIY: Transform an Old Film Canister Into a Tiny Flashlight for Your Camera Bag
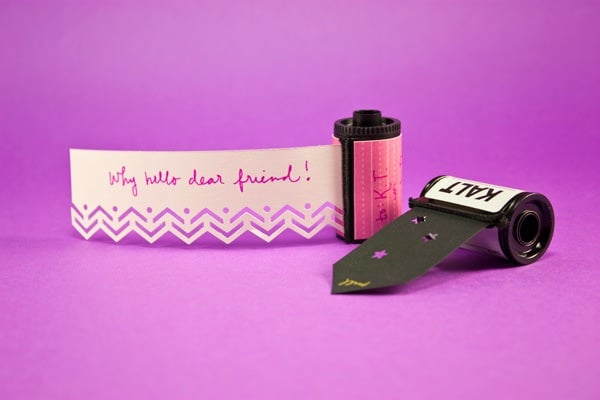
Here’s a good weekend project for those of you who have some old film canisters lying around, and a bit of DIY know-how up your sleeves. Those old film canisters done need to go to waste, with a little work you can turn them into tiny portable flashlights.
The instructions were put together by Instructables user Cats Science Club, and it’s a great project for even beginners to the DIY world.
All you need to get started is some hot glue, a 3-volt battery, a small round magnet, 2 different colored wires about five-inches long, a drill, some electrical tape, hot glue, an LED, an LED holder, a toggle switch, wire cutters and, of course, a film canister.
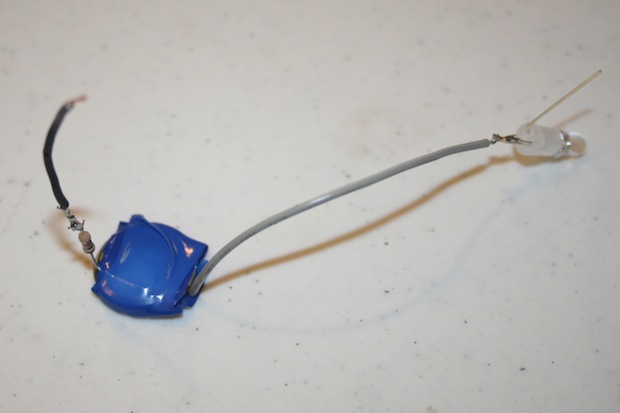
First, hot glue the magnet into the bottom of the canister. This is so that you can attach the light to a metal surface and have it stay upright on its own. Then, you’ll have to strip about 1/4-inch of insulation off each wire, and attach one to either side of the battery using electrical tape.
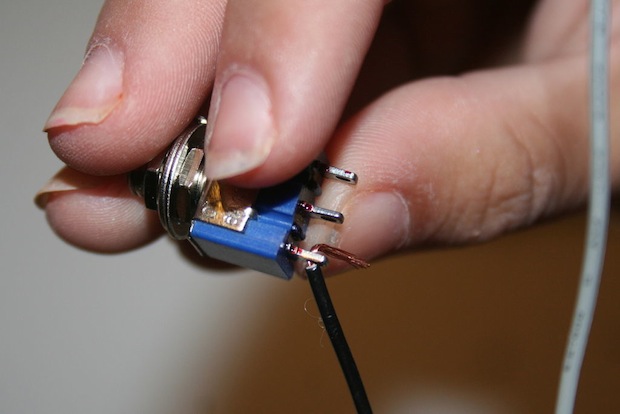
Once you’ve done this, cut the negative wire in half and set the extra bit of wire aside. Now it’s time to connect up the switch.
The negative wire coming from the battery will attach to the outside prong, and the extra negative wire will attach to the middle prong (she soldered them, but if you don’t want to solder you can wrap the wires on and then use electrical tape or heat shrink tubing to keep them in place).
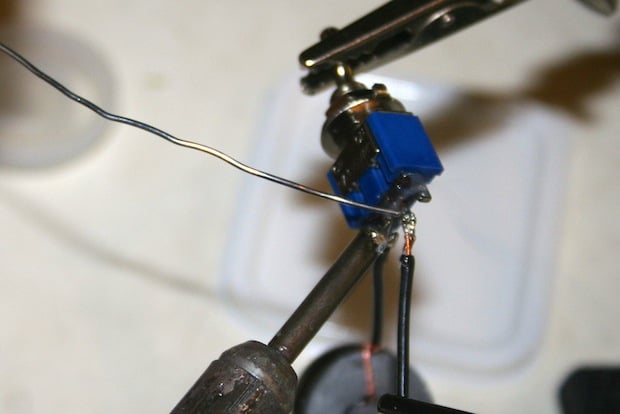
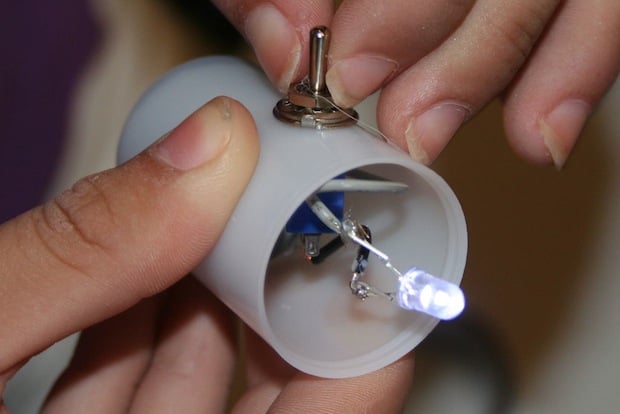
Next, take the LED and attach the negative wire from the switch to the negative prong on the light (usually the shorter of the two). Then attach the positive wire from the battery, to the positive prong on the LED. Again, you can solder the wires on if you’re up to the task, but beginners may prefer to use electrical tape or heat shrink tubing.
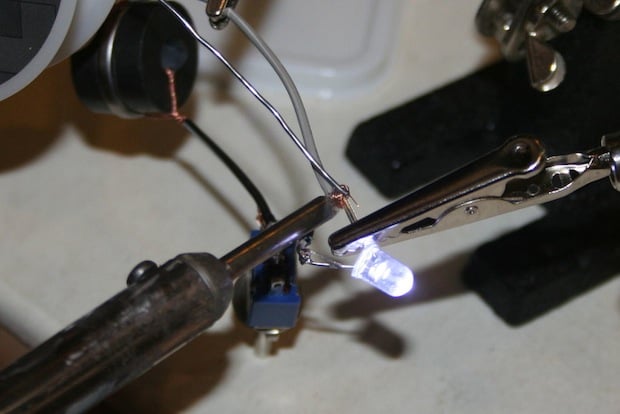
Toggling the switch should now turn the light on and off:
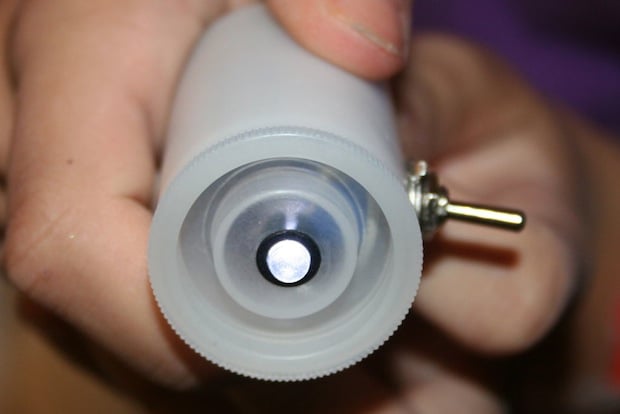
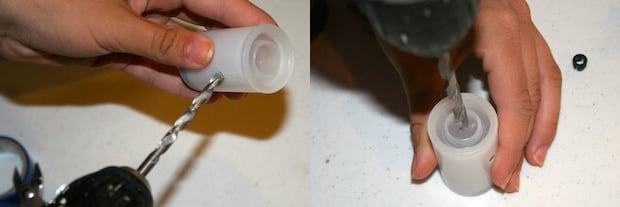
And that’s the end of the hard part. All that’s left is to drill the holes into the side and cap of the canister for the switch and LED, respectively. Insert the LED holder into the hole in the lid, place the battery and switch inside the canister, and put the LED in the holder from the inside.
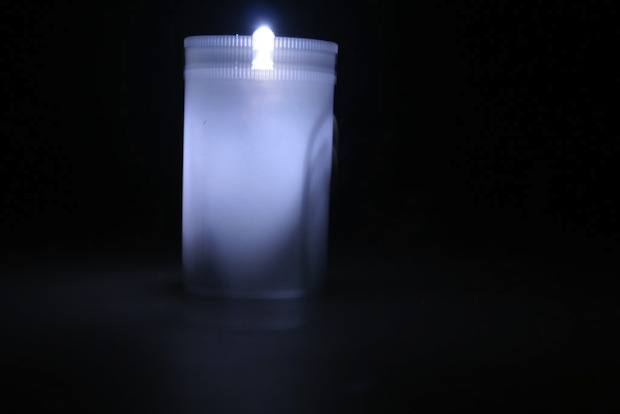
That’s it! You can hot glue everything inside to keep things tidy, but you should now have a working film canister flashlight that has the added benefit of attaching to any metal surface thanks to the magnet in the base.
For the full flashlight tutorial — complete with a lot more detail and many more pictures — head over to Instructables by clicking here.
(via Lifehacker)
Image credits: Photographs by Cats Science Club.