Table of Contents
Dori is a support character who uses her Electro Vision to both heal teammates and help restore Energy.
She restores her Elemental Energy through her Elemental Skill. After Dori casts her Elemental Burst, she summons forth the Jinni within the lamp, that connects to a nearby character, helping the connected character to continuously restore HP and regenerate Energy.
This guide is based on the Community Character Builds by the Genshin Helper Team.
Talent Priorities
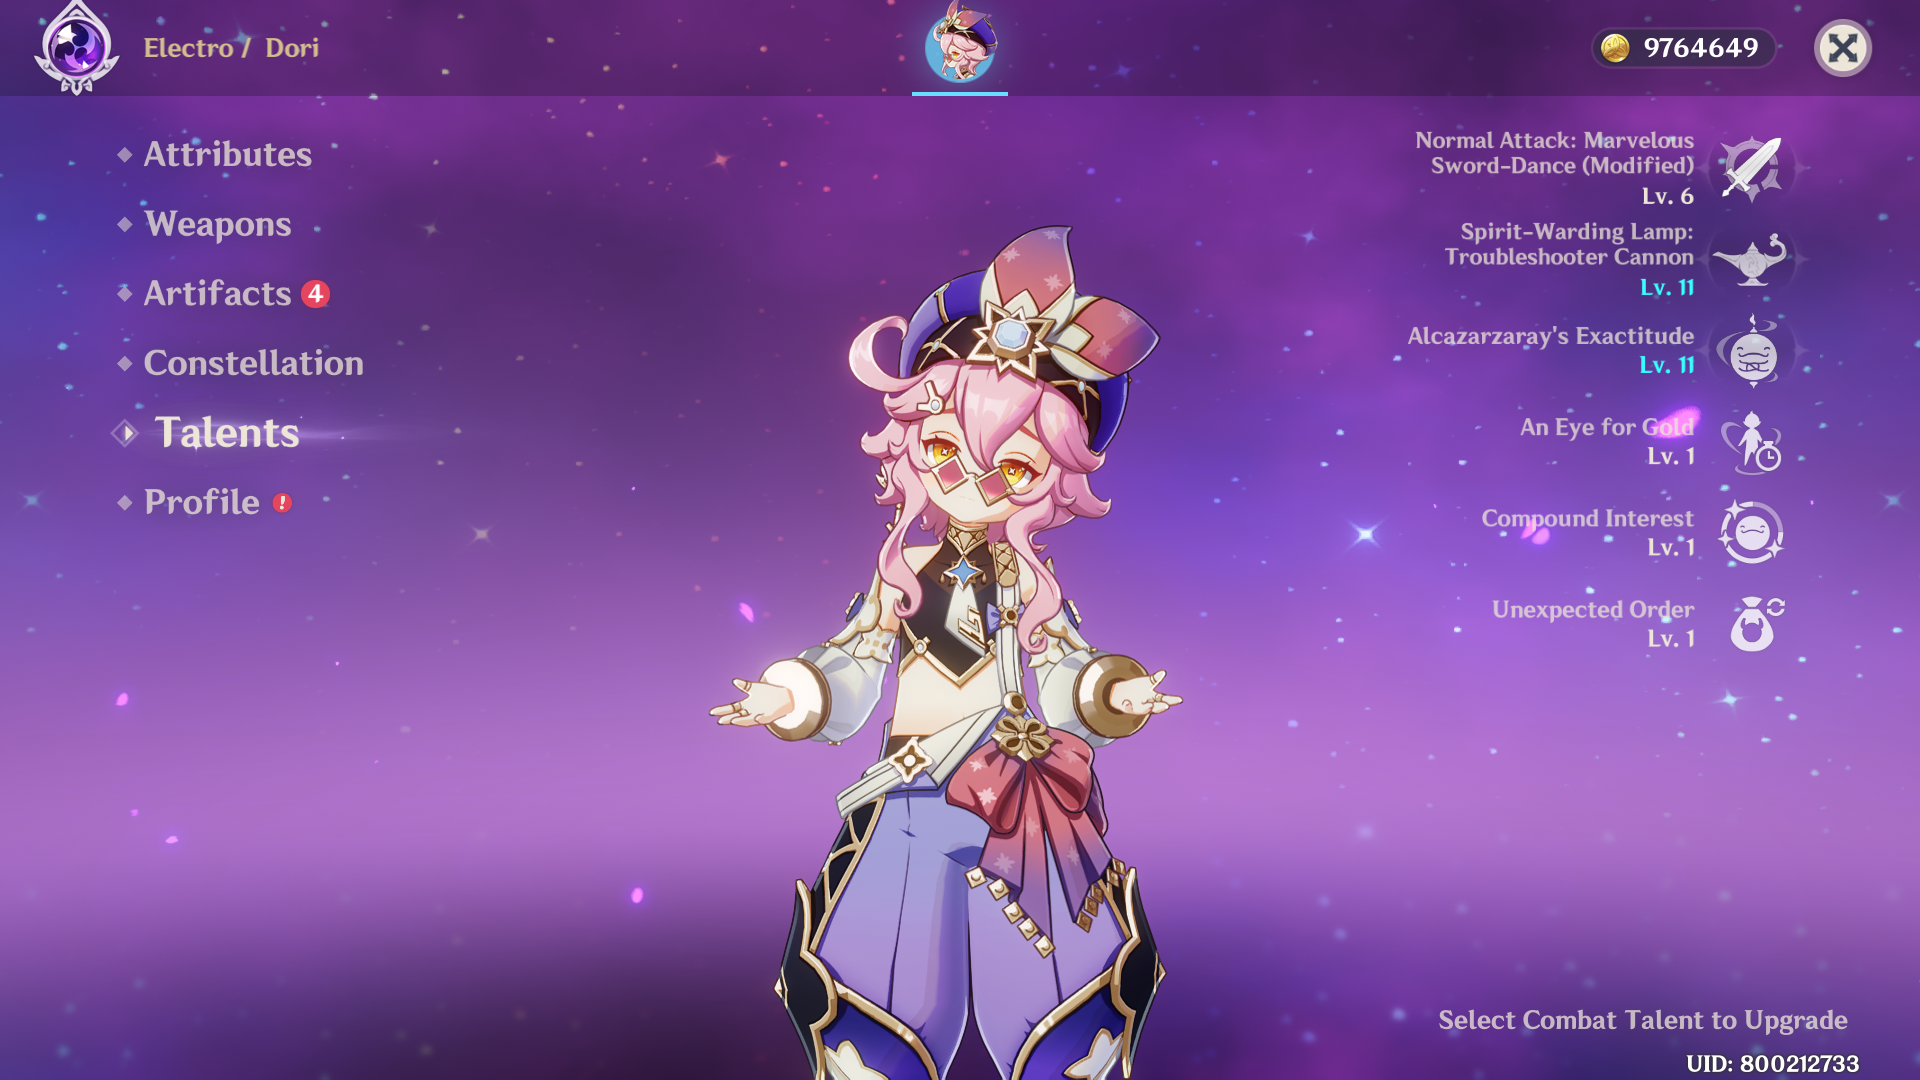
Burst > Skill
It is generally advised to use 2 elemental skills per burst rotation, as this helps to alleviate her otherwise extreme Energy requirements.
Constellations
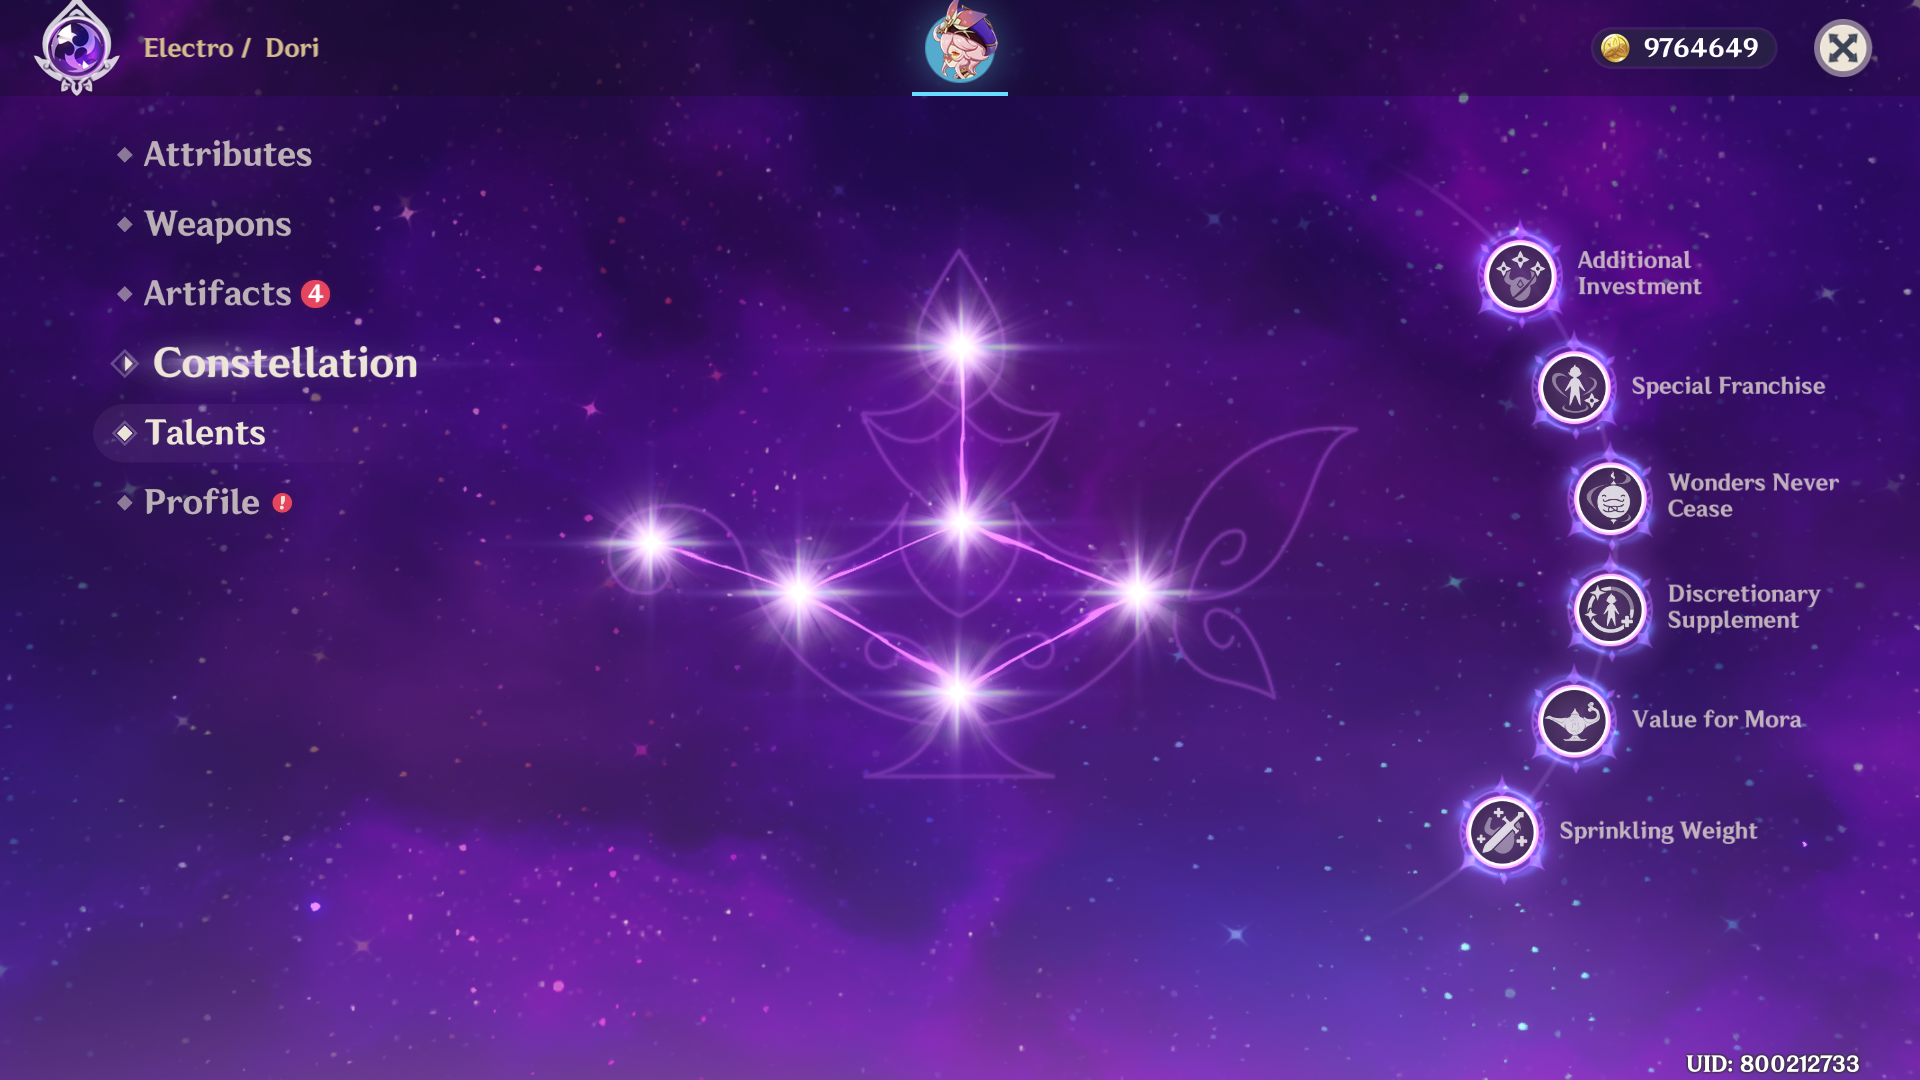
Best Constellations: C2, C4 & C6
C1: Additional Investment
The number of After-Sales Service Rounds created by Troubleshooter Shots is increased by 1.
C2: Special Franchise (Nice!)
When you are in combat and the Jinni heals the character it is connected to, it will fire a Jinni Toop from that character's position that deals 50% of Dori's ATK DMG.
C3: Wonders Never Cease
Increases the Level of Alcazarzaray's Exactitude by 3.
Maximum upgrade level is 15.
C4: Discretionary Supplement (Good!)
The character connected to the Jinni will obtain the following buffs based on their current HP and Energy:
● When their HP is lower than 50%, they gain 50% Incoming Healing Bonus.
● When their Energy is less than 50%, they gain 30% Energy Recharge.
C5: Value for Mora
Increases the Level of Spirit-Warding Lamp: Troubleshooter Cannon by 3.
Maximum upgrade level is 15.
C6: Sprinkling Weight (Great!)
Dori gains the following effects for 3s after using Spirit-Warding Lamp: Troubleshooter Cannon:
● Electro Infusion.
● When Normal Attacks hit opponents, all nearby party members will heal HP equivalent to 4% of Dori's Max HP. This type of healing can occur once every 0.1s.
Recommended Weapons
- Favonius Greatsword (4✩)
- Sacrificial Greatsword (4✩)*
- Katsuragikiri Nagamasa (4✩)
- Forest Regalia (4✩)
1) Favonius Greatsword (ATK: 454 • Energy Recharge: 61.8%)
[Refinement 5] CRIT hits have a 100% chance to generate a small amount of Elemental Particles, which will regenerate 6 Energy for the character. Can only occur once every 6s.
2) Sacrificial Greatsword (ATK: 565 • Energy Recharge: 30.6%)
[Refinement 5] After dealing damage to an opponent with an Elemental Skill, the skill has a 80% chance to end its own CD. Can only occur once every 16s.
Note: This weapon's passive allows Dori to cast her Elemental Skill twice while only swapping to her once per rotation.

3) Katsuragikiri Nagamasa (ATK: 510 • Energy Recharge: 45.9%)
[Refinement 5] Increases Elemental Skill DMG by 12%. After Elemental Skill hits an opponent, the character loses 3 Energy but regenerates 5 Energy every 2s for the next 6s. This effect can occur once every 10s. Can be triggered even when the character is not on the field.

4) Forest Regalia (ATK: 565 • Energy Recharge: 30.6%)
[Refinement 5] After triggering Burning, Quicken, Aggravate, Spread, Bloom, Hyperbloom, or Burgeon, a Leaf of Consciousness will be created around the character for a maximum of 10s. When picked up, the Leaf will grant the character 120 Elemental Mastery for 12s. Only 1 Leaf can be generated this way every 20s. This effect can still be triggered if the character is not on the field. The Leaf of Consciousness' effect cannot stack.
Recommended Artifacts
- Noblesse Oblige (4)
- Deepwood Memories (4)*
- Instructor (4)
- The Exile (4)

1) 4-Pc Noblesse Oblige
2-Piece Bonus: Elemental Burst DMG +20%
4-Piece Bonus: Using an Elemental Burst increases all party members' ATK by 20% for 12s. This effect cannot stack.

2) Deepwood Memories
2-Piece Bonus: Dendro DMG Bonus +15%
4-Piece Bonus: After Elemental Skills or Bursts hit opponents, the targets' Dendro RES will be decreased by 30% for 8s. This effect can be triggered even if the equipping character is not on the field.
Note: This set should only be used when Dori is in a Dendro-based team composition.

3) Instructor
2-Piece Bonus: Increases Elemental Mastery by 80.
4-Piece Bonus: Upon triggering an Elemental Reaction, increases all party members' Elemental Mastery by 120 for 8s.

4) The Exile
2-Piece Bonus: Energy Recharge +20%
4-Piece Bonus: Using an Elemental Burst regenerates 2 Energy for all party members (excluding the wearer) every 2s for 6s. This effect cannot stack.
| Artifact Main Stats | Artifact Sub Stats |
|---|---|
| Sands - Energy Recharge / HP% / Elemental Mastery Goblet - HP% / Elemental Mastery Circlet - Healing Bonus / HP% / Elemental Mastery* *A Crit Rate Circlet can be considered if running Favonius Greatsword | 1. Crit Rate* 2. Energy Recharge 3. HP% 4. Elemental Mastery *Crit Rate is useful only when using Favonius Greatsword |
Team Compositions
Catalyze Team
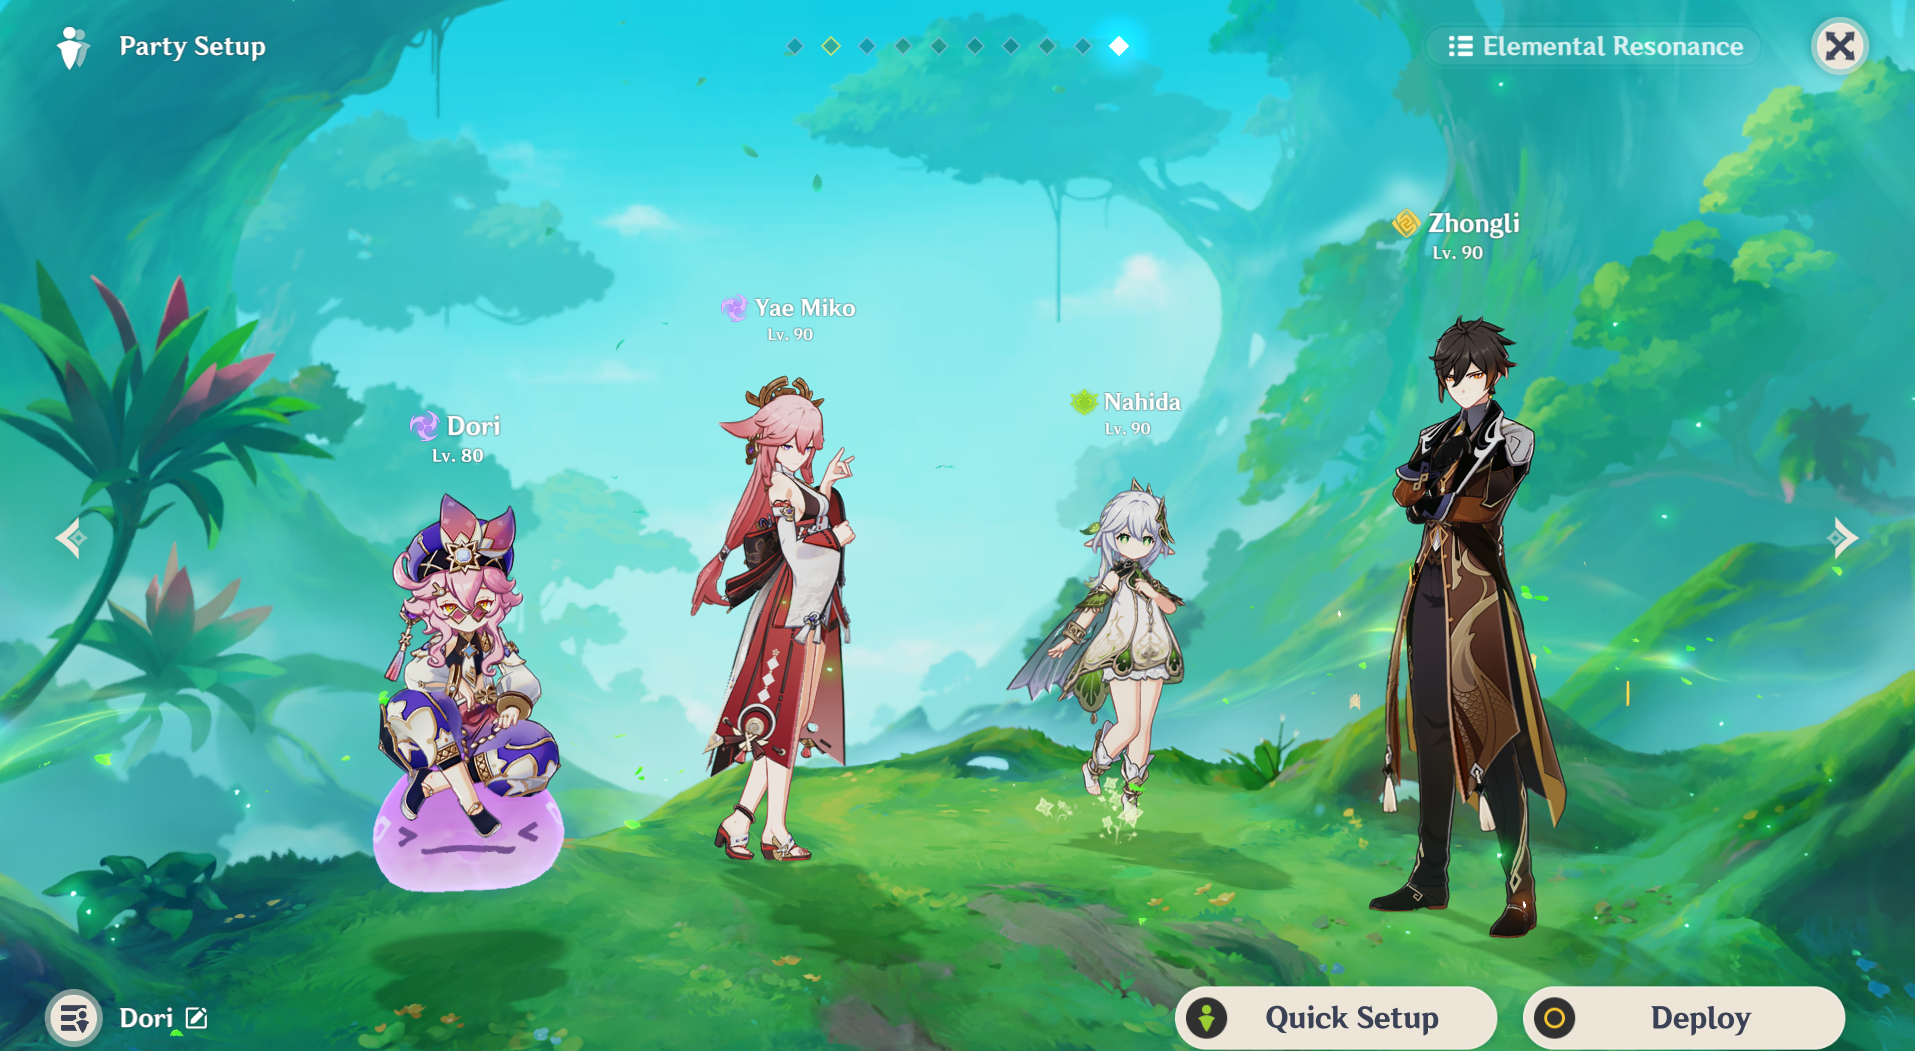
Dori: Healer + Electro Applicant
Yae Miko: Electro Off-Field DPS
Nahida: Dendro Sub-DPS
Zhongli: Shielder // Tighnari: Dendro Quick Swap DPS
Electro-Charged Team

Dori: Healer + Electro Applicant
Kamisato Ayato: Hydro Main DPS
Kaedehara Kazuha: DMG Buff + Anemo CC
Xingqiu: Hydro Sub-DPS // Fischl: Electro Sub-DPS
Superconduct Team

Dori: Healer + Electro Applicant
Eula: Cryo Main DPS
Rosaria: Cryo Sub-DPS
Zhongli: Shield Support // Raiden Shogun: Electro Sub-DPS
Jean Hyperbloom Team
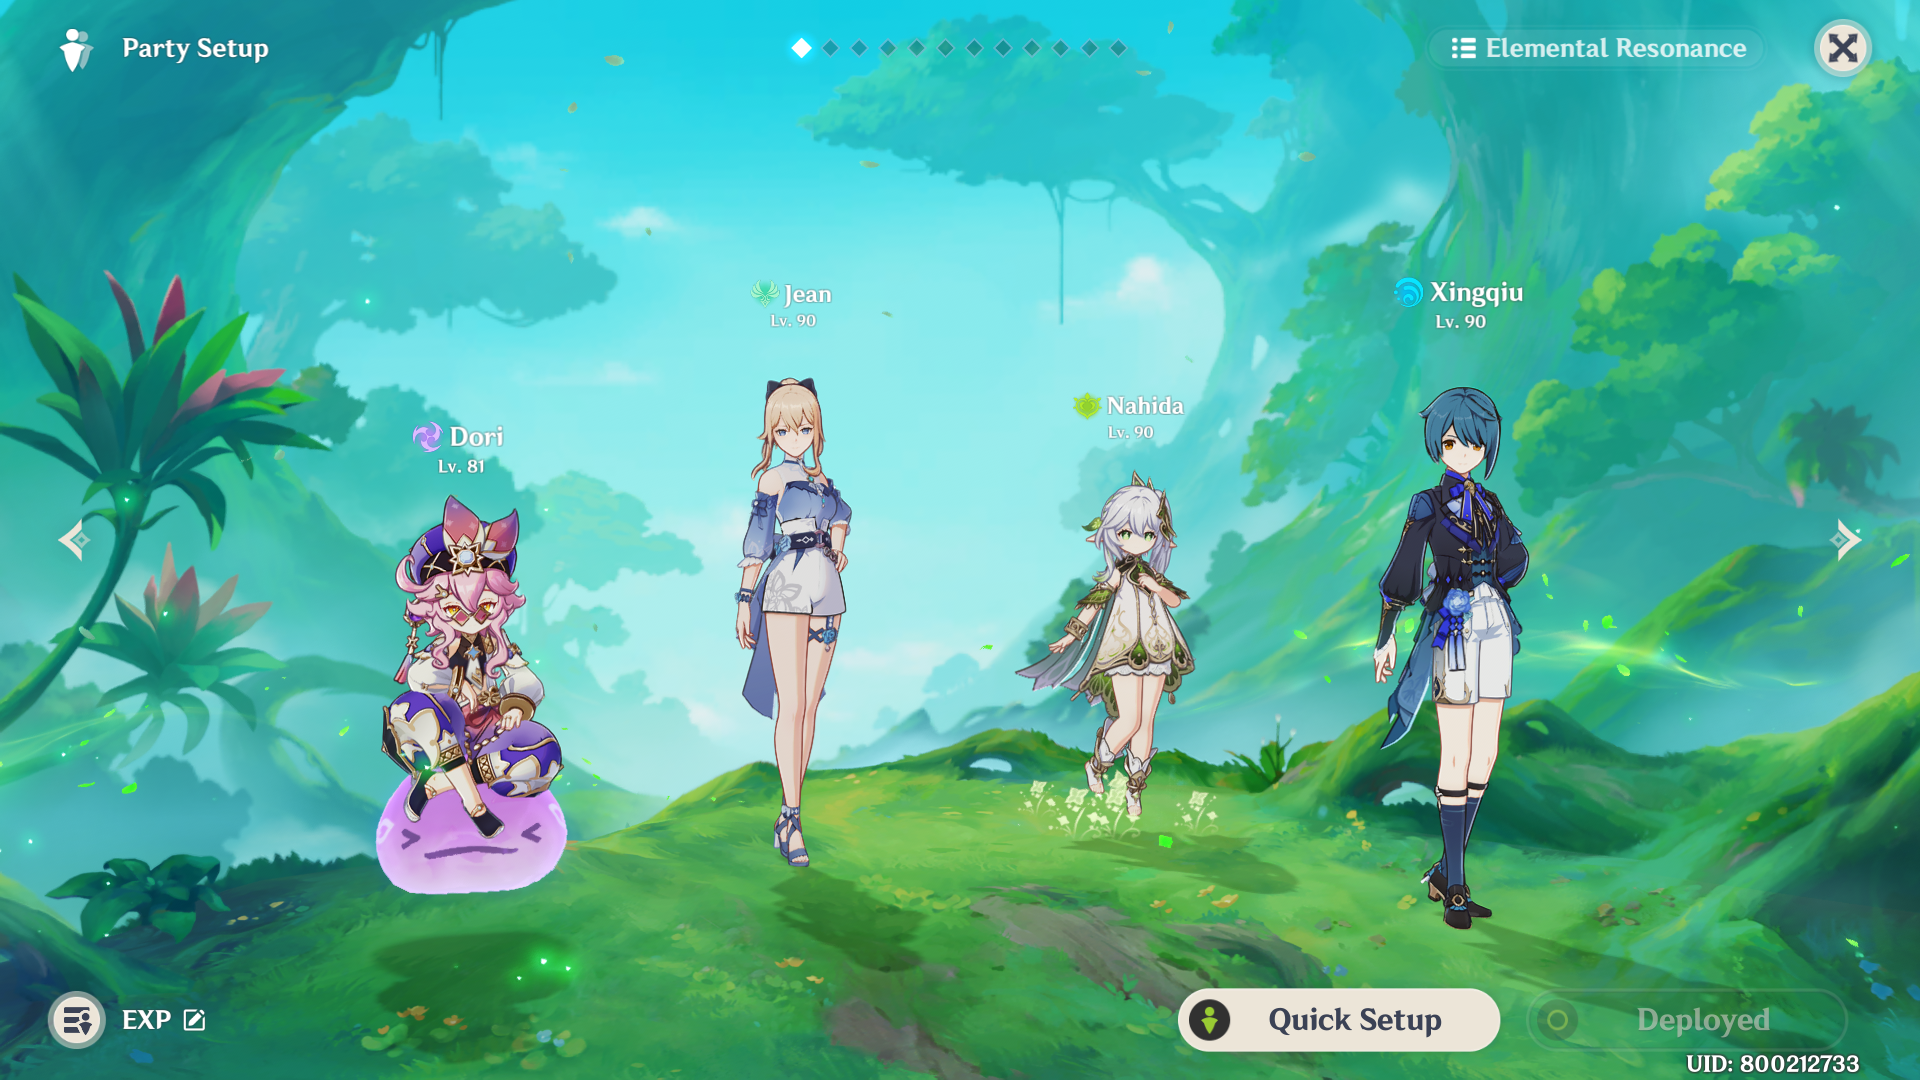
Dori: Electro Applicant
Jean: Anemo Applicant (Can't be replaced)
Nahida / Collei / Dendro MC: Dendro Applicant
Yelan / Xingqiu / Kokomi: Hydro Applicant

SoraHoshina
Articles: 172More Articles

Genshin Impact: All New Fontaine World Quests in Version 4.6

Genshin Impact: Where His Life Lies Quest Guide

Genshin Impact Codes – April 2024

Genshin Impact: All 8 Lost Grimoire and Bookshelves Location

Genshin Impact: All New Achievements in Version 4.6

Genshin Impact: All 55 Hydroculus in Fontaine V4.6
Genshin Impact: Autoharmonic Music Box All Score Locations
Genshin Impact: Challenger: Series IX Achievement Guide

Genshin Impact: Latecoming Homecoming Quest Guide
Genshin Impact: Canticles of Harmony Chain Quest Guide

Genshin Impact: Version 4.5 Tier List (April 2024)

Genshin Impact: Barbara Quick Character Guide
Genshin Impact: Xingqiu Quick Character Guide
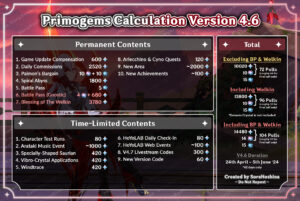
Genshin Impact: Primogems Calculation for Version 4.6

Genshin Impact: Version 4.6 Special Program Livestream Overview
Genshin Impact: 3 New Redemption Codes from 4.6 Special Program

Genshin Impact: Version 4.6 Livestream Countdown

Genshin Impact: Yanfei Quick Character Guide

Genshin Impact: Feline Fortress Furrdyssey Event Guide
