
Ace Chemicals is one of the earlier story missions in Batman: Arkham Knight that introduces us to the dark and twisted state of Gotham City. With the nitty gritty plans of Scarecrow to spread the fear toxin gas in the eastern side of Gotham, Batman must pave a way to spot it while entangling with a new nemesis.
The Ace Chemicals mission is quite a lengthy one which involves rescuing five workers from Scarecrow’s men and stopping him from destroying the Ace Chemicals compound. For your ease, we’ve listed down the whole walkthrough for the mission highlighting all the key tasks that you must perform to successfully dismantle Scarecrow’s plan.
How to complete Ace Chemicals in Batman: Arkham Knight
The mission begins with Batman arriving at the entrance gates of the Ace Chemicals building while Commissioner Gordon is trying to find a way in until a new villain, the Dark Knight arrives and breaks the bridge that connects the compound to the city. While figuring out who the new guy is, Batman gets sentry turrets fired at him.
After being shot at with the tanks at the entrance of Ace Chemicals, Batman will be tasked to grapple on the rooftop of the building to find out about the workers for Ace Chemicals who could help find out where Scarecrow is hiding the bombs.
Once you’ve reached the rooftop, Oracle will contact Batman informing him about hacking a terminal that could help track down the location of these workers. A new objective will be marked on your HUD to interact with the terminal placed on the second floor of the building.
The terminal will be guarded by five Militia goons. Take them out in stealth using the floor grates. Once the goons are eliminated, interact with the terminal to reveal the records and a new task will be assigned to Batman to get to the highest point of the Ace Chemicals building and use the Batscanner to reveal the locations of the workers.
A total of five workers will be held captive around the Ace Chemicals buildings. So, start with the nearest one in the small office opposite on the eastern side of the entrance door. Glide right at the window of the office and make an entrance by taking down the five enemies. Once the enemies are dealt with, your new objective will be to take the Batmobile inside the compound.
Get the Batmobile into Ace Chemicals
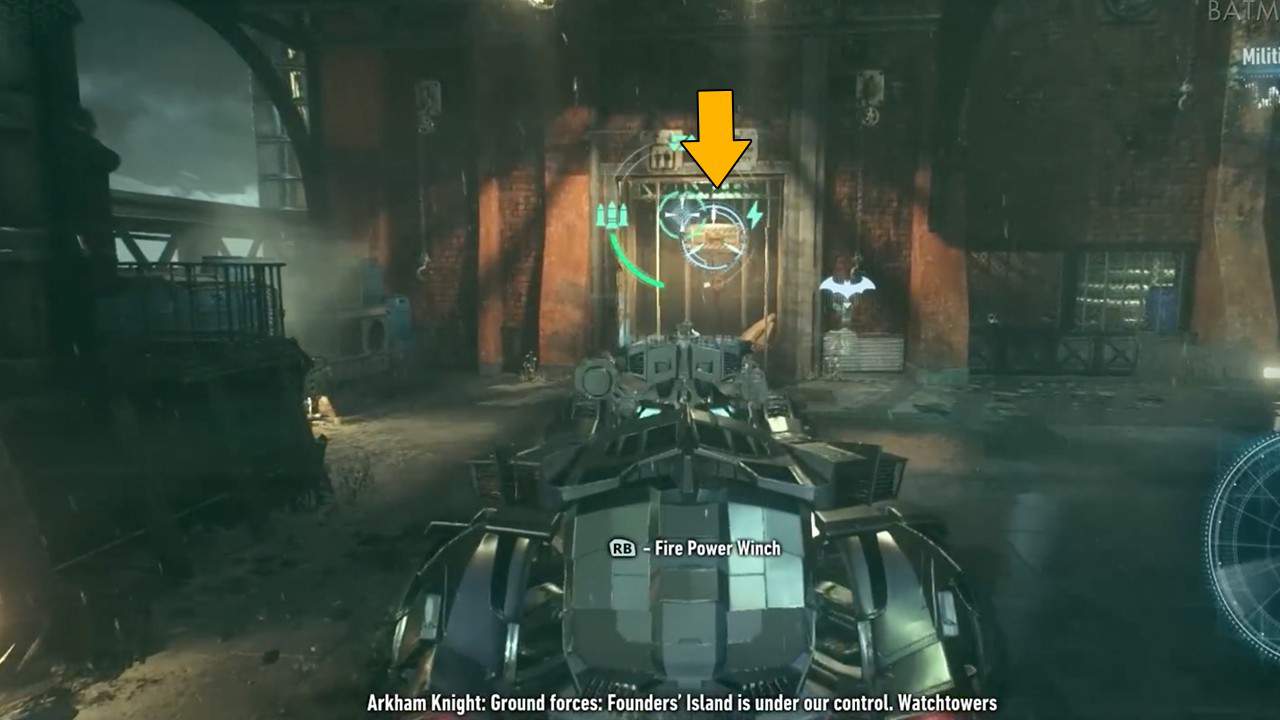
Interact with the panel inside the office to open the main entrance doors for the Ace Chemicals building. Toggle the Remote Batmobile Controls and use the winch on the broken road to lift it and create a ramp. Reverse a little to gain enough speed to jump across the broken bridge and enter the building.
Save the second worker
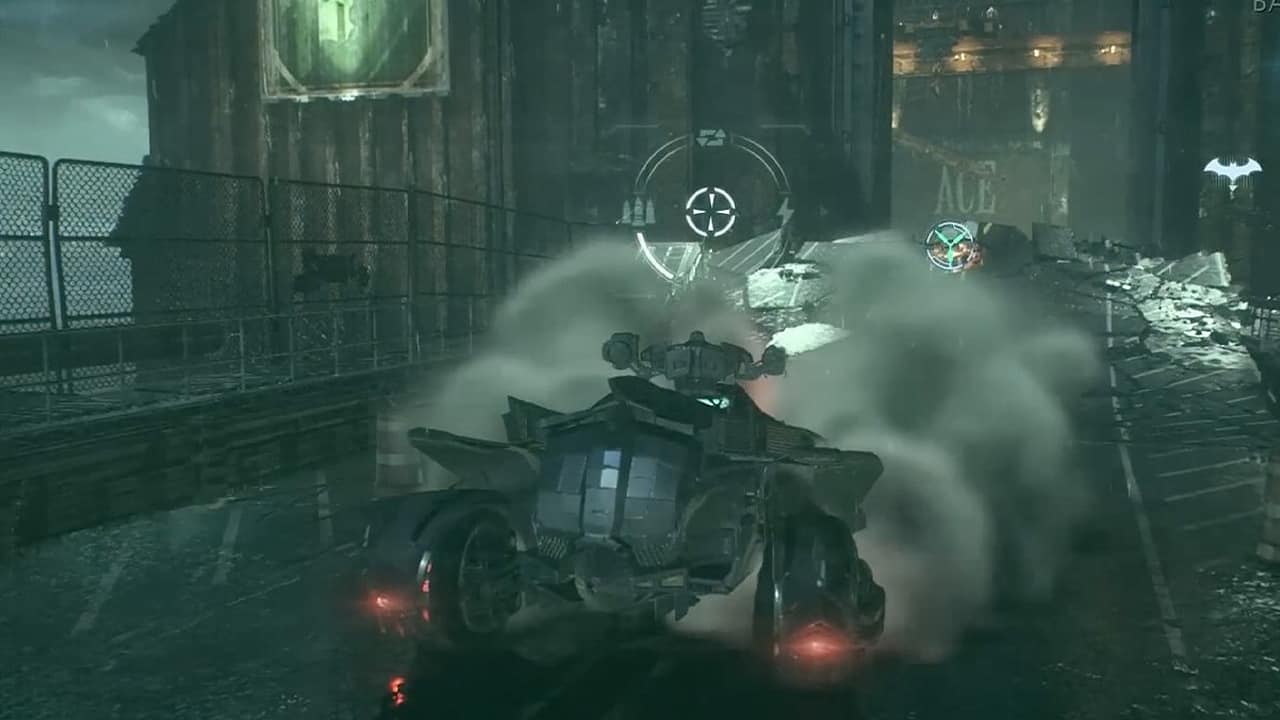
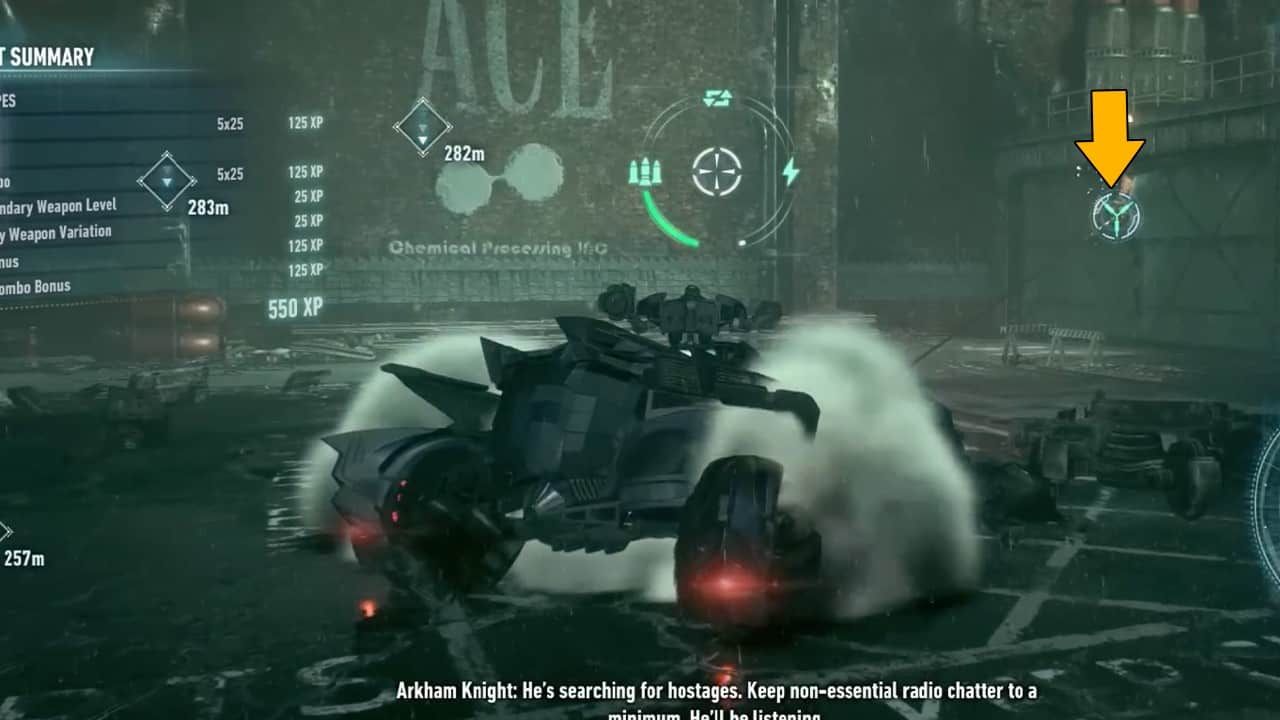
Remember the tanks that shot at Batman? Well, it’s time to take revenge. Use the 60mm Cannon to blast them off. Once the tanks are gone, use the wench on the door to the right of the main entrance to open it. Drive the Batmobile through the opening and navigate through the narrow platform to reach the second isolated worker.
Again, use the wench to lower the door for the circular tank where the worker is held hostage. Once the door opens, take out the enemies using Batmobile’s riot suppressor.
As soon as you’re about to leave, a new villain is introduced in Batman: Arkham Knight which is no other than the Arkham Knight. After having the usual hero-villain conversation, use the Batmobile’s weapon to take out the opponents causing the newly created nemesis to flee. With the immediate threat gone, grab the hostage and place him inside the Batmobile.
Go back the way you came in and drop the worker to Commissioner Gordon waiting outside. Once the first hostage is safe
Save the third worker
Return to the building with the Batmobile and look up the ramp to spot a few militia goons guarding the terminal. Eject from the Batmobile and take care of them. As soon as you get done with them, more enemies will arrive quite different from the usual ones.
These enemies are ninjas that have a different way of combat. They’ll be performing slicing attacks which will require three dodges to counter. And they’ll also confuse Bats by hopping off the railings and performing surprise attacks.
After dealing with them, use the terminals to place the ramp on the ledge of the second platform from where the Batmobile can easily jump off to reach the western section of the compound. The compound will be filled with eight militia tanks. Use the cover to your advantage and fire at the tanks to deal with them quickly.
The third hostage will be kept inside the main room of the Loading Dock, you can either choose to use the wench on the Batmobile to break the main door or go in the old-fashioned window-smashing way.
Once the enemies are dealt with, enter Detective Mode to find a breakable wall in the room. Use Explosive Gel to break the weak panel to find the third worker dead on the floor.
Save the fourth worker
With two workers dead, Batman must be quick in his actions. Walk towards the end of the small area to find yet another breakable panel on the floor. Stick Explosive Gel to it and blast right through the floor to discover an underground pipeline area
Right after exploding the floor to reveal the pipeline, you’ll discover another breakable wall right behind you which can only be blasted away with the Vulcan Cannon on the Batmobile.
Interact with the yellow terminal to open the window of the secret room and enter Remote Batmobile Control to fire directly at the wall. The Wall will direct you to an underground area where Bats will discover that the fourth worker has been killed as well.
Now what’s left to do is locate the fifth worker and make Scarecrow pay. Walk across the newly discovered area until you come across an elevator shaft.
Since the elevator has gone all the way down, it’s blocking the entrance to where the final worker is held captive. To take the elevator up Batman must again use the Batmobile to control the elevator.
How to move the elevator using the Batmobile
Next to the elevator shaft is another control box that Batman can use to open the front end of the elevator shaft. Once the front end is revealed.
Enter the Remote Batmobile Controls and stick a wench to the elevator counterweight. Reverse back to lift the elevator.
Save the final worker
Once the elevator has reached the limit, climb on in and use the Batmobile once again to make it go back down. You’ll arrive in an underground facility for Ace Chemicals in Batman: Arkham Knight. Climb onto one of the crawl spaces above and give a surprise attack to the enemies in the next room.
The enemies will include a Medic and Sword Wielding Experts. Take the medic out first and then take care of the rest. After cleaning out the enemies, escort the last surviving worker out of the facility using the elevator.
As you’re about to leave, the Dark Knight will welcome you in his attack helicopter with a few stronger tanks to assist him and a boss fight will commence. Use the Batmobile’s 60mm Cannon to perform explosive attacks on the chopper however, do be careful as the chopper will alternatively retaliate with launching missiles on the ground.
During certain attacks, the chopper will become stationary. Use the Vulcan Cannon to launch several missiles at it. With enough counters and dodges, the helicopter will certainly crash and Batman will be able to escort the last surviving worker out of the Ace Chemicals building.
Can you save all the Ace Chemical workers?
Unfortunately, there is no way to save all the hostages in Batman: Arkham Knight. The ones who die are part of the main storyline, and there is nothing you can do about it except make sure that Scarecrow pays for what he has done.
Confront Scarecrow
After the final worker has been brought to safety, return to the Ace Chemicals compound one last time in Batman: Arkham Knight. Speak with the Oracle and blast through the main wall of the compound to create a path into Scarecrow’s lair.
After blasting, eject from the Batmobile and use the terminal placed on the floor above to control the ramp and place it in front of the newly created hole. Return to the Batmobile and drive the Batmobile into the new path.
Drive through the newly discovered road and destroy the two tanks in your way. At the very end of the path, you’ll come towards a locked door. Eject from the Batmobile and climb onto the ledge above to find two guards blocking the way with a rotating sentry right behind them. Use the floor grate to your advantage and take them out quickly before the sentry spots you.
Deactivate the sentry and interact with the terminal on the eastern corner to open the door for the Batmobile to go through. Follow the road until you reach yet another locked door. In front of the door will be two dozen of Scarecrow’s men waiting for Batman. Instead of fighting with them, jump across the door and interact with the terminal on the right-hand side to open the door.
Enter the Batmobile and electrocute all of them coming your way. After dealing with enemies, enter the Batmobile and face the blocked door on the western section of the road. The door will be locked and will contain spikes on the top.
Instead of grappling eject yourself and glide across the blocked door to discover a chamber swarming with enemies. Use stealth to your advantage to take out all of the enemies and try to stay out of the sentry turret’s sights. Once all the enemies are dealt with, it’s time to meet Scarecrow.
A cut scene will begin with Scarecrow informing Batman about a trade-off between sparring his life to save Barbara Gordon. Batman contacts Oracle and before she can finish her sentence, Scarecrow escapes leaving behind the fear toxin bombs activated.
Disarm the bombs
A new objective will appear on your HUD tasking Batman to contain the bombs by slowly picking them up and placing them on the terminal on the other side of the room.
As soon as you’re done with the last bomb, an old friend of Bats will appear in front of him and a cut scene will show up again with Commissioner Gordon visiting the Panessa Studios in a flashback sequence.
The flashback sequence will require players to visit the chamber in the Panessa Studios and watch and inspect each quarantine cell. Keep on inspecting until you find the one with Batman inside. After the flashback ends, your last objective will be to escape from the Ace Chemicals building in Batman: Arkham Knight.