A ceiling stain brought on by a plumbing problem or a roof leak isn’t a calamity. But no one will blame you when you look up at that ugly stain, and exclaim in exasperation: Now what?
If the leak hasn’t damaged the taped seam, it’s simply a matter of treating the stain, priming the effected area, and painting the ceiling.
On the other hand, if the leak broke the taped seam, the repair is slightly more complicated but still well within the means of the average handy person, and the repair is still inexpensive.
Treat, Prime, Repair, Paint
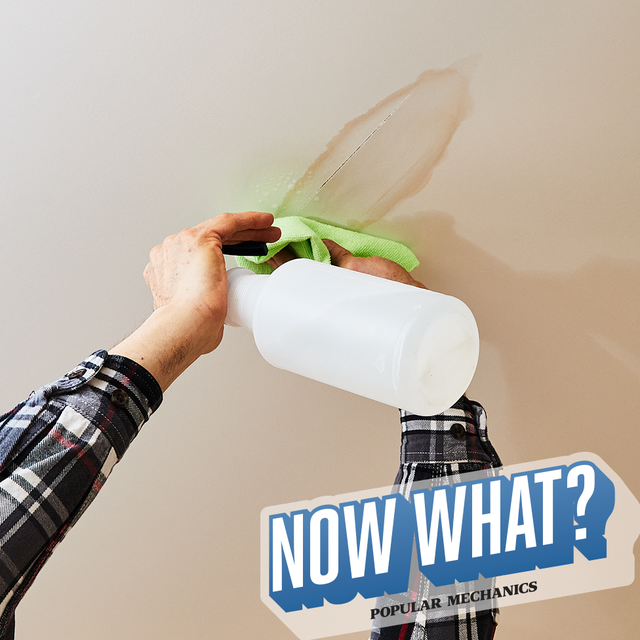
The easiest version of this problem is a simple water stain that discolors the ceiling but doesn’t break a taped seam. Treat the discolored area by repeatedly misting it using a spray bottle and a strong bleach-and-water solution mixed at a ratio of 50 percent water to 50 percent bleach. Protect the floor below the repair using a canvas drop cloth or plastic sheet, and blot the area with a soft cloth to remove excess bleach and water, and to prevent drips. This should significantly lighten the stain. In some cases, the stain may be so lightened that there’s nothing left for you to do until you paint the ceiling.
But there’s more to do if the water damage was significant enough that the stain is dark and ugly, and it managed to break the taped seam between the drywall sheets.
Here's the repair sequence:
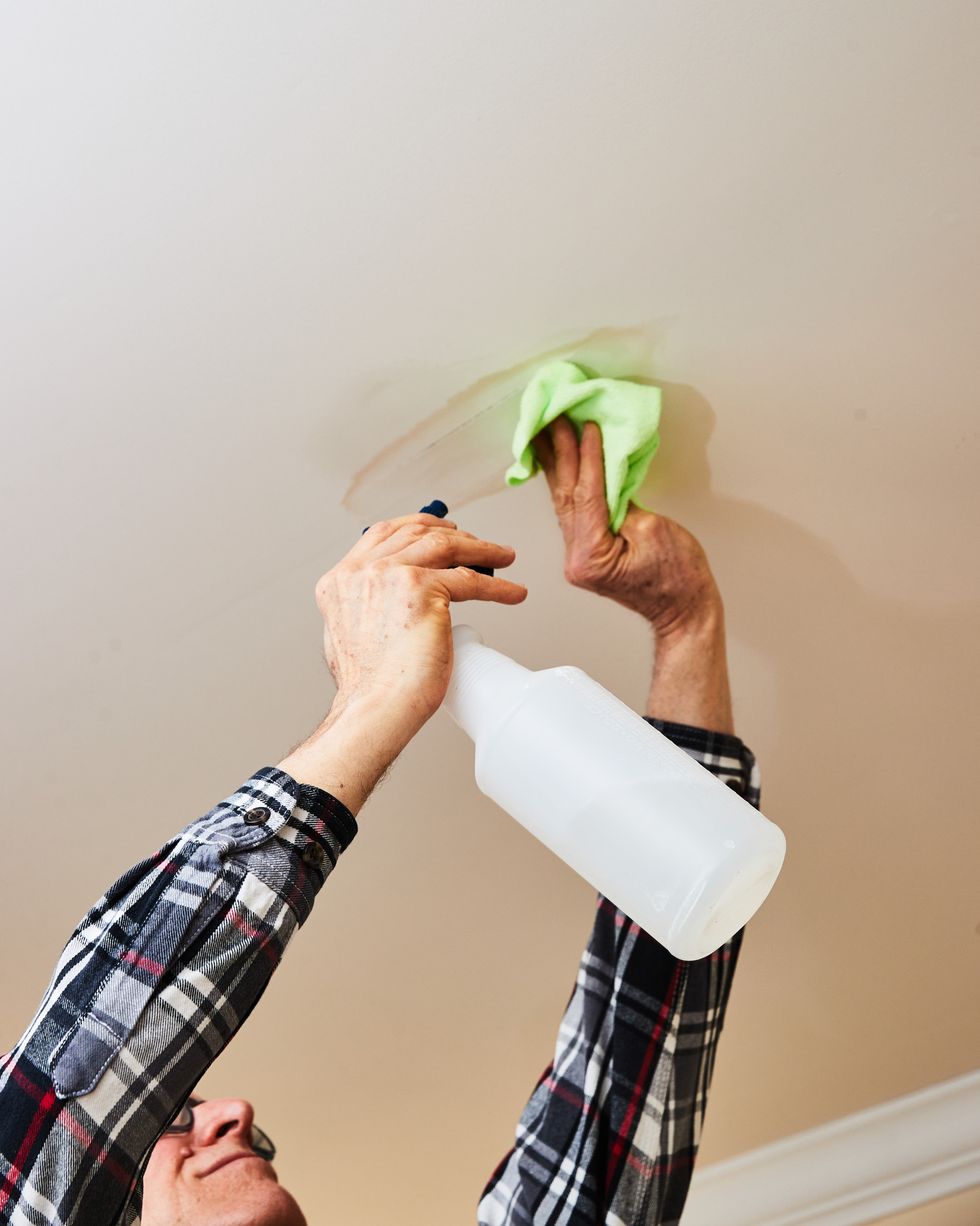
Trevor RaabLighten the stain with a strong bleach-water solution, blot the surface and let the area dry.
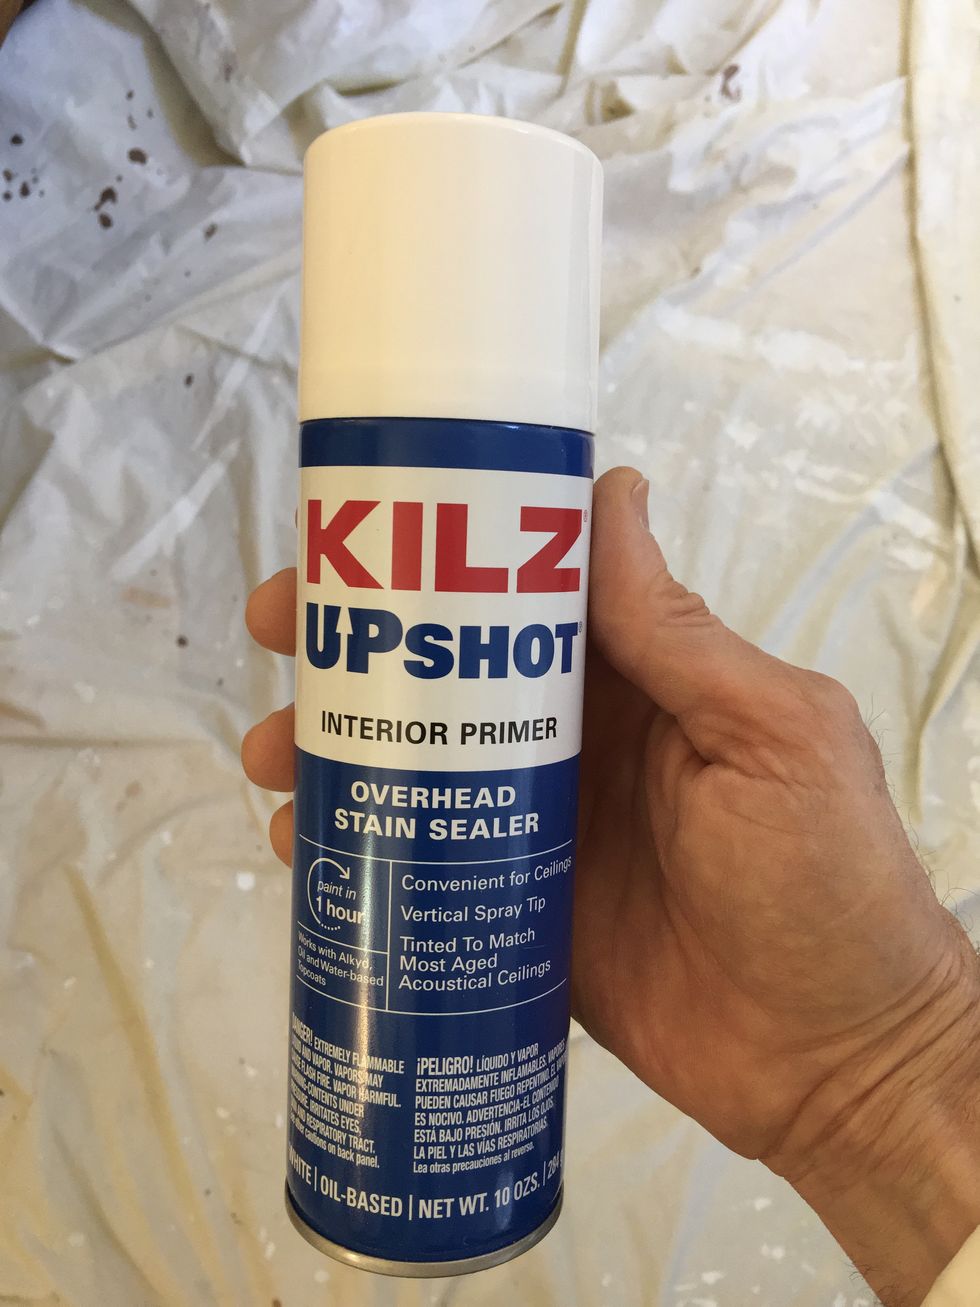
Roy BerendsohnKilz interior primer covers water stains and prevents them from bleeding through the repair.
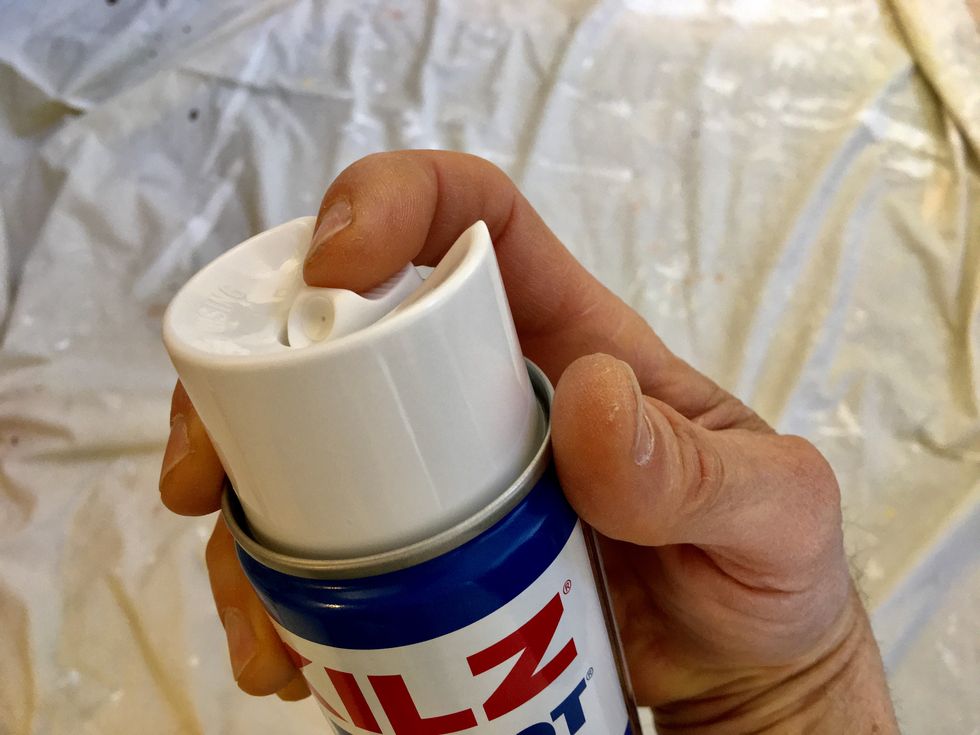
Roy BerendsohnThe spray can of Kilz UpShot has a special cap with the spray nozzle on the top, rather than on the front. This makes it easy to shoot the primer on the stained area.
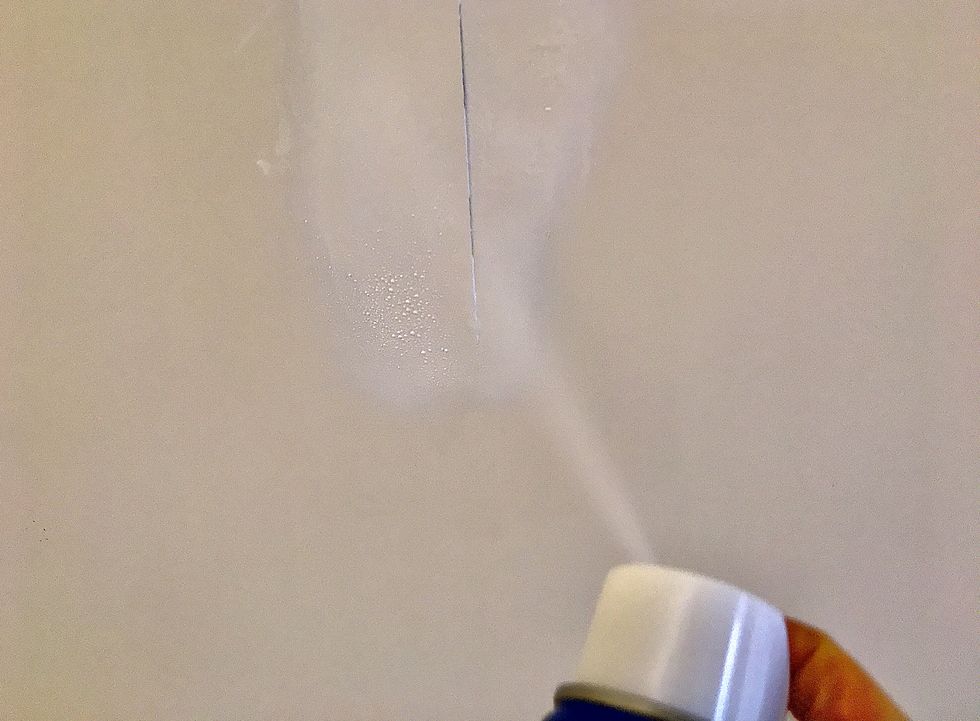
Roy BerendsohnAll it takes is one application of the primer over the stained area on the drywall and the taped seam. If you apply a bit too much, no harm done. Gently wipe any excess paint with a clean soft cloth. Let the paint dry before removing the damaged paper tape.
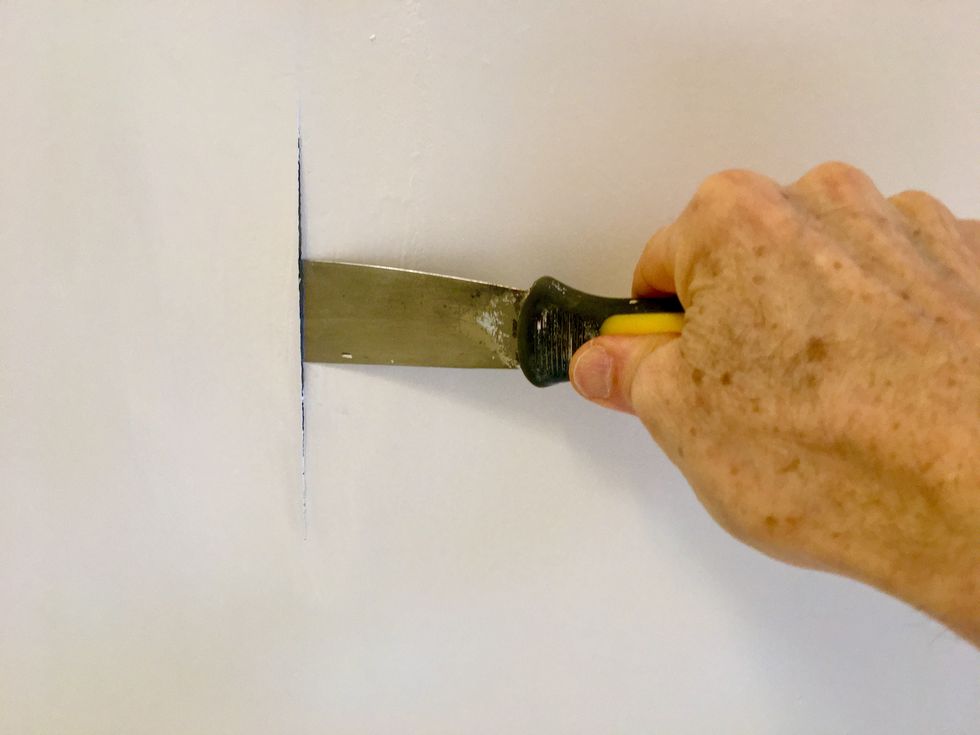
Roy BerendsohnThe whole idea with this repair is to remove the damaged tape without removing tape that is still sound. To do that, begin by gently lifting along the broken seam with a
flexible putty knife.
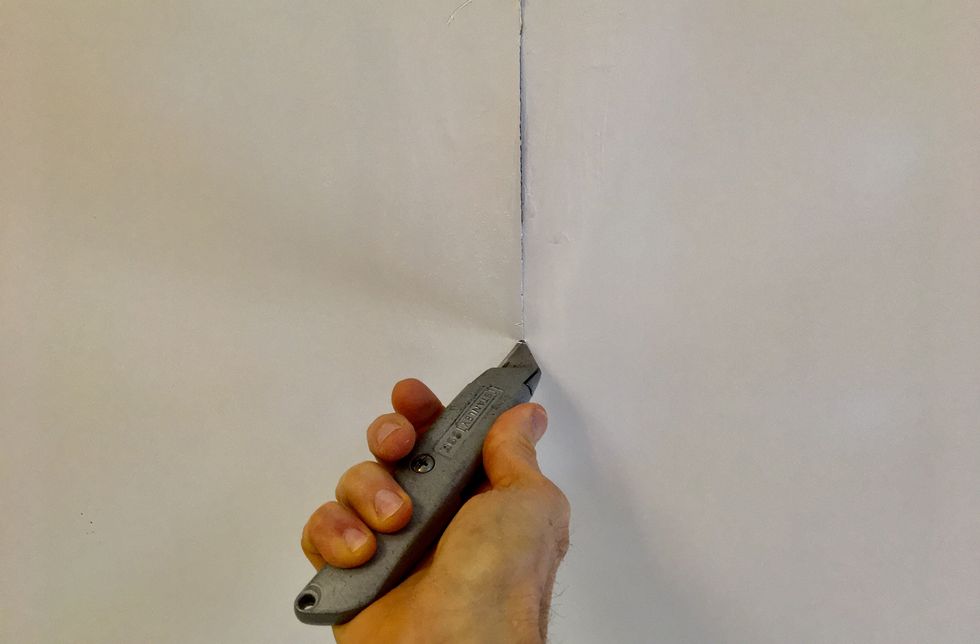
Roy BerendsohnCut along the damaged tape with a
utility knife until you get to sound, undamaged tape. Then cut across the tape and stop. Cut through the damage until you have a crisply-cut rectangle that conforms to the perimeter of the taped joint.
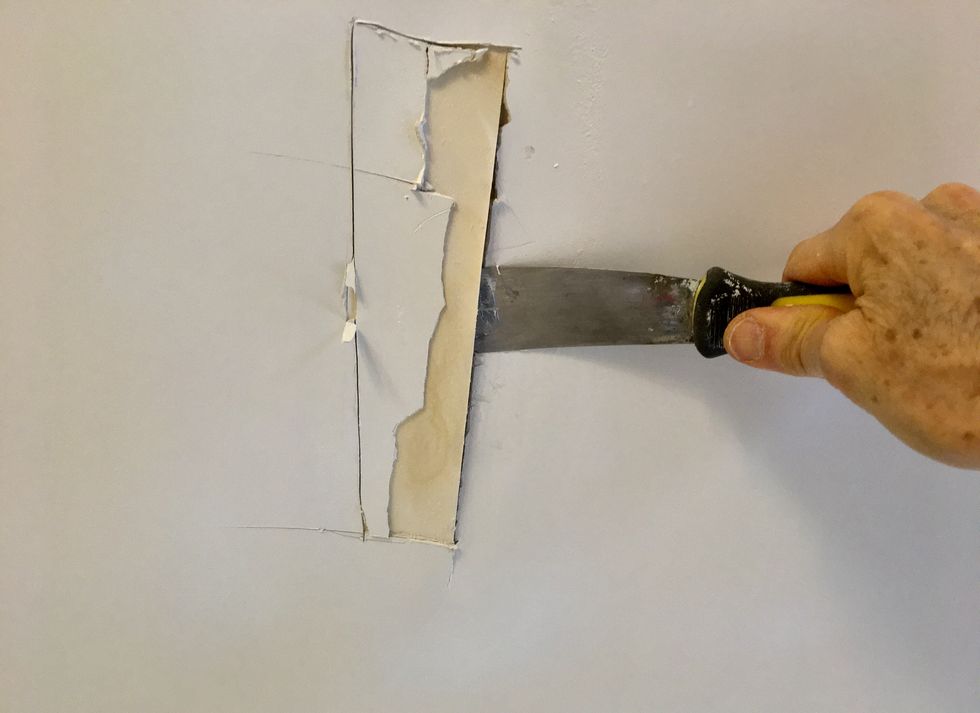
Roy BerendsohnNow begin gently lifting the cut area. Proceed carefully to prevent lifting the tape that is still intact.
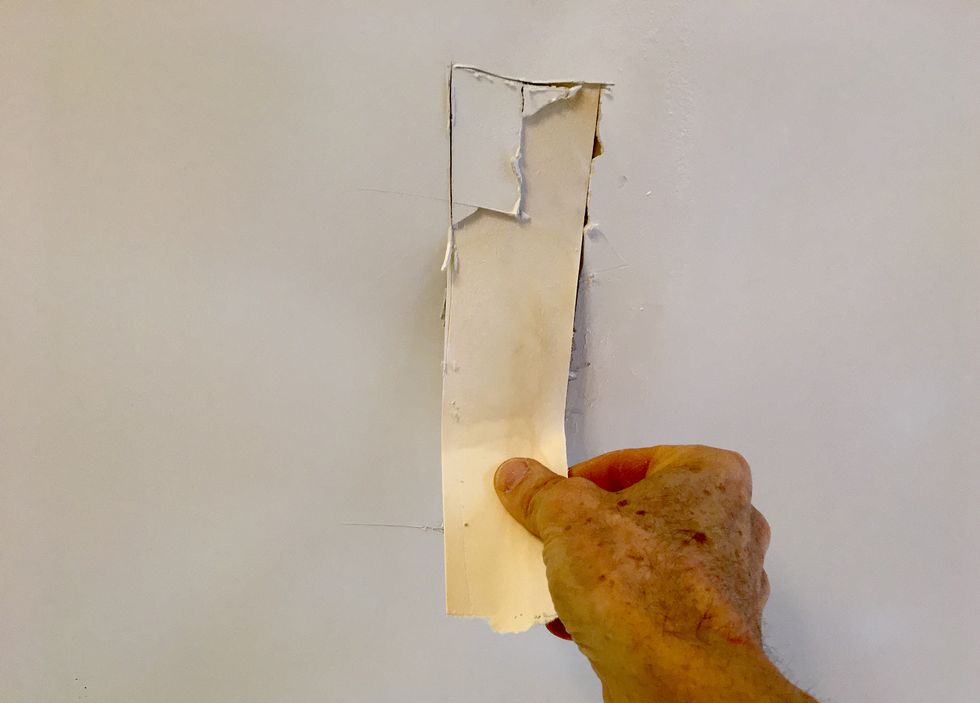
Roy BerendsohnWith the tape’s perimeter cleanly cut and the drywall compound behind it loosened, gently peel the damaged tape off the ceiling.
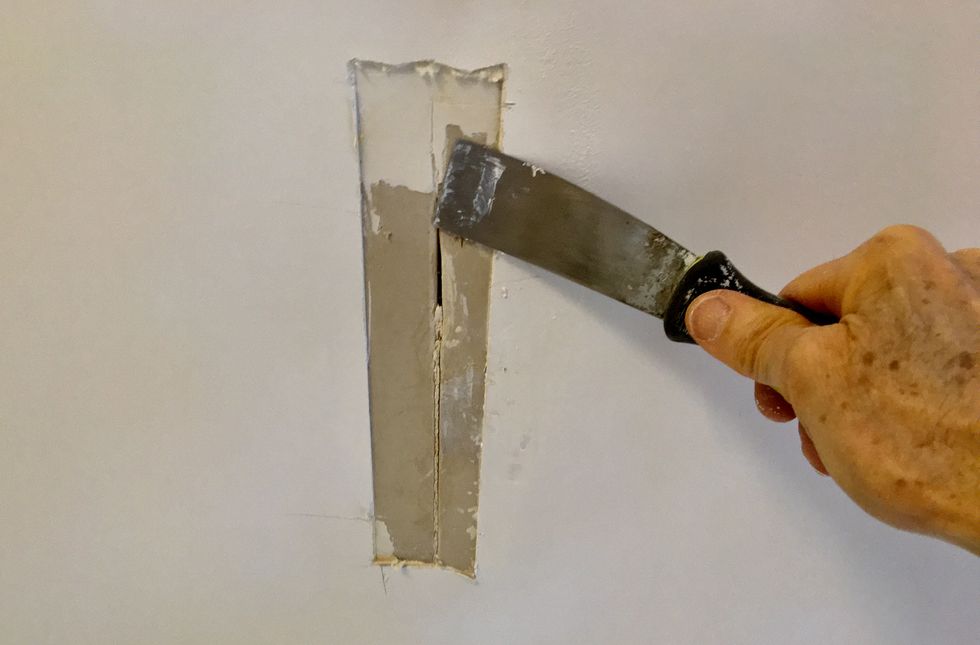
Roy BerendsohnWith the tape removed, use a
flexible putty knife to clean out any loosened drywall compound left in the joint. Your goal is to have a crisp, rectangular cavity.
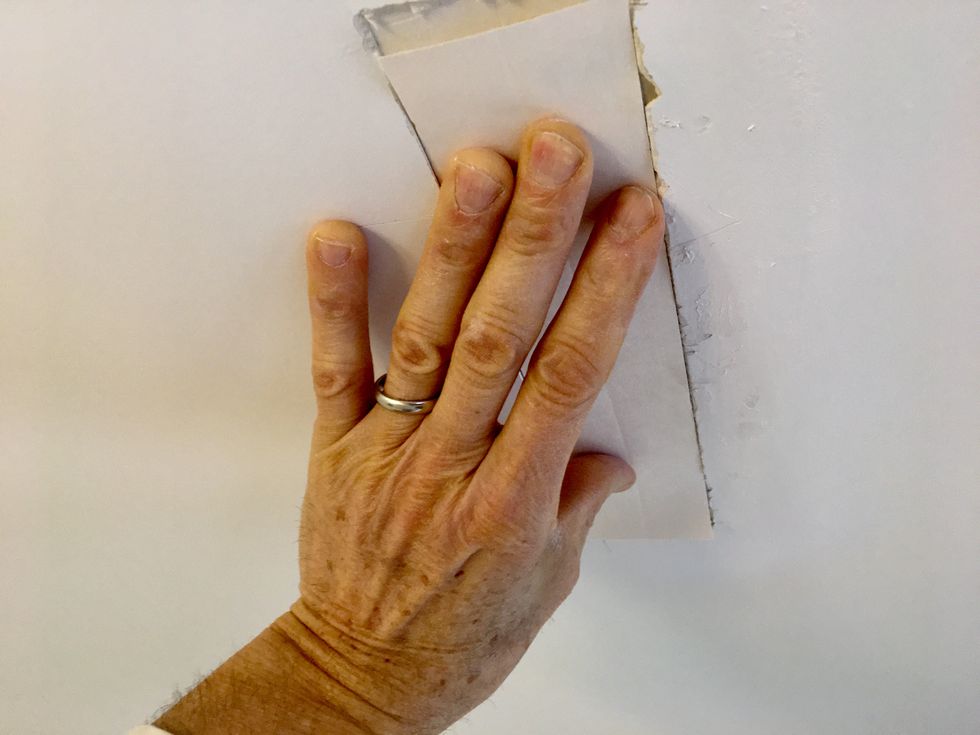
Roy BerendsohnCleanly cut a piece of drywall tape so that it fits neatly into the cavity. Test fit the piece of
paper drywall tape before proceeding. It should not overlap the repaired area. Rather, it should butt tightly up to the existing tape that is sound.
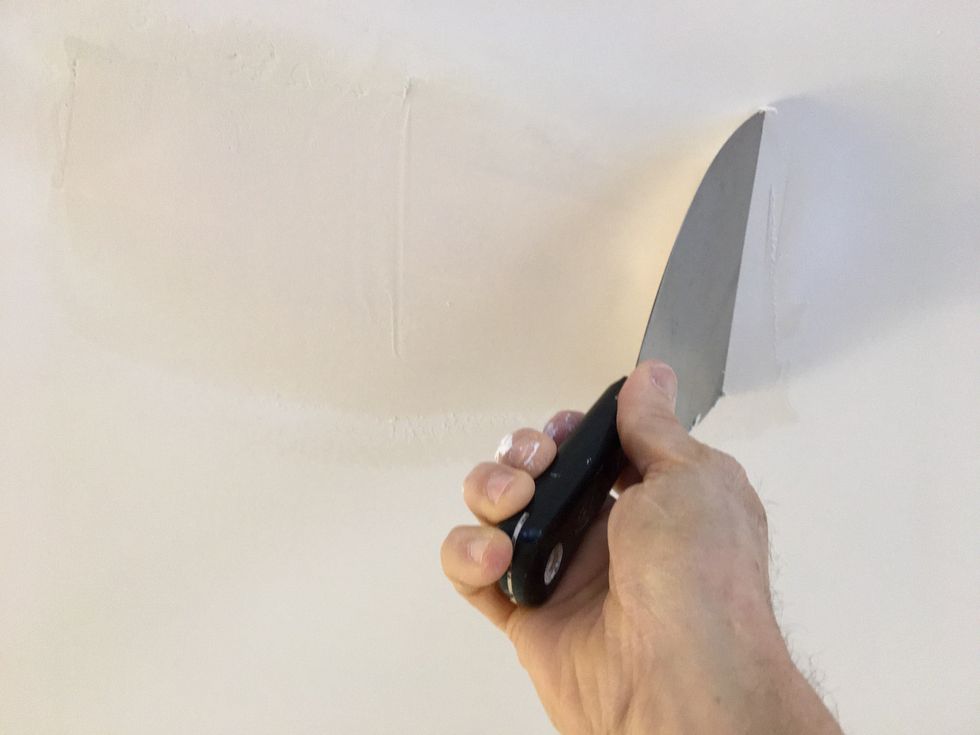
Roy BerendsohnFill the cavity with
DryDex joint compound and press the tape into the compound. Apply a little bit of compound over the tape and smooth the repaired area with a
6-inch drywall knife. DryDex is so easy to work that even a beginner can get the repair paint ready with just the 6-inch knife. If it needs a little touch up, wait until the repaired area is dry before proceeding. If necessary, sand the dried compound smooth and apply only a small amount of compound as needed. Prime the repaired area with Kilz UpShot then paint the entire ceiling.

Roy Berendsohn has worked for more than 25 years at Popular Mechanics, where he has written on carpentry, masonry, painting, plumbing, electrical, woodworking, blacksmithing, welding, lawn care, chainsaw use, and outdoor power equipment. When he’s not working on his own house, he volunteers with Sovereign Grace Church doing home repair for families in rural, suburban and urban locations throughout central and southern New Jersey.

