I Successfully Swapped My ’69 Charger’s Rear Suspension to a Heidts 4-Link
They make it easy for you. I made it hard on myself.

We may earn revenue from the products available on this page and participate in affiliate programs. Learn more ›
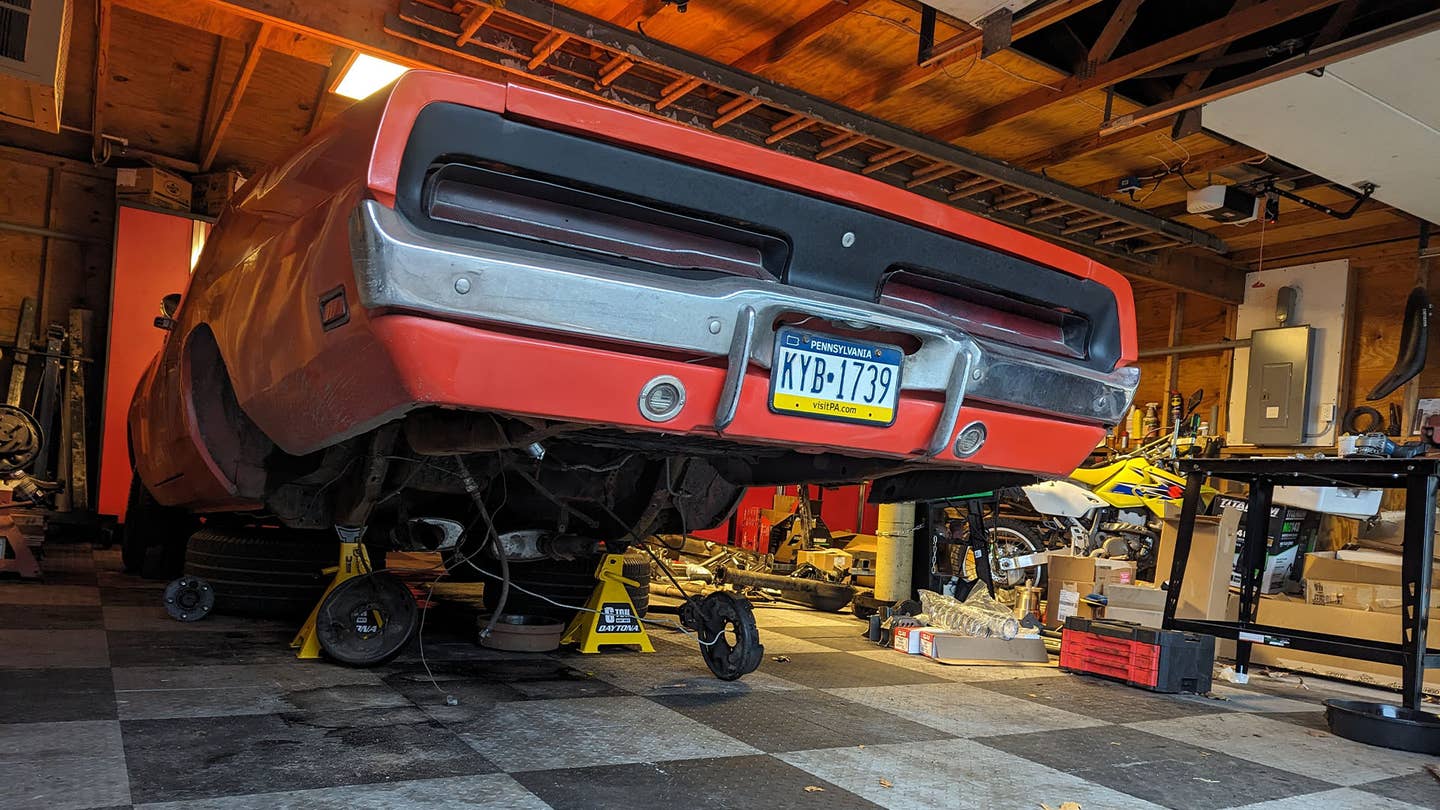
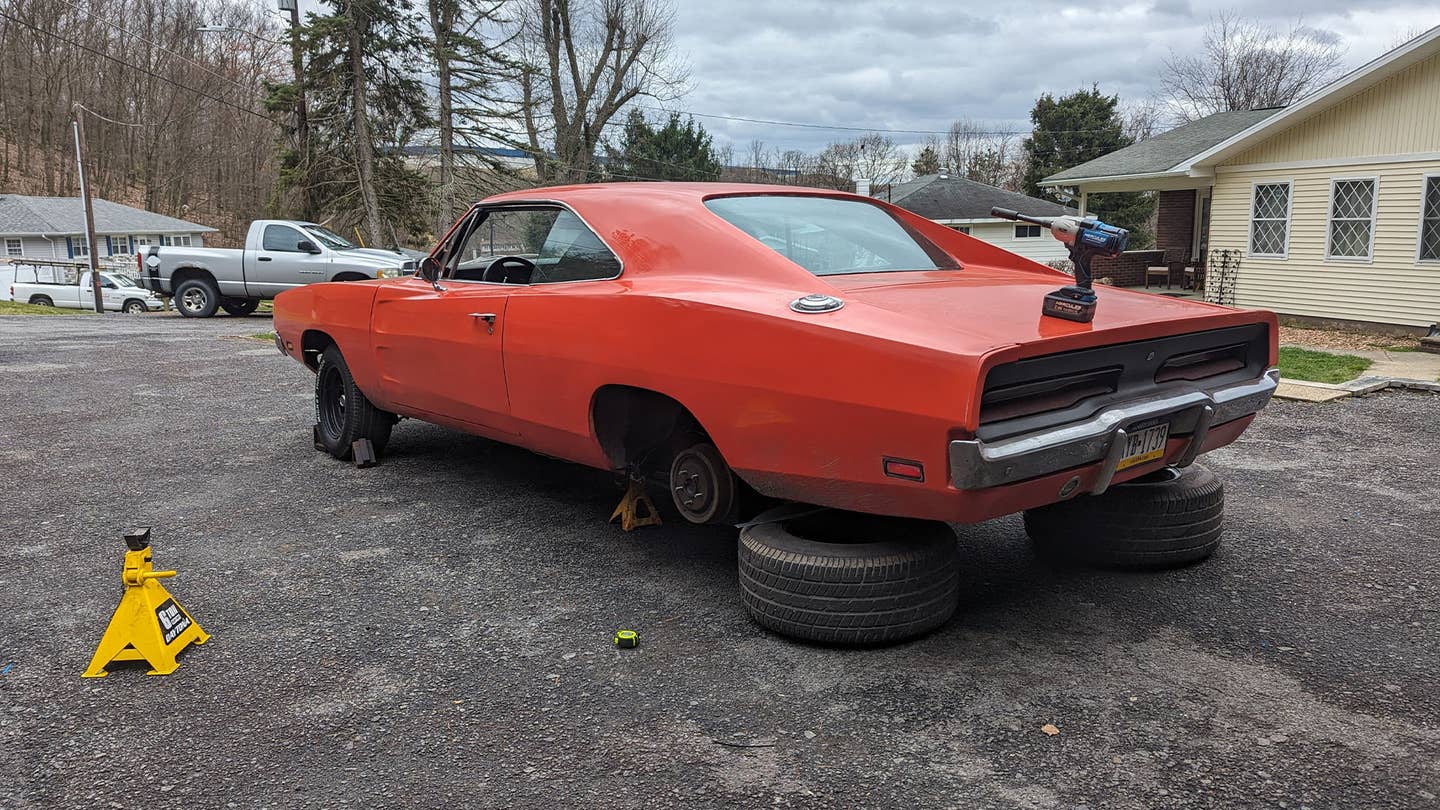
My 1969 Dodge Charger has been my trusted warhorse for a long time now as a daily driver here in the hills of Northeastern Pennsylvania. It's a far cry from a nimble canyon carver, but I've done several mods to help it steer and handle better than stock. I'm proud of it. But that's not stopping me from tearing it apart to answer a big question: Can you get modern, restomod-caliber performance in a vintage muscle car from a bolt-on suspension kit?
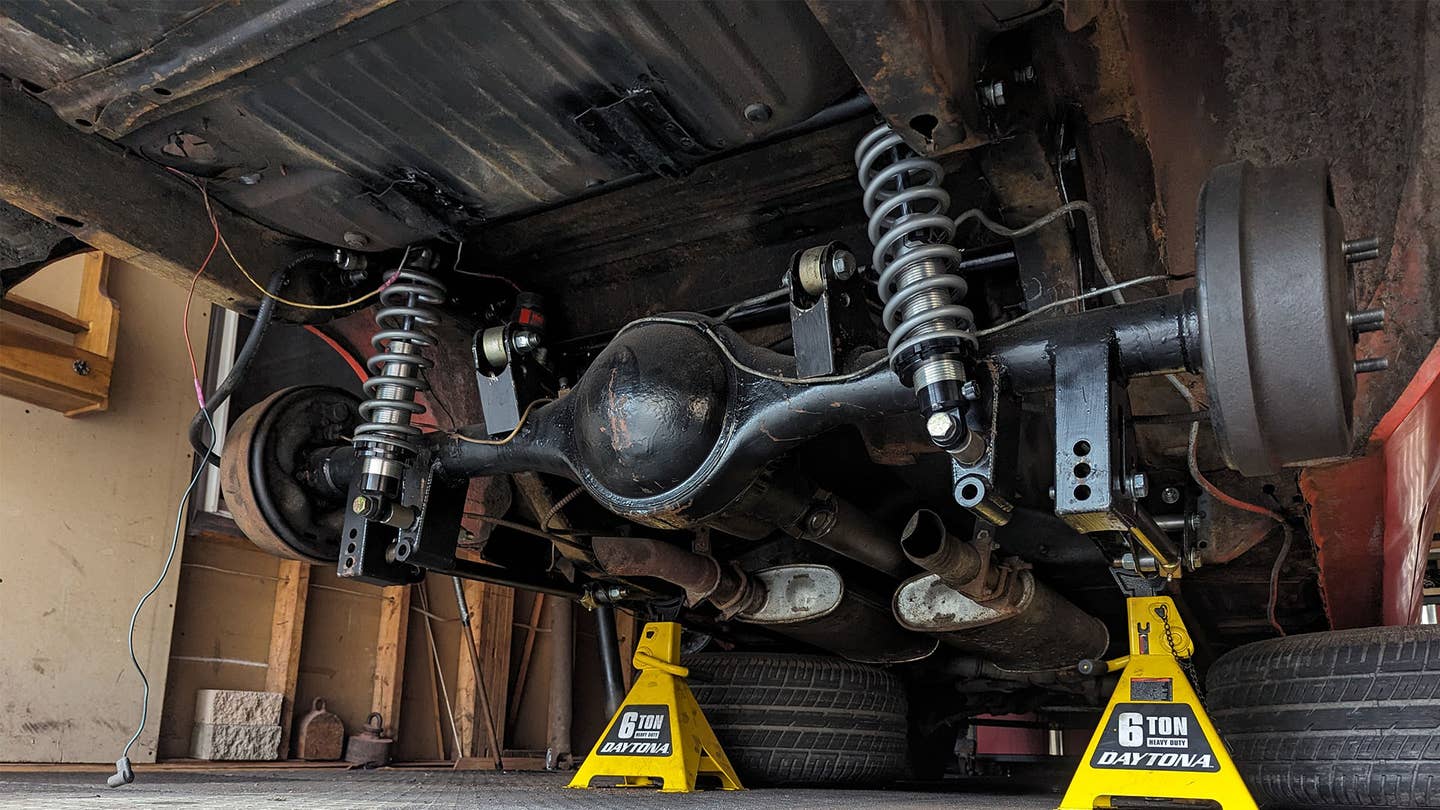
If you're just joining me, I recently linked up with Heidts Suspension to test their new front and rear kits for the '69 Charger. Specifically, I'm installing the company's Pro-G independent front suspension—which does a litany of things to bring the car's steering, handling, and ride quality to modern standards—and out back, swapping the stock leaf springs out for its triangulated 4-link conversion. The rear suspension kit by itself promises to yield some significant improvements... even if installation is more complex than the "bolt-in" label suggests—at least, in this case. And that, my friends, is the subject of today's big update.

Back in the day, a major project like ditching old-school leaf springs would entail countless hours of planning long before you could even think about installing parts. Today, companies like Heidts bundle everything under a single part number that you can have shipped right to your front door. It's convenient to a point—easier, but still not easy. As I type this, my Charger is sitting pretty with the triangulated 4-link setup all buttoned up, so it's time to take you through the process. Funny enough, I also just learned from Heidts that this very well be the first second-generation Charger, outside of their testing car, that's riding on this 4-link. That makes this the first-ever in-depth look at the installation process. Whether you're actually considering one of these kits or you just like to read about other people making potentially bad decisions, you're gonna get a great look at what this entailed.
What’s a Triangulated 4-Link Anyway?
At the risk of over-explaining, I want to give a quick and dirty explanation of what the triangulated 4-link system brings to the table. In its factory configuration, the 1969 Dodge Charger uses an axle-on-leaf suspension at the rear. This setup gets its name from the fact that it uses leaf springs to both support the vehicle and locate the axle.
Axle-on-leaf systems, while dated, have some advantages to them, especially on classic Mopars, where an asymmetrical spring is present. This type of leaf spring setup places the axle forward of center, which offers big benefits, particularly when battling wheel hop. However, the advantages start to dwindle for handling and ride quality. Over a half-century after this car left the assembly line, there are a lot of ways to make improvements. One of them is to move to a 4-link and coilovers, like this kit from Heidts allows you to do.
A 4-link is a suspension system that ties the axles to the vehicle with, you guessed it, four links. These links extend forward of the axle, attaching it to the frame, and are used to control the axle's path of direction as the suspension moves. A distinct advantage of a 4-link is the ability to keep the pinion angle constant, which is something leaf springs do tend to struggle with. The weight of the vehicle is then supported by coil springs. In this case, the kit includes QA1 adjustable coilovers, which adds a layer of tuning to positively impact performance and ride quality characteristics.
There are two types of 4-links on the market—parallel and triangulated. These terms refer to the orientation of the links in relation to one another. Parallel 4-links have both the upper and lower links running parallel to one another. This offers great control over the lateral movement of the axle but lacks side-to-side control, which is why a Panhard bar or a Watts link is used. A panhard bar is the simpler of the two, which is a single link that spans across the axle, connecting it to the frame from a single point. A watts link features two bars connected to the frame and to a single pivoting point in the center of the axle, which is a bit more complicated, but ultimately offers better control over lateral movement.
A triangulated 4-link, on the other hand, has the upper bars tipped inward toward the car's centerline, forming a triangular shape. This produces a situation where side to side motion is is controlled by the links, without need for additional components. This helps with stability in turns while keeping a relatively simple package.
There's a lot of debate over which is the superior system, with leaf springs having a lot in their corner. In my case, where hard launches aren't as much of a priority as good cornering qualities, it's hard to argue against the potential of the triangulated 4-link. Fully adjustable upper and lower links, plus the adjustable coilovers, should definitely help me achieve my long-held goals for this build.
My Love for Chrysler Brings Me Pain Once Again
Heidts Suspension offers this conversion in two configurations. One is designed to work with a Ford 9-inch that’s custom built to work with this system. Aside from some light massaging and driveshaft work, this version would qualify as a true bolt-on. Being a glutton for punishment, I ran in the other direction and decided to use the version that’s designed to work with a factory Chrysler axle assembly—and made things a lot harder on myself.
This version requires the installer to weld the link brackets and shock mounts to the axle themselves. Even though you do get some instructions and the kit is relatively simple in nature, this does add a lot more work onto the project and you need a lot more equipment to see it through. Below is a list of all the tools I used to get the job done.
The Supply List
- Titanium 140 Welder
- Hercules Cordless Grinder
- Daytona 6-Ton Jack Stands
- Big Red 6-Ton Floor Jack
- Pittsburgh Pry Bars
- Milwaukee M12 Right Angle Die Grinder
- Milwaukee M12 Bandfile
- Milwaukee M12 Insider Ratchet
- Milwaukee M18 High-Torque Impact
- Craftsman 230-Piece Mechanic’s Tool Set
- Neiko Master Impact Socket Set
- Klein Electronic Angle Finder
- Johnson Dial Angle Finder
- Komelon Self-Lock Tape Measure
The Easy Parts
This version of the project presents some hard, time-consuming work. I don't want to downplay that. However, the vast majority of steps involved are really easy for anyone comfortable working on their car, and they move along really quickly thanks to the simplicity of the kit and Heidts' instructions. I also was able to smash through the early stages in no time.
The rear differential, driveshaft, and leaf springs all need to be removed to start, which I blazed right through. The rear shock tower also needed to be taken out, which involves dealing with some spot welds, but even that was very little trouble with a band file. I was ready to start bolting parts onto the car with maybe two hours of work.
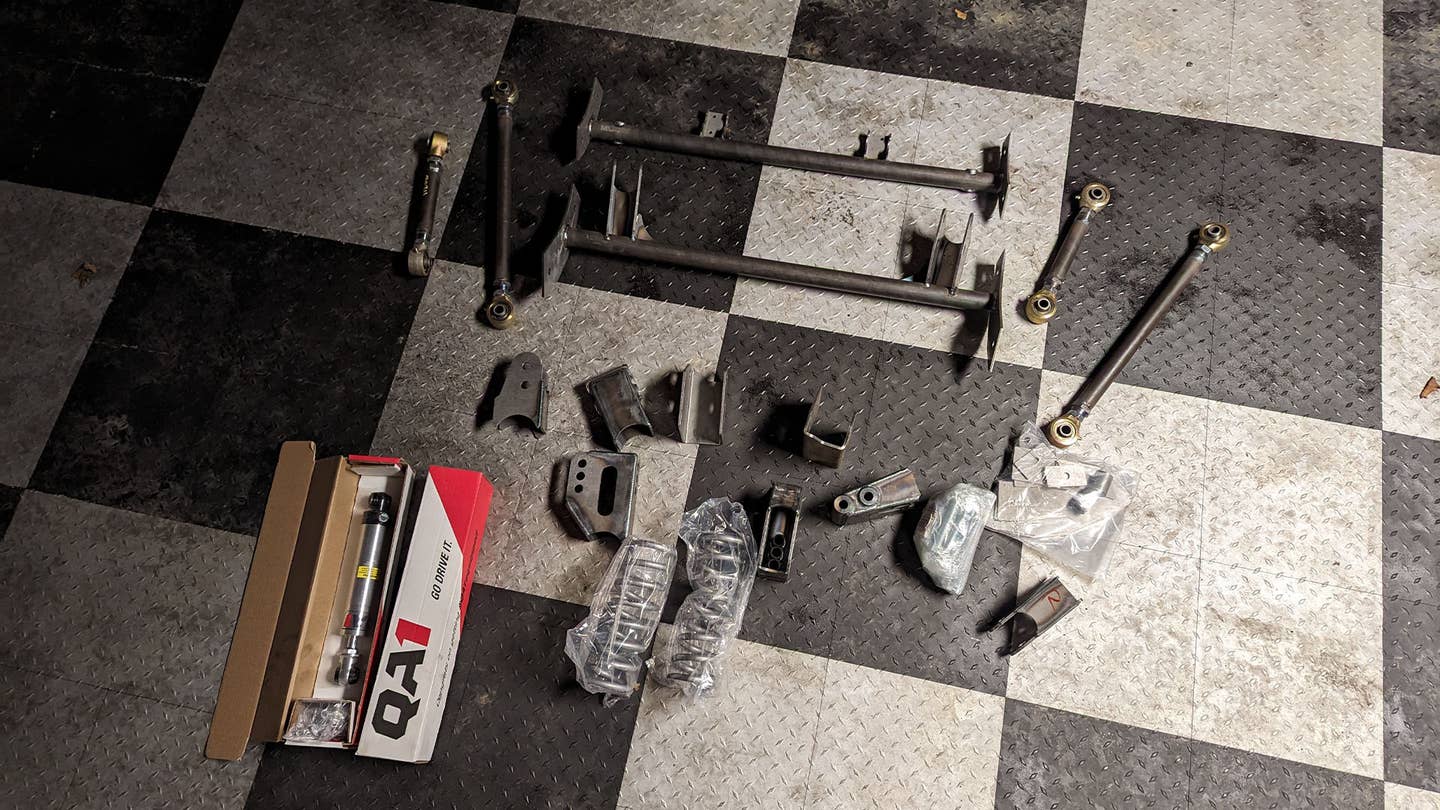
From there, it's a matter of setting the 4-link conversion's shock and upper link cross members in place along with the forward lower link brackets that use the factory leaf spring mounting bolt holes. The only clearance work that's required is cutting down the raised edges on the seat belt reinforcement bracket for the upper link cross member. Other than that, all you're doing is lining everything up and drilling some holes to mount everything in place. The instructions do a great job of laying out the steps involved to make this portion really easy to get through.
Working with smaller, lighter parts than the factory leaf springs is a huge part of what makes some steps so easy. There are a lot of times when you have to set things in the car and pull them out to verify fitment, route plumbing, and so on, and light components make it far less of a hassle than it could be. It's also awesome to know that servicing anything back here isn't going to involve wrestling a ton of big, heavy parts that are covered in grime and whatever else the Pennsylvania roadways spit on them.
Where Things Get Hard
To no one's surprise, the difficulty of this project spikes and things slow way down as you crack into the welding portion. I can’t stress enough that going with a prefabbed Ford 9-inch is going to save you a ton of time and effort, as everything we’re about to talk about is done—you literally just bolt the thing into your car. However, that does come at the expense of the housing plus the center section, axles, brakes, and a new driveshaft. According to Heidts, the housing itself, with all the brackets welded in place sells for $1,854.00. That doesn't include a center section, which can easily sell for another $1,000 to $1,500 if you buy new, and we haven't even figured in the rest of the pieces you'd need to put it all together. Going the hard way and doing the work yourself will genuinely will save you thousands of dollars in this instance.

Heidts does include very helpful instructions for this part of the project. They are not holding your hand, though. All you get in regards to setting up the link brackets and shock mount on your axle is a set of blueprints. It's up to you to figure it out from there, presenting a pretty big learning curve for DIYers like myself who are taking something like this on for the first time. Suffice it to say, anything you do from this point on is totally on you, and you need to be willing to take ownership of whatever comes of it.
That said, it only takes a few minutes of studying the instructions to decide where to start, and that's grinding off the leaf spring perches. Then it’s a matter of cleaning things up and lining up the brackets based on the measurements provided. Distances are given in relation to the axle flange, along with the brackets themselves once they’re located, which is simple enough. Finding the angles is a little more vague, but you can use a digital angle finder to easily set the angles of each bracket based on their relationship to the face of the housing, which are provided in the blueprints as well.
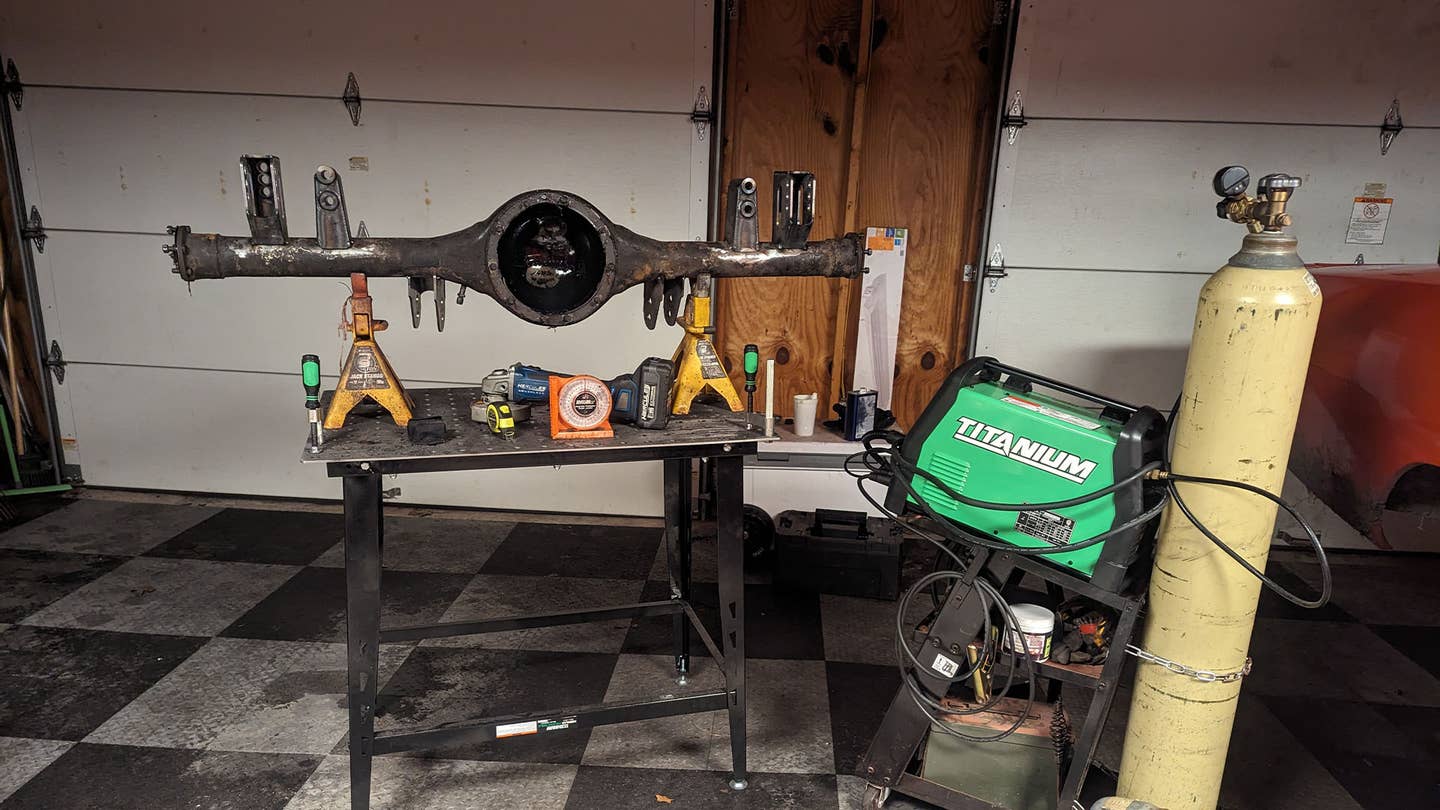
What makes this part of the project especially tedious is that you absolutely need to double check your work. It’s important that you only tack all of the brackets in place as you find their locations, so you can test fit everything into the car. You want to set everything up to see how the axle moves as you cycle the suspension, ensuring everything stays lined up and no binding occurs.
Once you know everything is located properly, you have a big decision to make and that’s whether you want to finish welding things up yourself or take it to a professional if you’re not comfortable doing it. I opted to do it myself, though under the supervision of a friend who's an experienced welder.
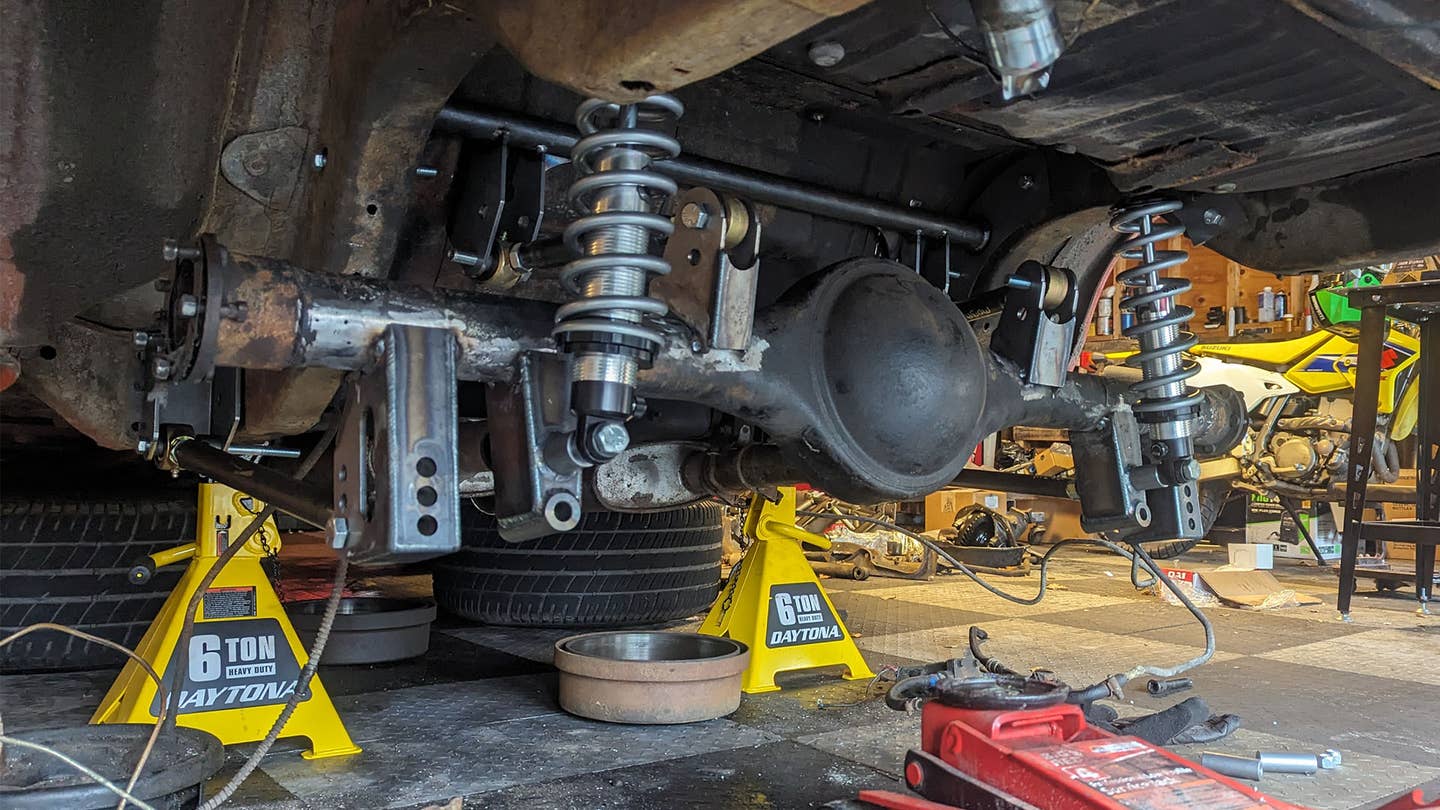
Welding everything up isn’t something I just blasted through. I spent a full day on this alone, being sure to take my time to do it right while moving around to avoid warping the axle tubes. Thankfully, that was the last of the task that really gave the muscle between my ears a good workout. Once welds cooled, all that stood between me and a simple bolt-in procedure was a quick coat of paint.
The Verdict: Easier Doesn't Mean Easy
On a scale of 1-10, with 1 being a basic shock swap and 10 building everything from scratch, I'd rank this at a 7.5. It could be easier. There are plenty of kits that use bolt-in components and utilize the factory leaf spring perches for simplicity. There are also universal systems that give you nothing but the bare minimum in parts, with all of the geometry and figuring on your shoulders. This lands somewhere in between those extremes.
In total, I've got about 40 hours into this project so far, which includes time spent doing a rear-end alignment. Outside of having my buddy lay one weld and watch over my shoulder while I welded, the remainder of those hours were solo, too. I wouldn't suggest getting involved with it if you're a beginner, but the DIYer with an advanced skill level could definitely match my output, and that is a goal anyone can work towards. Of course, I can convince my boss to let me spend normal work hours on this. It could take night and weekend warriors weeks to do the rear.
Welding is by far the most important skill you need. We're talking about suspension components that see a lot of stress; The stakes are high. You really don't want welds giving up when you're really getting after it on the road in a car with lap belts and no airbags. Beyond that, you absolutely have to nail your measurements, but Heidts' instructions, some basic tools, and a heap of patience will get you through it just fine.
But is it worth it? The answer is highly individual. For me, on a personal level, yes. If hard work makes you tick, this is a highly rewarding project to take on. For someone who's just bought their first vintage car and learning how to work on it... I'd say for safety reasons alone, this is outside the scope of what you should be doing. But it's your car. Dive in if you'd like.
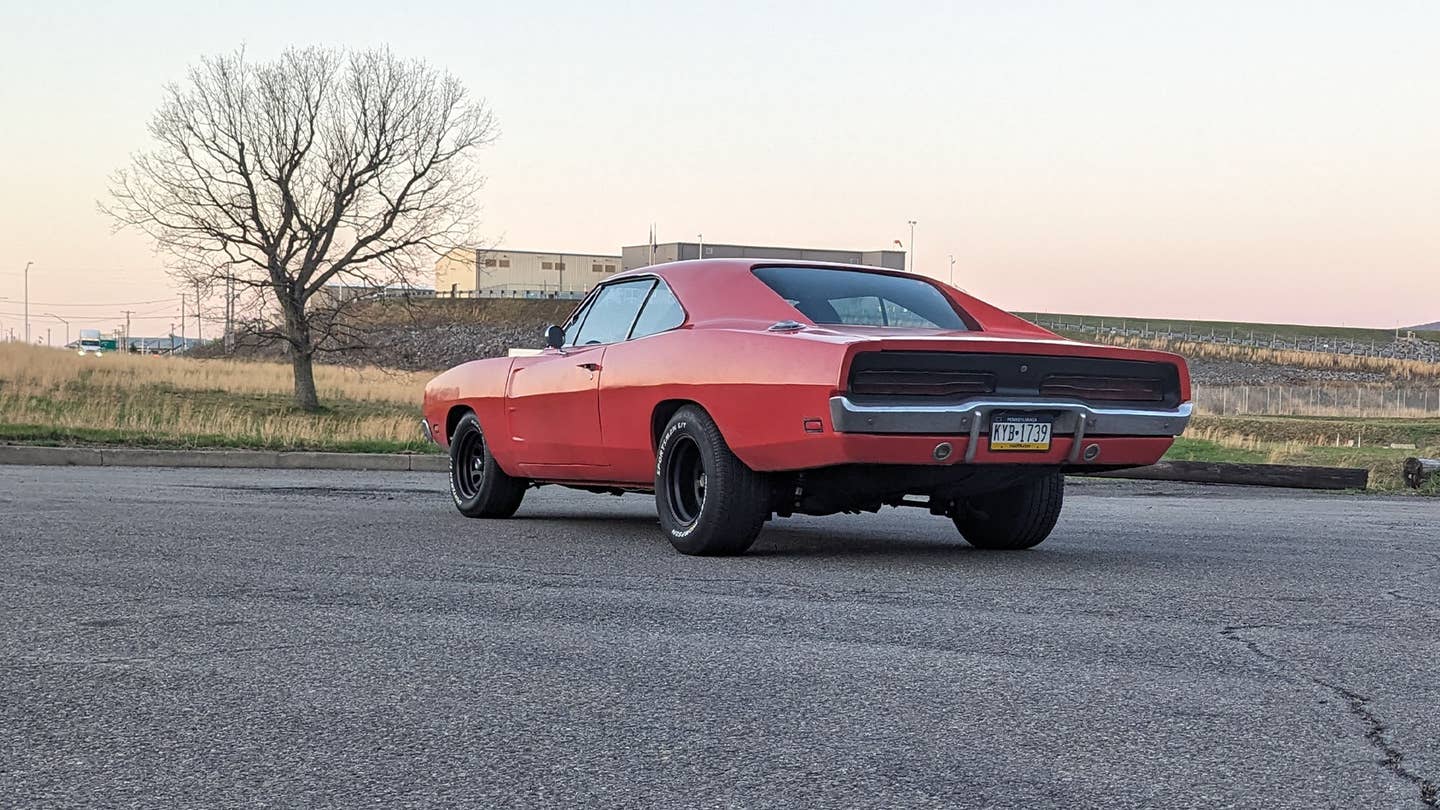
As promised, the new rear suspension has considerably improved the Charger's handling by itself. I've managed to put hundreds of miles on the Charger in the week since this installation, and I'm thoroughly impressed. Even without the rear sway bar, which my leaf spring configuration did have, the car is far better in turns. Ride quality has definitely improved some as well. There are also some things I think could be a bit better, and with some time, I suspect I can really dial in this setup. Stay tuned for the front suspension installation and the full road test in the weeks ahead.
Questions? Hit me up: hank.ohop@thedrive.com