


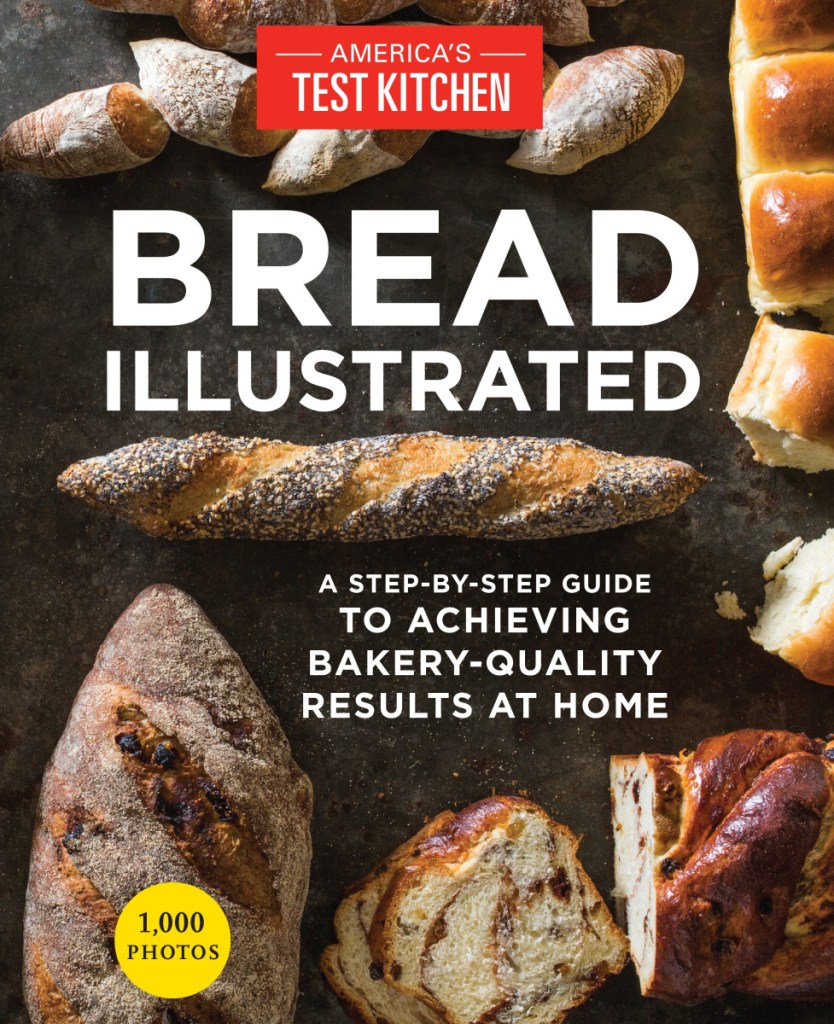
“Bread Illustrated: A Step-by-Step Guide to Achieving Bakery-Quality Results at Home.” By America’s Test Kitchen. $29.95
My fiancé, Sean, and I are getting married in November, and we have now hit a point in wedding planning I have been looking forward to for months: making a gift registry.
We are just grateful our friends and family will be with us on our big day, and we certainly do not plan on asking for fancy china or gold forks or 17 different types of wine glasses. But the hand-me-down kitchen tools in our apartment are a little sad, and I have been lusting after a stand mixer for years. So I had gadgets on the brain when I started flipping through America’s Test Kitchen “Bread Illustrated: A Step-by-Step Guide to Achieving Bakery-Quality Results at Home.”
This cookbook is a 422-page encyclopedia of bread baking. The first 37 pages are dedicated to the proper techniques of mixing, kneading, rising and shaping. There are sections on the science of yeast and even a diagram about gluten. Then come the recipes for every loaf or bun I could imagine. Chapters are sorted by type, like sandwich breads or sweet breads or artisan loaves with perfect sponges. (In bread baking, a sponge is made by combining the yeast and some of the other ingredients and letting the mixture preferment for a spell before continuing with the recipe). Every instruction is illustrated with a picture.
But the very first chapter is “Essential Equipment” – a list of appliances, pans, thermometers and other tools.
“You can make a loaf of bread from start to finish with just your own two hands – but for first-rate results, you’re going to want some equipment,” the introduction reads.
Without that stand mixer, I felt like I had to pass on many of the recipes that caught my eye – spicy olive bread, cranberry-walnut loaf, ballpark pretzels, cinnamon buns, challah. We have a diverse collection of pots and pans, but we definitely don’t own a digital scale or a baking stone. Still, at Thanksgiving I attempted bread baking for the first time with honey-wheat dinner rolls. The recipe instructed me to use a stand mixer, but I used my sputtering hand mixer instead. The resulting rolls had a nutty flavor and a hint of sweetness, which were appreciated at the holiday table. But the rolls were dense and squat, not light and fluffy like the photos from the recipe.
I tried again months later with homemade thin-crust whole-wheat pizza. The recipe called for a food processor instead of a stand mixer. Unfortunately, I was halfway through the recipe when I realized my 2-cup food processor was about 2 cups too small. In desperation and frustration, I poured the whole thing into my fiancé’s antiquated blender and promptly burned out the motor. The dough went into the trash, and a new blender went on the gift registry.
I lamented to our food editor, Peggy Grodinsky, about my failing appliances, and she kindly did not laugh about the blender. But she gently reminded me what the cookbook had already told me: Before stand mixers and instant-read thermometers and food processors, bread was made only by hand for hundreds of years.
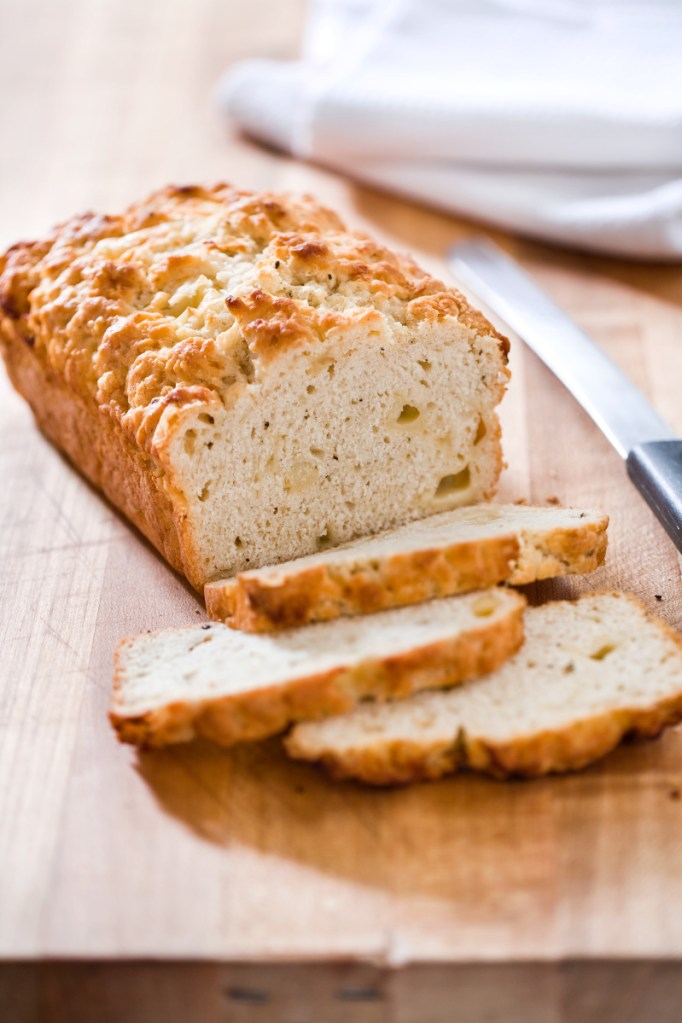
So I rolled up my sleeves and returned to the first chapter of “Bread Illustrated.” This one is titled “Starting from Scratch: 12 Foolproof Breads that Teach the Basics.” The recipes are simple and approachable – brown soda bread, classic Italian bread, easy sandwich bread, flour tortillas. I settled on quick cheese bread for its simple instructions. When my spatula started getting stuck in the dough, I tossed it aside and stuck my hands into my mixing bowl. This recipe, like many others in the book, had a section for identifying the cause of problems with the finished product. For example, if the loaf didn’t rise during baking, don’t overmix the dough next time. I was ready to troubleshoot, but I was pleasantly surprised by the hearty loaf and its bold taste.
I hope I will be making bialys and babka soon, but I have resolved to work my way through the basics first, with or without a stand mixer.
(It’s still on our gift registry, though.)
Megan Doyle can be contacted at 791-6327 or at:
mdoyle@pressherald.com
Twitter: megan_e_doyle
QUICK CHEESE BREAD
Makes: 1 loaf
3 ounces Parmesan cheese, shredded (1 cup)
2-1/2 cups (12-1/2 ounces) all-purpose flour
1 tablespoon baking powder
1 teaspoon salt
1/8 teaspoon pepper
1/8 teaspoon cayenne pepper
4 ounces extra-sharp cheddar cheese, cut into 1/2-inch pieces (1 cup)
1 cup (8 ounces) whole milk
1/2 cup (4 ounces) sour cream
3 tablespoons unsalted butter, melted
1 large egg
1. Adjust oven rack to middle position and heat oven to 350 degrees. Grease 8-1/2-inch by 4-1/2-inch loaf pan, then sprinkle 1/2 cup Parmesan evenly in the bottom of the pan.
2. Whisk flour, baking powder, salt, pepper and cayenne together in large bowl. Stir in cheddar, breaking up clumps, until cheese is coated with flour. Whisk milk, sour cream, melted butter and egg together in second bowl.
3. Using rubber spatula, gently fold milk mixture into flour mixture until just combined (batter will be heavy and thick; do not overmix).
4. Transfer batter to prepared pan and smooth top. Sprinkle remaining 1/2 cup Parmesan evenly over surface.
5. Bake loaf until golden brown and skewer inserted in center comes out clean, 45 to 50 minutes, rotating pan halfway through baking.
6. Let loaf cool in pan for 15 minutes. Remove loaf from pan and let cool completely on a wire rack, about 3 hours, before serving.
Send questions/comments to the editors.

Success. Please wait for the page to reload. If the page does not reload within 5 seconds, please refresh the page.
Enter your email and password to access comments.
Hi, to comment on stories you must . This profile is in addition to your subscription and website login.
Already have a commenting profile? .
Invalid username/password.
Please check your email to confirm and complete your registration.
Only subscribers are eligible to post comments. Please subscribe or login first for digital access. Here’s why.
Use the form below to reset your password. When you've submitted your account email, we will send an email with a reset code.