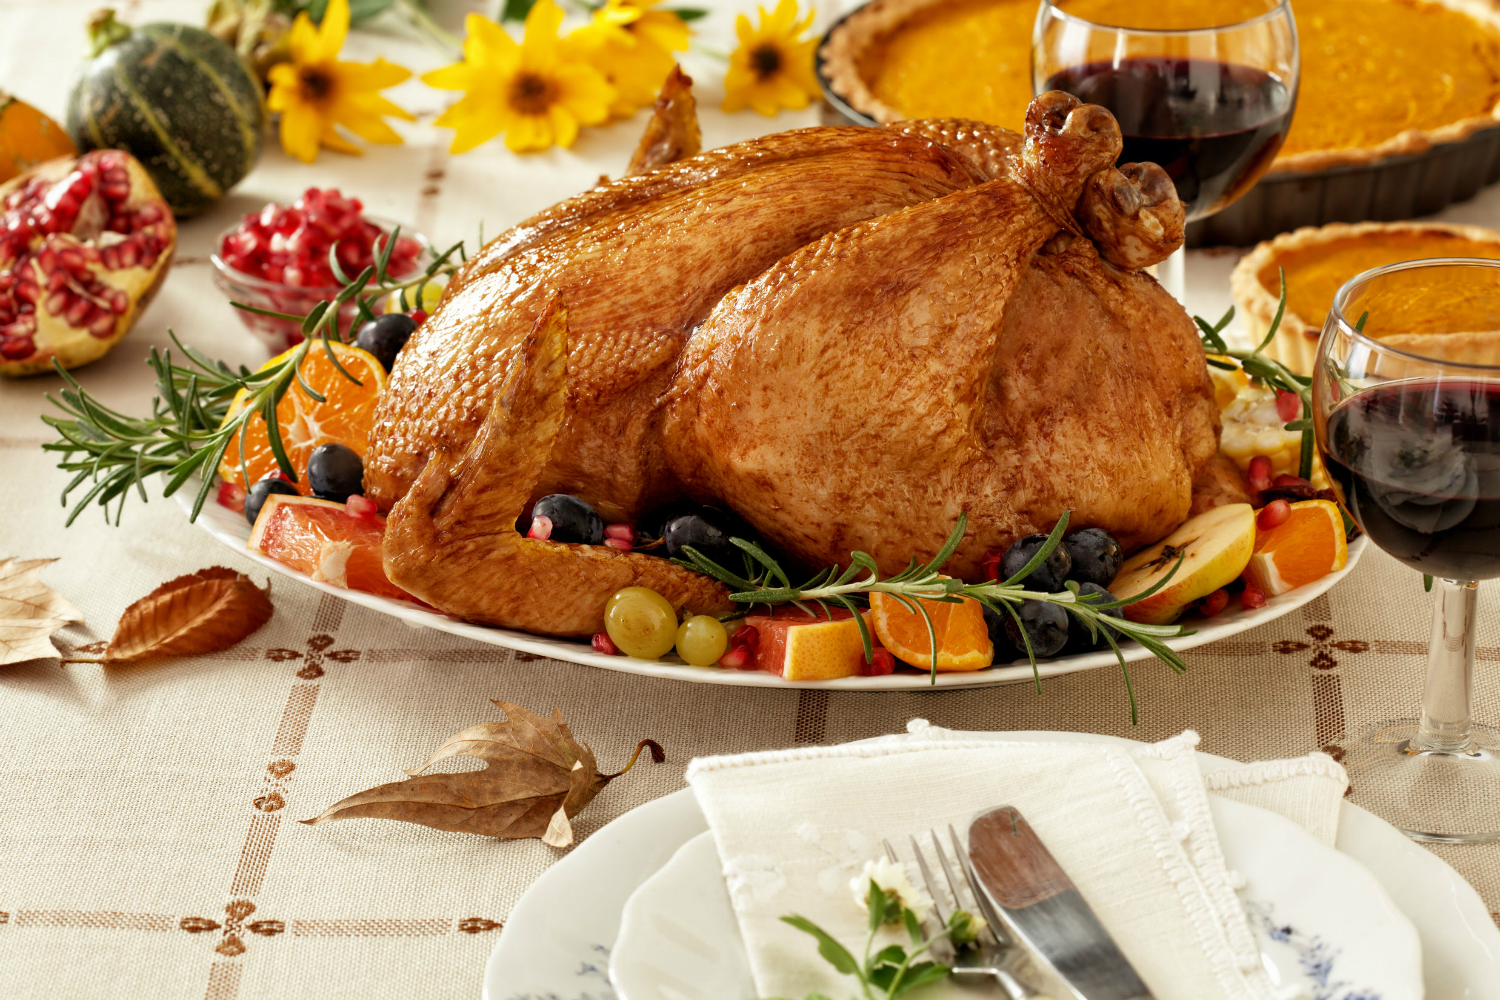
Preparing a perfectly cooked Thanksgiving turkey is not exactly an easy feat. Many turkeys come out too dry or too bland. A good turkey is moist, the meat is flavorful, and the skin is crispy and well-seasoned. How do you achieve the perfect turkey when you’re busy cooking a buffet of side dishes, desserts, and dinner rolls on Thanksgiving? You could try cooking your turkey sous vide.
Sous vide turkey, when cooked at lower temperatures, loses less moisture than the oven roasted alternative version. The seasoning infuses into the meat, and you end up with a tender, flavorful turkey that’s evenly cooked throughout. If you decide to sous vide your holiday bird, it’ll make it so the turkey isn’t monopolizing the oven all day. Sous vide also provides a bit more freedom because you can cook it for a much longer range of time than if you were to cook it in the oven, and you won’t mess it up by leaving it in the water bath for an extra hour or two. On the other hand, there are a few hurdles to overcome when cooking a turkey sous vide. The skin is perhaps the biggest one, as the skin’s texture is also moist after it’s been in the water bath. You can solve this problem by removing the skin beforehand and cooking it in the oven separately, or by quickly roasting or frying the turkey after you sous vide.
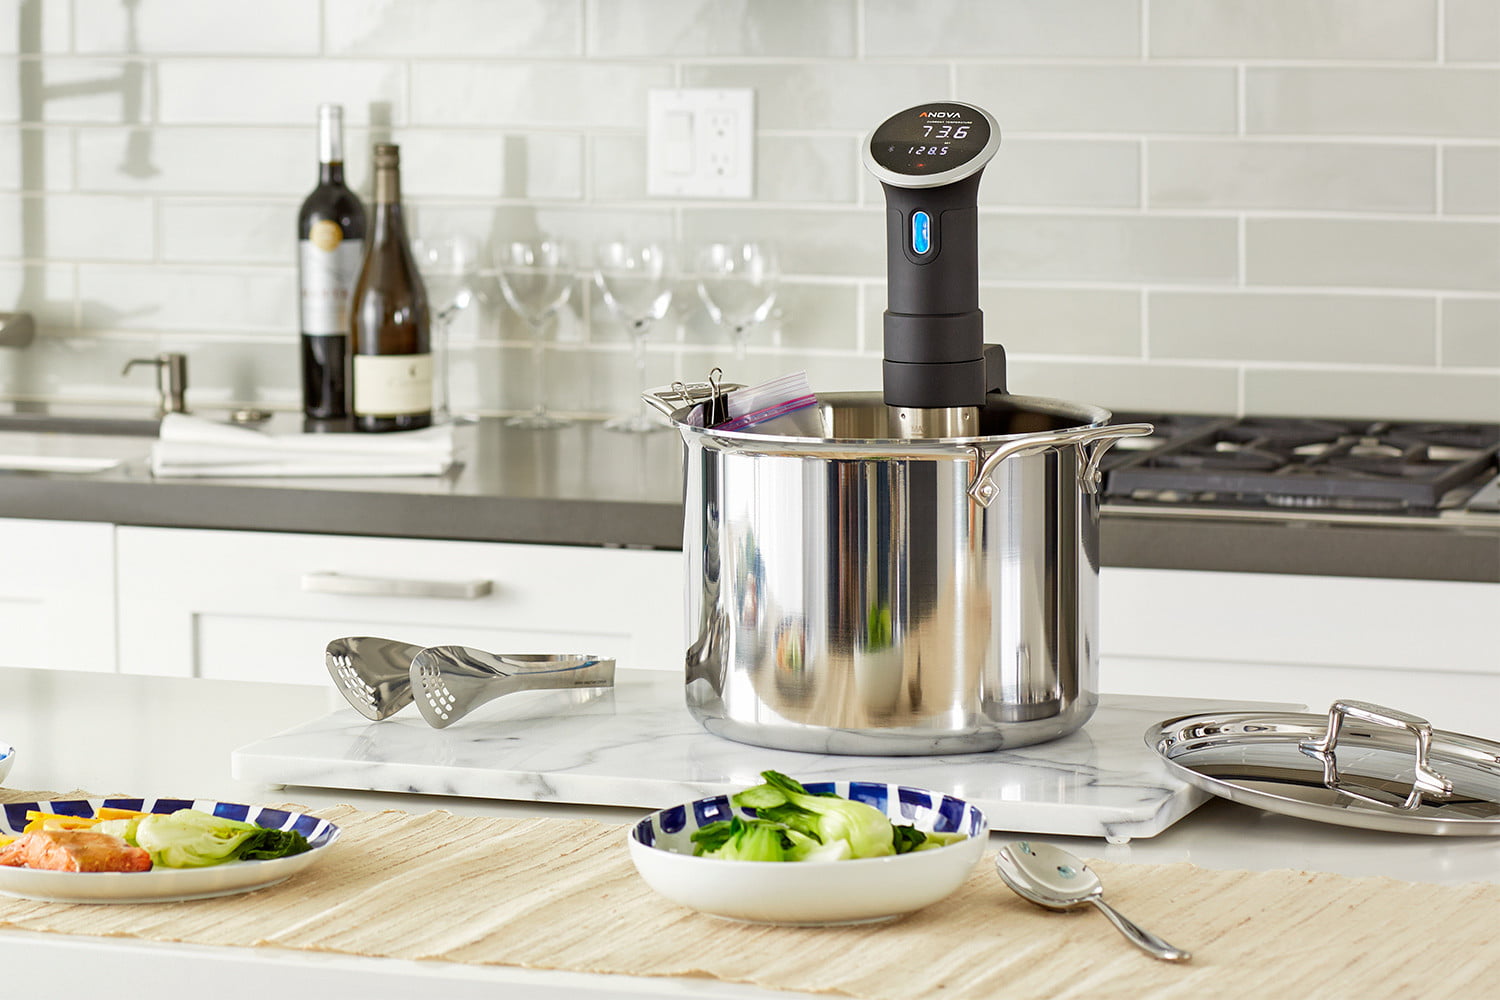
There are several different ways to sous vide a turkey. Some of the methods are pretty painless, while others are probably more trouble than they’re worth. In case it’s not obvious, you’ll need a sous vide machine of some kind (here are some of our favorites). This is our favorite method of how to sous vide a turkey.
What you’ll need
- A turkey (10-15 lbs)
- A few 2-gallon zipper bags
- A sous vide machine
- A large container for your water bath
- Your choice of seasonings (we used 1 tsp kosher salt and 1 tsp fresh ground pepper, but you can also add herbs, a bit of garlic powder, or other seasonings)
How to Sous Vide a Whole Turkey
Step 1: Clean the turkey. Remove the gizzards, clean the inside and outside of the turkey, and pat dry.
Step 2: Cut the turkey into parts (two breasts and two legs). This is a pain, and it takes a bit of prep time. It does, however, save you time at the dinner table because carving is much easier. Cutting up the turkey in advance also allows you to cook the breasts and legs at different temperatures. After you finish cutting, it’s a good idea to save the leftover bones and meat for gravy.
Optional: For best results, remove the skin from the turkey to crisp in oven later.
Step 3: Prepare your water bath. Fill a large container with water and heat your water bath to 145 degrees. If you want your turkey breasts even more tender, you can cook them at lower temperatures. According to ChefSteps, you can cook turkey breast at 131 degrees, and it’ll be ready in around eight hours.
Step 4: Season your turkey. Rub seasoning all over your turkey. Keep in mind that the seasoning will infuse into the meat much more than it would if you were roasting, so don’t over-season.
Step 5: Bag your turkey. Place the legs in one bag, and place the breasts in a separate bag.
Step 6: Sous vide the turkey. Cook the turkey breasts and legs in the 145 degree water bath for 8 to 12 hours. Ideally, you can place it in the water bath the night before thanksgiving and leave it overnight.
Step 7: Finish the turkey. Crisp the skin by frying the pieces or by broiling them in the oven on high for 5 to 10 minutes.
Optional: For best results, take the skin you removed before you sous vide the turkey and pan fry it, or roast it in the oven on a baking sheet lined with foil.
Step 8: Enjoy your moist and delicious sous vide Turkey.