Disclosure: This content is reader-supported, which means if you click on some of our links that we may earn a commission.
WordPress is a prolific platform, but sometimes, it can drive us a little crazy. While it’s incredibly user-friendly in general, everyone has dealt with their share of WordPress errors. Not fun.
Luckily, there are tons of ways you can solve these problems—some by doing some basic troubleshooting of your own.
The important thing here is to understand the source of the problem as most WordPress issues stem from relatively small and easy-to-deal-with issues. Once you get that sorted, you’ll successfully have your WordPress website back to normal.
In this guide, we’ll show you how you can identify and fix WordPress errors easily and effectively.
Ready? Let’s begin.
Why Identifying and Fixing WordPress Errors Is So Important
One of the worst things to happen to a website owner is encountering an unexpected error with your site. And considering how varied WordPress errors can be, you must know how to diagnose and correct them.
Otherwise, you’ll have an ill-functioning—or even a non-functioning—website on your hands that’s just bad news. You may end up with an obsolete website, experience quick766ly plummeting conversions or sales, or fail to deliver a satisfying customer experience.

When you see an error establishing a database connection, for example, the usual causes are either that the server is down, you have a corrupted database in your hands, or you’re simply entering the wrong login potentials. While these are easily fixable problems, you can’t ignore them, hoping they’ll rectify themselves—you have to take immediate action.
Similarly, you may encounter other issues like 404 Not Found Error or the “White Screen of Death.” Both these errors affect the front-end, which means that even though the content is there in the server, it cannot be reached. And what’s a website without its content, right?
You have to take immediate action, ranging from deactivating all plugins and then reactivating them, rolling back the theme, changing links, or fixing WordPress rules.
Basically, you have to act based on the types of WordPress errors you encounter.
If your website is down or doesn’t work properly, you lose revenue. Plus, there’s a big chance your visitors will go to your competitor.
What makes matters worse, sites that went down experienced a permanent abandonment rate of 9% on an average, according to Akamai. In fact, lost reputation—online and offline—is one of the most common consequences of outages.
Let’s also not forget that WordPress errors can also compromise your website security, with hackers always attempting to carry out cybercrimes like DDoS, DNS spoofing, and DNS poisoning.
This is why you must do everything in your power to identify and fix WordPress errors ASAP.
Quick Tips to Fix WordPress Errors Today
The customizable and intuitive WordPress dashboard doesn’t guarantee immunity from mistakes. Even the most innocent errors can expose your website to vulnerabilities and security threats.
The good news is you can prevent them by taking a few steps. Let’s take a look.
Install a Cache Plugin
Every WordPress website must have a cache plugin. This tool maintains copies of web pages that are frequently accessed, ensuring faster loading times for users.
When it comes to selecting a plugin, there are certain factors that you need to take into account. Firstly, you should compare the advantages offered with the relative cost incurred and whether the plugin is updated frequently. Secondly, don’t rule out the free caching plugins right away as they come with their own set of benefits.
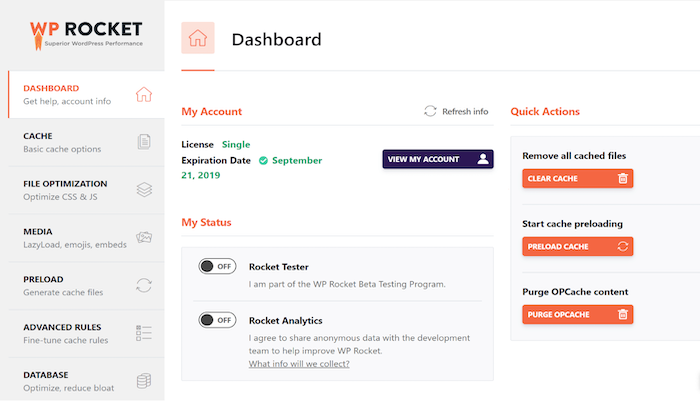
We highly recommend WP Rocket, W3 Total Cache, and WP Super Cache, but you can always choose one that fits your needs better.
Install WordPress Updates Regularly
As a beginner to WordPress, the term “update” can be a bit intimidating. However, you must embrace new updates as soon as they are released to thwart any potential hacking cases of your site.
Your initial reluctance to update your website can make the process harder at a later stage. Besides, there’s no need to wait as the process isn’t difficult, and all it involves is a single click. Proper theme and plugin coding also ensures the smooth functioning of your site.
In other words, you should make a point to update your WordPress as soon as you learn updates are available, to maximize your site security.
Managing your WordPress site is also important, along with installing updates for keeping your website upgraded for adherence to the latest performance and security benchmarks.
That said, make sure you have backups in place before you update as security assurance.
Avoid Editing Your Site in Live Mode
Live site editing, whether you’re a beginner or an expert, is problematic. Making sure you avoid it will minimize any abnormal behavior on the live server, which, in turn, will protect your brand’s credibility, popularity, and SERP ranking.
You must always test any changes you made to your WordPress website in a staging environment. Install WordPress as a local copy on your computer, and then carry on with the necessary editing on your site.
Once you’re finished, upload the site copy directly to the live server from the localhost.
Before uploading the change to the web version, make sure you test its functioning in the staging area. This subdomain restricts access but offers a platform for testing all modifications made on the website. Testing out the newly incorporated functions or any other amendments is also possible.
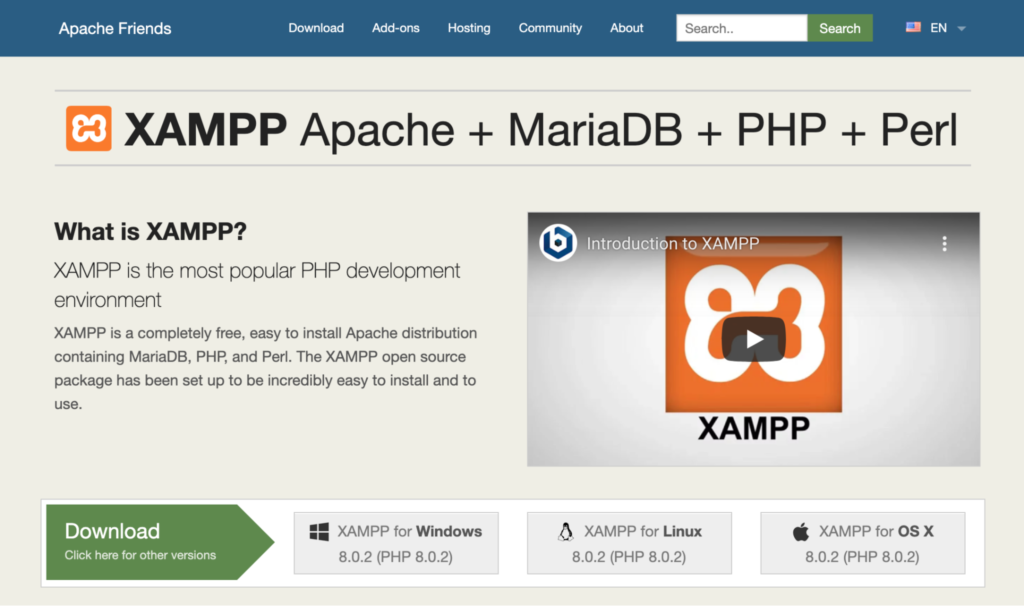
You can use local servers like XAMPP or Wamp to create the staging environment and then finally upload the edited website to the live server. Also, don’t forget to change the localhost links after uploading to the live server.
Update the Host PHP
One of the most popular scripting frameworks, PHP underlies most online websites.
Suppose you haven’t upgraded your website to the latest PHP version. You may encounter problems when installing the latest WordPress plugin since the outdated script can create challenges during login installation.
The biggest issue here is this can severely compromise your site performance.
It’s due to this that updating your PHP to the most recent version is so important. Just go to PHP config or PHP settings—the menu name will vary depending on the host—after logging in to your hosting account to track the version of PHP over there and upgrade if needed.
Here’s a quick step-by-step guide to updating the host PHP:
- Login to cPanel and check for the Software section.
- Click on PHP Configuration or PHP Settings.
- Select Update.
If you face any difficulty when updating PHP, you can always contact the support team of your host for more guidance.
Take a Backup of Your Site
Taking a backup of your WordPress website can be tedious and complex for some. In fact, when compared to an update, the process is the exact opposite. But taking regular backups is worth the trouble.
Your site can crash unexpectedly whenever you make a significant change in it. A glitch is also possible when updating your WordPress themes or plugins.
Considering how costly downtime can be, you have to take immediate measures to get the error fixed. When you have a backup in place, you can easily roll back your website to a previous functional date.
The best way to do this is to install and activate a free WordPress backup plugin that can automatically take backups at scheduled durations on your behalf.
Long-Term Strategies for Identifying and Fixing WordPress Errors
Troubleshooting WordPress errors can be avoided if you stick to a site maintenance schedule. Below, we’ve listed a few steps you should carry out periodically for a smooth functioning website.
Get a Reliable Web Hosting Provider
Getting a reliable web hosting provider should be right on top of your to-do list as soon as you decide to create a WordPress website.
Opting for web hosts that offer cheap services can be tempting, but it’s only worth it if they don’t cause a dent in your site security and, in turn, your popularity.
You see, your website or blog is already a powerful medium for attracting potential customers and keeping current customers engaged, which is great. However, simply focusing on compelling content isn’t enough.
You have to access the hosting requirements before opting for the most expensive plan. Make sure your prospective web host doesn’t undermine your website security, user-friendliness, and responsiveness.
At the same time, don’t opt for the costliest plan.
Instead of solely thinking about your wallet, you must make a decision based on your site’s goals and the amount of traffic you experience in the long haul. Do thorough research before making a decision.
Clear Your Cache
Here, you have to deal with two types of cache: Browser cache and WordPress cache.
The whole point of a cache is to make loading times faster by downloading a version of your site.
However, your browser may not realize a WordPress site or post has been updated, and continue uploading the previous version instead of the modified one. To avoid this problem, you should clear your browser cache to see the latest version of your page.
The same goes for your WordPress cache.
If you decide to follow our advice and install and activate a WordPress cache plugin, you may see a cached version of your website. Moreover, a few top WordPress hosting companies like Bluehost and Siteground also have their own caching to improve performance.
Therefore, you should clear your WordPress cache to be sure that your website serves the latest version.
Keep an Eye on Your WordPress Plugins and Themes
Conflicting plugins is one of the most common reasons for WordPress errors. It’s why deactivating your WordPress plugins to find the culprit, and then reactivating the plugins can solve the problem.
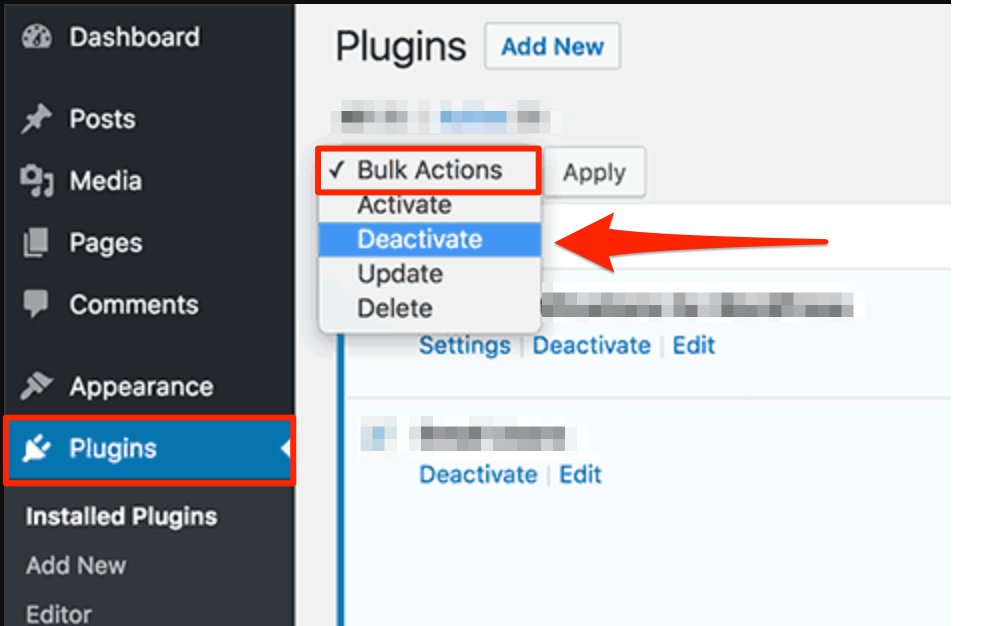
Here’s what you need to do:
- Click on Plugins on the main admin dashboard.
- Select all the plugins, and then click on the Deactivate button from the Bulk Actions dropdown.
- Click on the Apply button to deactivate all the selected plugins.
You can reactivate the plugins after finding the glitching plugin.
It’s the same for your WordPress themes. You can find out whether your theme is causing an issue by switching to a default WordPress theme like Twenty Twenty.
If it was your theme causing the error, you should be able to log into your WordPress site easily.
Scan for Malware and Backdoors
If you have any reason to believe your WordPress site is affected by malware, you can scan it with website security monitoring tools for WordPress site owners.
While there are plenty available, we highly recommend using Sucuri because not only is it feature-rich but also incredibly efficient and reliable.
Put a WordPress Debugging System in Place
You can activate WB-DEBUG to log problems on a WordPress site.
You can find WP_DEBUG in the wp-config.php file. Considering how easily this constant can trigger the “debug“ mode in WordPress, it’s a surprise that most developers forget to do this. Its log can record all site activities and also troubleshoot potential issues.
You can also install WordPress debugging plugins. Here’s a list of two of the most notable tools you can try:
New Relic
New Relic is the more robust debugging tool that helps you monitor the user experience and analyze and improve your website performance. You can also use this premium tool to map your WordPress architecture and detect anomalies before they take place.
Query Monitor
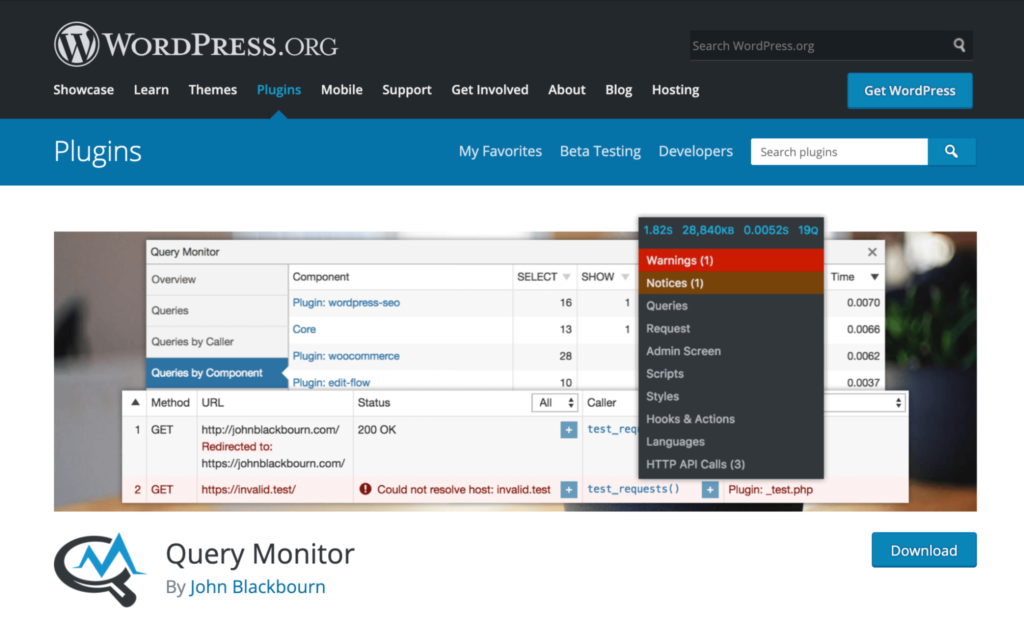
Query Monitor provides a developer tools panel on WordPress that lets you enable database queries, HTTP API calls, PHP errors, hooks & actions, stop editor blocks, enqueued script and style sheets, and so on. It’s highly efficient, helping you ensure the smooth running of your website.