
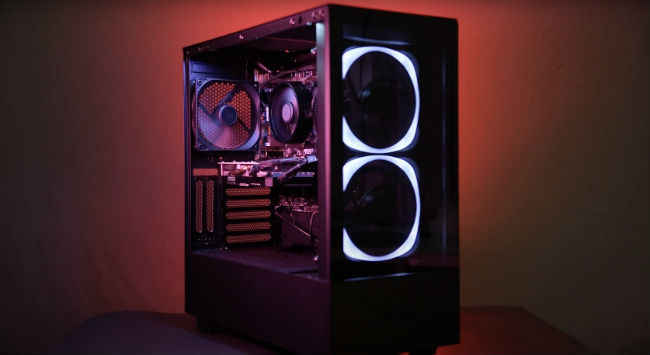
Welcome to the sixth article in the “Build Your Own PC” series, powered by AMD Ryzen and Radeon. If you’ve been following along you’ll know that so far we’ve covered the planning, purchasing, assembling and even the initial setup of our system. In this article we’re going to show you how to ensure that every component in your system is running just the way it should.
But before we get into that, if you’re new to this article series and haven’t seen our previous articles, we’d highly recommend you go check them out. All of the articles have been listed below.
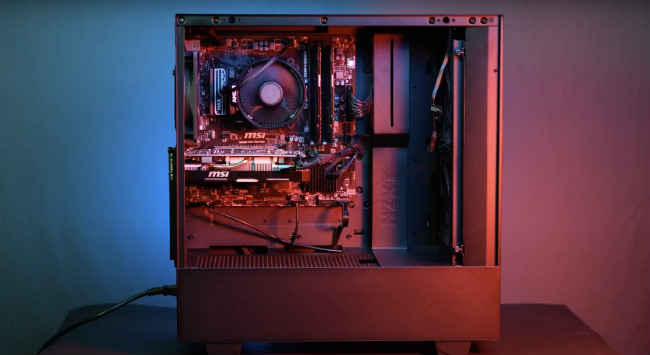
So, you’ve got your system built and you’ve breathed life into it by installing your operating system and configuring it the way you need to. It’s all fine and everything is functioning as expected – unless it isn’t. Sometimes, even the most carefully done builds can lead to issues that cause certain components like your CPU or Graphics Card to heat up, which will cause them to underperform. In certain cases, not identifying and fixing these issues soon can even cause damage to your hardware in the long run. Now, before you freak out about your newly completed build, let us assure you that there are absolutely reliable ways to identify common issues. Fixing such issues isn’t rocket science either. The underperformance can be identified by benchmarking your system and comparing against similar builds online. But before we do that, let us understand what this exercise means for you.
How to benchmark your system
When you fire up your newly built system and something just doesn’t feel right, it is time to benchmark. In fact it’s a good practice to benchmark a new rig even if stuff feels fine. Best case scenario you’ll have some impressive numbers to marvel at, if not you’ll be able to fix any issue if it exists. Now some issues to have tell tale signs while others don’t. But we can take steps to narrow down the problems using suitable benchmarking or testing tools. Here’s how to go about with some of the critical components.
Your CPU
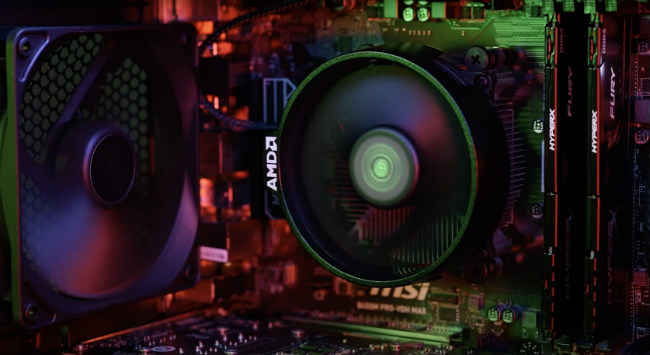
Let’s start with the CPU. There isn’t a “subtle” indicator of CPU issues on a newly built system other than overheating, which we’ll tackle later. For now let’s find out how to benchmark it anyway. While there are many options to choose from, one popular tool is Geekbench’s CPU benchmark. Running the benchmark will give you a definite score that you can compare against expected scores for your CPU model on their website. A lower than expected number is a sign of trouble.
Your GPU
Even after building your dream gaming PC, when you play it you’re not getting the expected framerates in your games or there’s stuttering happening 5 minutes into launching the game… It’s time to check your GPU. Just like your CPU, you can use a popular benchmarking software like 3D Mark (their basic version is free). Running it, or any other other GPU benchmark of your choice, will take your system through several visual tests, after which you’ll get the scores. Once you have the scores, you can also compare them against the numbers that other people have clocked for the same model on their respective websites.
Your HDD/SSD
Even the most powerful CPU and GPU can feel sluggish if something is wrong with your storage drives. Unusually long load/boot times are a telltale sign. A quick way to check for trouble on this front is to check file transfer speeds and verify them against the promised or expected real world values for your drives. However, you can also run dedicated benchmarking software like CrystalDiskMark or HDTach. You’re looking for values like sequential read, random access and interface burst speeds that match your expectations based on product reviews, or claimed speeds.
Overall
If each of these individual tests feel like a bother, you can go with an overall test like UserBenchmark which can give you an easy, overall view of your system’s performance with various components tested by a single application and then the results displayed in your browser. These results show a single breakdown of how different components fare against others with the same hardware.
Identifying lower benchmark scores is one side of the task at hand. If your system is underperforming, one of the most common reasons can be overheating, which causes components to throttle performance to cool down. While some of the tools covered already also capture thermal performance, it might take a bit more effort to identify wrong values and solve for them. But don’t worry, we’ve got your back. Let’s start with your CPU once again.
How hot should your CPU be?
The CPU at the heart of your entire system needs to be performing optimally for everything else to work at its full potential. In case it is not, one of the clearest indicators is the temperature of your CPU. To identify any issues through that, first, we need to understand what the acceptable temperatures are for a CPU.
Before we go into the values, let's quickly get one thing aside – there are two states your CPU can be in – idle and load. In the idle state the CPU is not being substantially used by any task or application, and when under load it’s the exact opposite – the CPU is being driven to its limits. Quite obviously, when it is under load, especially if the load is high, its temperature is expected to rise.
In the idle state, your CPU’s temperatures should be around or better yet under 50 degrees. On a normal, desktop system under load, you will still want to see CPU temperature readings under 80 degrees celsius. While that’s not a strict upper limit, it’s optimal for your CPU health. Temperatures might climb if the form factor is more towards the restrictive side. To talk about absolute limits, anything above 95 degrees is touch-and-go, and most CPUs will begin to cut down on performance at this point, and maybe even turn off your system as a fail safe. Now, let us move on to the next part.
How to check your CPU temperature
While there is a way to check your CPU temperature even in the BIOS. This is useful if your PC is just at the POST stage and you don’t have an OS installed yet. But for now let’s assume you’ve installed Windows and will be able to use a third-party application. A few examples are Core Temp, and CPUID HWMonitor. Most of them are quite easy to use. For example, just firing up Core Temp gives you a simple interface which shows you, among other things, the current, minimum and maximum CPU temperature it has encountered. If you’re going with Core Temp, just avoid installing the extra freeware that it tries to push. If you’re using an AMD CPU, you can also go with Ryzen Master Utility that is officially provided by AMD for the purpose of monitoring your CPU.
While a simple gaming or work session can give you a fairly good idea of the temperature range, you can choose to be absolutely sure by running a stress test with something like Prime95 or AIDA64. Let us suppose you encounter abnormally high temperatures with your CPU.
What should you do when it’s too hot?
There could be many reasons for your CPU to be running hotter than expected, and you need to go through all the checks if it is, until you hit on something that solves the issue. For instance, are all the fans inside the build spinning when the system is under load? If not, then you’ll need to recheck their connections. Is your CPU cooler powerful enough to keep your CPU temperatures from rising? If not, better look for a replacement ASAP.
Another major area to check is the thermal paste.

Improper application of thermal paste can cause CPU temperatures to soar higher. If you’ve not installed the CPU cooler properly, and there’s lack of contact with the thermal paste, that can also cause temperatures to soar as it reduces the heat transfer and dissipation efficiency. Ensure that your CPU coolers are secured well and are not slipping out of their fastenings when installed.
While the quantity of thermal paste is the subject matter of great debate across the interwebs, there’s truth to both sides of the argument. If you apply too much thermal paste, you’ll end up separating the cooler plate and the CPU integrated heat spreader (IHS) too much – and also risk a spill onto the motherboard. On the other hand, you apply too little, and there’s not enough conductivity happening. You’ll find recommendations online from “pea sized dot” to “a nice big blob” and even funky x patterns. Regardless of your technique,
the thermal paste should also not have any air bubbles, so never reuse thermal paste from a previous installation.
If you keep these tips in mind, your CPU temperatures should be back to normal in no time. Now, it’s time to turn our attention to…
GPU temperatures
The modern GPU takes care of a lot of the workload in various applications and games, and you definitely need it to function at the right temperatures for your system to work smoothly. Just like the CPU, we first need to figure out what those temperatures are.
Quite similar to CPUs, a GPUs operational temperature shouldn’t usually go beyond 85 degrees, and anything above 95 degrees celsius is cause for panic. Well maybe not panic but certainly concern. At such temperatures you’ll most likely encounter a bsod anyway.
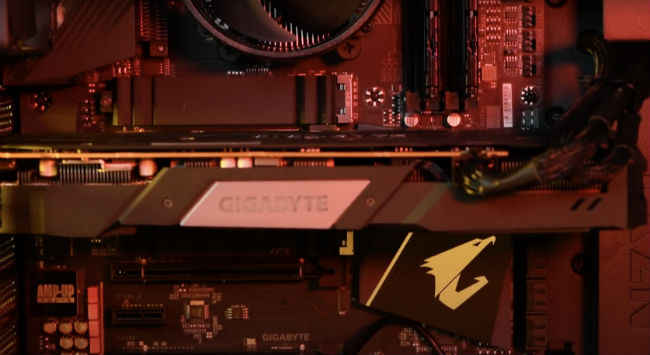
To check GPU temperatures, you can use a number of applications. If you are using an AMD GPU there’s always AMD Catalyst Control Center. Other options include MSI Afterburner, and SpeedFan. The interfaces for each are different but they’ll give you all the necessary data such as maximum and minimum temperature values for your GPU. Here, if you spot numbers that are higher than they should be, it could be due to a number of reasons as well.
Apart from stressful applications, a GPU can also heat up due to fan failure, improper cooling solutions, quality of cooling design, quality of the PC case and the airflow within it. We’ll get to airflow later as it’s applicable across components. For GPU-specific problems, you should check things like: are all fans operating properly? On older systems, are they clean enough?
Now, with the CPU and the GPU out of the way, it’s time to move on to…
Hard Drive and Solid State Drive temperatures
Just like your CPU and the GPU, your storage drives also need to operate within an acceptable temperature range. Anything beyond that could indicate issues that need to be solved. For most hard drives, the temperature range of 25 degrees to 40 degrees celsius is considered approximately safe for long term use. While hard drive manufacturers might mention a wider range of operation, those don’t cover the issue of longevity. A similar range is also applicable to SSDs. While that doesn’t mean it will stop functioning at anything higher, the hotter it runs the faster its health degrades.
Tools mentioned earlier like HWMonitor and SpeedFan can be used to monitor storage drive temperatures as well. Apart from airflow and dust, a few common issues that could cause your storage drive to reach higher temperatures could be:
They’re placed too close – if there are empty slots, simply installing your drives apart from each other can bring down temperatures greatly.
If nothing else works, use an external enclosure. But this should only be tried after you’ve exhausted other means like improving airflow.
Speaking of which…
Let’s talk about airflow
If temperature checks show higher temperatures for your hardware consistently, and running benchmarks for your system isn’t giving you the results you’re expecting, one of the most common issues to solve is airflow. Chances are that you haven’t fully utilised the cooling capacity of your cabinet by installing enough fans. And even if you have done that, it is important to place them correctly so that they help cool the components that have the highest chances of heating up. Another very important practise to follow is proper cable management, which we showed you in the 4th video of this series. Using the best fans will have no effect if you’re blocking the airflow with a jungle of cables. So, try to keep your cables as out of the way as you possibly can.
Additionally, while maintaining the temperatures at an acceptable range, you can create either a positive or negative air pressure within the case, by orienting the fans to either push air in or pull air out respectively. Remember, balance is the key here, so can’t have ALL fans pushing air in or vice versa. If you can create positive pressure, it can help you reduce the amount of dust buildup within the system. When we say positive pressure, we mean more air being pushed in than is being actively pulled out by the fans. In places with higher ambient temperature, you might actually want to work towards creating negative pressure, which will help dissipate heat build-up faster.
Overall, just try to keep it cool
As we have seen, there’s a lot of ways to optimise your system, simply at the hardware level – in case it is not performing up to your expectations. However, you might encounter problems that are not performance-related at all. How should you deal with those? That’s what we’ll cover in our next next article – a full guide to troubleshooting common PC problems. Check out the links below to view the rest of the articles in our ‘Built Your Own PC’ series.
1. Build Your Own PC: The PC built for your needs
2. Build Your Own PC: Which CPU, GPU, Motherboard, etc should you buy
3. Build Your Own PC: How to get the best deals on computer parts
4. Build Your Own PC: How to assemble a PC
5. Build Your Own PC: How to install Windows 10 and setup your PC
6. Build Your Own PC: Testing for cooling and performance (You are here)
7. Build Your Own PC: Common mistakes while building a PC
[Sponsored Post]
Sponsored
This is a sponsored post, written by Digit's custom content team. View Full Profile


