One of the features available in Animal Crossing: New Horizons is the ability to scan QR codes for designs from the previous games in the series. Players simply make use of the QR scanner on their real-life smartphone, transferring the design into the game. But how exactly does the process work? How are players importing memes into the game? We're here to tell you.
Importing Your QR Code and Setting Up NookLink
NookLink is the bridge between your QR code and your Nintendo Switch. It's a requirement to ensure that this process works, and it's something you need to install on your real-life mobile device. What you'll need is to download the official Nintendo Switch Online application from either the iOS store or the Google Play store.
You'll then need to boot up Animal Crossing: New Horizons and wait for the title screen. When ready, hit the Minus (-) button on the left Joy-Con to open the Settings where you'll be greeted by Tom Nook in a dark, haunting room. Select the second option which reads "NookLink settings" and allow the raccoon to get your NookLink services underway.

When you open the Nintendo Switch Online app you'll be required to sign in to your Nintendo account if you haven't done so already. Once signed in, you'll see a list of games that work with the app. Tap the tile for Animal Crossing: New Horizons and the loading process will start opening the NookLink app on your mobile device.
From here you'll see a similar layout to what you see in the game itself. However, what's available through the Nintendo Switch Online app is more limited, allowing you to see your Passport details, designs, use a keyboard to chat in-game, browse your best friend list and send them messages, and the settings area to change accounts if you need to.
Scanning QR codes
Scanning QR codes is fairly simple and requires both your smartphone and the Nintendo Switch running Animal Crossing: New Horizons to be on as you'll be switching between the two.
On your smartphone, tap the Designs icon and this will open up the hub for custom designs. From there, you'll want to press the green button that reads "Scan a QR code" which will open up your camera. Go ahead and allow the app to access your camera if a message appears asking. Otherwise, you won't be able to scan the code.
Aim your camera at the QR code of the design that you wish to transfer to the game. If the QR code is valid, it'll open up another screen showing the design, what it's called, and whether it's a custom design or a pro design. Keep in mind, pro designs come with four QR codes, so you'll need to scan four QR codes as instructed by the app. For the purpose of this guide, let's stick to the custom designs.

If it's all looking good, hit the save button that's displayed below the preview. This will take you to another window where the design is ready for downloading into the game.
Bear in mind, that only one design can be stored at a time, so don't press "Scan a new QR code" until you're ready to move onto downloading the next design if you're planning on scanning multiple codes.
Downloading the Design
Once you've scanned your QR code and saved it by following the steps above, you'll want to leave your Nintendo Switch Online app open and move over to your Nintendo Switch. While in Animal Crossing: New Horizons, hit the ZL button to open your in-game smartphone. From there, open the Custom Designs app.
Inside this app, you'll see all your saved designs available to apply to clothes, floors, walls, and more. There's also a bunch of blank designs, which are what you're going to be saving the saved design over. However, it's possible to save over an existing design, too. Hitting the right bumper will move you over to the Pro Designs which are for your own custom clothes.

Press the Plus (+) button on the right Joy-Con to start the download process. You'll be asked if you want to connect to the internet to download a custom design made for 3DS games. Hit "Download" and the game will display another message saying it has found a design named after whatever your design is called. If you need to, you can check the details on your Nintendo Switch Online app that's showing the design and its name.
If that's all good, press "Ok!" You'll now need to confirm what design slot you want to overwrite with the design you're importing. Once you confirm that you're happy to overwrite a design, the design will be saved.

And that's that! You've now got a custom design or a pro design saved to Animal Crossing: New Horizons which you can show off in-game to your friends either on your island or over on their island.
What if I want to import my own image?
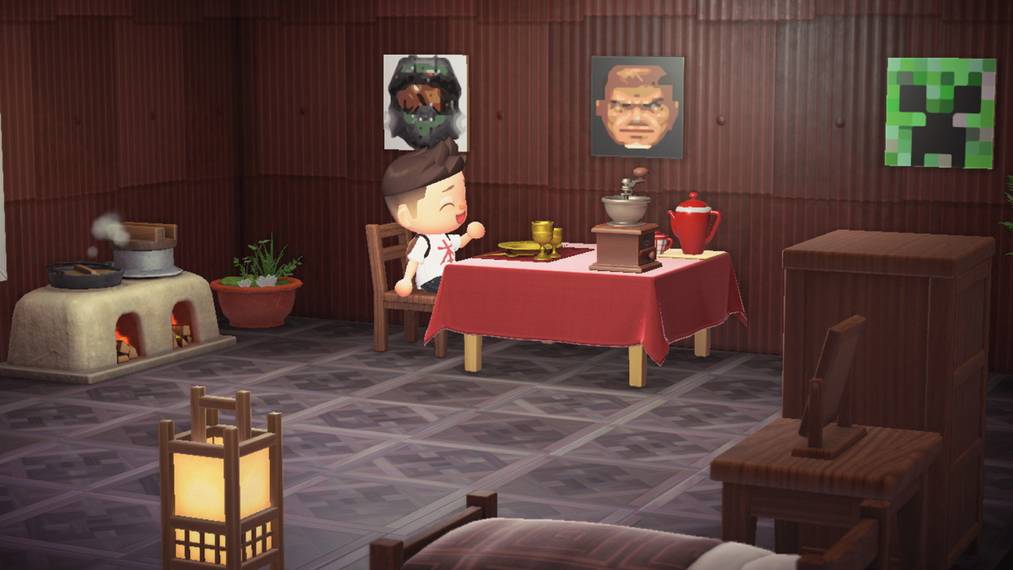
Let's not lie, you've seen some of the incredible designs from fans Animal Crossing: New Horizons and said, "Yes, I would like a picture of Master Chief on my wall!" Well, the process is fairly simple to do, but requires a browser. I'll share my own method of importing images which requires using two different websites.
Preparing your image
The first step is to decide what image you want to use, and ensure that it's a square image. If you're using Windows 10, you can right-click the image file and click "Edit with Photos". Then, from there, you can choose to crop the image to a square ratio. Square ratios work best for importing into Animal Crossing: New Horizons because the designs are all in a 4:3 ratio. It's also wise to stick with images that have as little detail as possible. Pixel art works great, but so do simple album records. for example.
Look here, for example -- it's Master Chief. The image is square, it's fairly limited on colors, the only problem will be with the glowing lights, but it shouldn't be too much of an issue.

ACToolkit
Once you've saved a square version of your selected image, head to .studio.actoolkit.com. From your computer, drag the image and drop it onto the webpage. You'll see the design shown in the preview area, you'll also be able to make any changes if you want.
If you're happy with the image as it is, in the top-left, you'll want to click, "Save QR code" and then right-click and "Save image as". This will save the image as a QR code that the NookLink app will be unable to read. To make it work, we need to run it through another website.

ACPatterns
[Note: I'm hearing reports that some users are able to use the import image feature on ACPatterns. After a few days of using the site, I was unable to get this feature working on multiple browsers which is why I included the above site as a step. If you're able to import your image through ACPatterns you can skip the previous step and just import it directly into ACPatterns and generate the QR code.]
This is where acpatterns.com comes in. On the right-hand side, you'll see a menu. Click "Load file/code" and then open the QR code you just saved as an image. The website will load the preview and you should see the design displayed on the grid.
Next, head to "Generate QR code" which is on the menu to the right. You'll be once again prompted to save the image to your computer. This time, the QR code looks different, but this is the QR code that will work with the NookLink app.

From there, all you need to do is follow the steps outlined earlier to scan the QR code and import it into the game. Then, by simply repeating these steps, you can import whatever you like.
Of course, it's incredibly important to keep in mind that your designs should be respectful, especially if you're having visitors over. Nintendo makes it very clear that your designs need to be appropriate and not offend anyone, otherwise, there could be consequences.
Now you can go and have fun displaying your record albums or like me, my favourite video game characters. I also managed to use photos taken in Animal Crossing: New Horizons and turn them into canvases by doing the above steps but with the added step of getting the photo off of the Nintendo Switch console. If you're wondering how I did that, just post the image to Twitter or Facebook from the console, then download the image from there.