
Windows 10's May 2020 Update is rolling out to seekers, and it comes with new security features that offer better malware protection, easier logins, and stronger encryption for your wireless connections.
Below we have outlined the new security improvements that users get in the new Windows 10 2004 and how you can use them.
PUA in Microsoft Defender
The May 2020 Update includes a new 'Reputation-based protection" section for Microsoft Defender that allows you to block potentially unwanted apps (PUA) using Windows 10's built-in antivirus protection.
The PUA protection feature has been available in Windows 10 for some time, but it was hidden in settings that were only accessible to administrators using the Set-MpPreference PowerShell command.
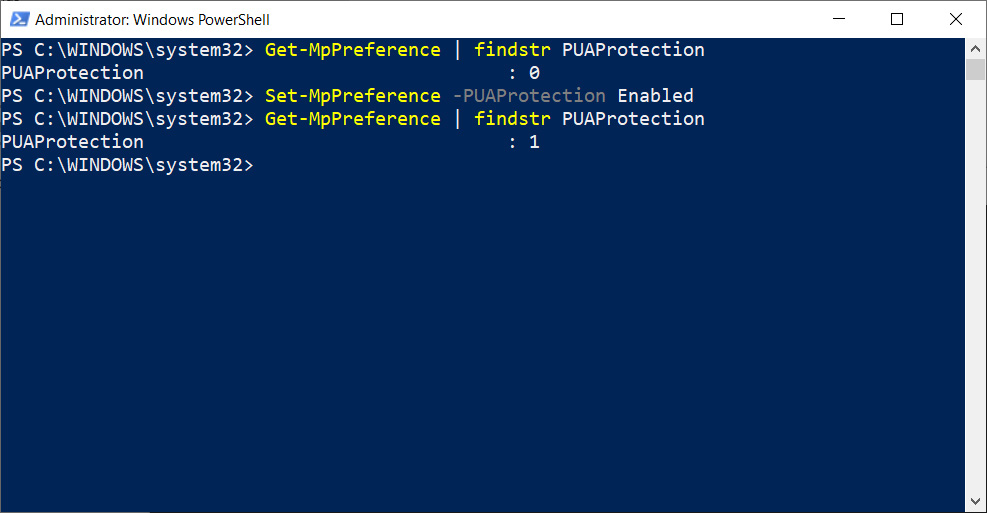
With the May 2020 Update, also known as Windows 10 2004, Microsoft has exposed this feature as part of its reputation-based protection feature in the Windows Security app.
To enable the PUA protection feature in Windows 10, follow these steps:
- Open Windows Security app from Update & Security > Windows Security.
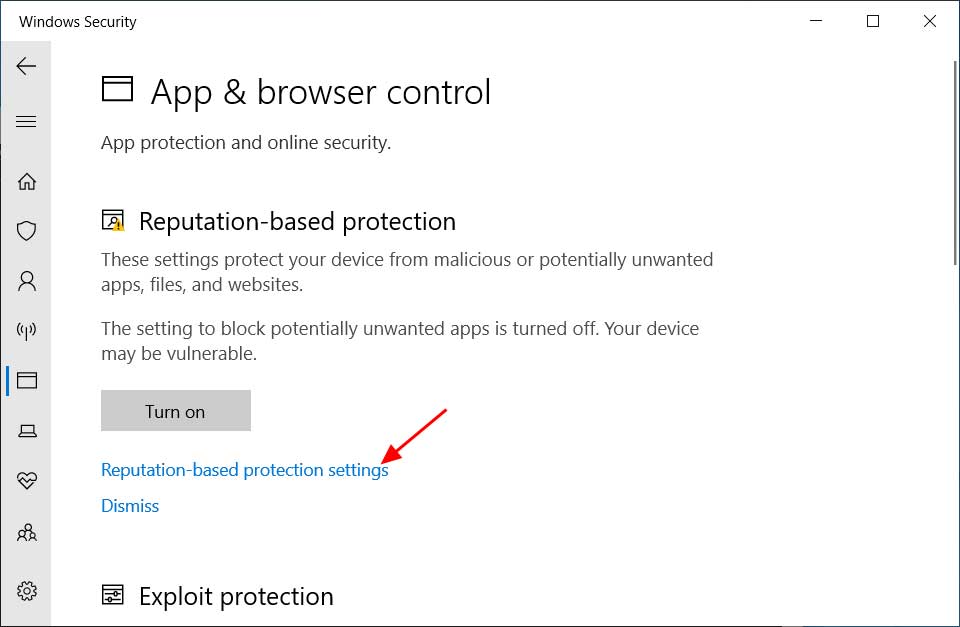
- Go to App & browser control.
- Select 'Reputation-based protection settings'
- Toggle the "Reputation-based control" option to the 'On' position to enable it.

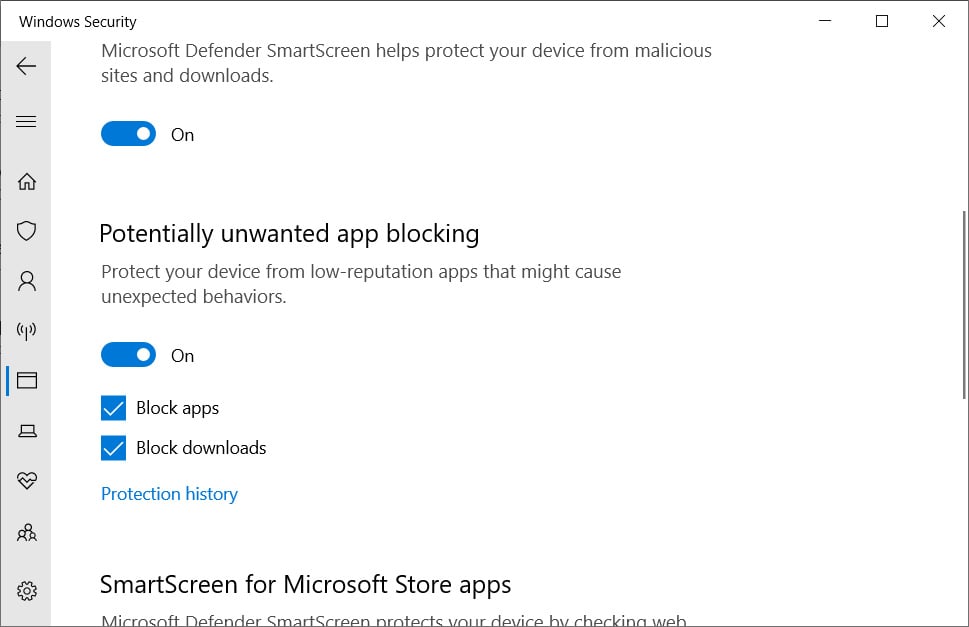
Once enabled, Windows 10 will start blocking potentially unwanted programs that show advertisements, change browser settings, and even modify system settings.
Under "Reputation-based control," you can also manually enable or disable 'Block apps' and 'Block downloads' features.
Block apps option activates the classic 'PUAProtection' setting that you could previously enable with Group Policy editor.
The second option, 'Block downloads,' uses Windows SmartScreen to block PUAs when they are downloaded from the Chromium Microsoft Edge.
You can learn more about Windows Defender's hidden protection settings in our Windows 10 Defender's hidden features revealed by this free tool article.
Windows Hello
The May 2020 Update has improved the Windows Hello authentication feature to provide more ways that it can be used.
Windows 10 users can now use Windows Hello to sign into Safe mode when you need to troubleshoot a computer.

To enable Windows Hello and use it in Safe Mode, follow these steps:
- Set up Windows Hello authentication from Settings > Accounts > Sign-in options
- After setting up Windows Hello, go to Settings > Update and Security > Recovery.
- Under Advanced startup, select Restart now.
- In boot menu, select Troubleshoot > Advanced options > Startup Settings > Restart.
- In the next menu, select 5 or press F5 to start PC in Safe Mode with Networking. You can also choose 4 or press 4 to use Safe Mode without network.
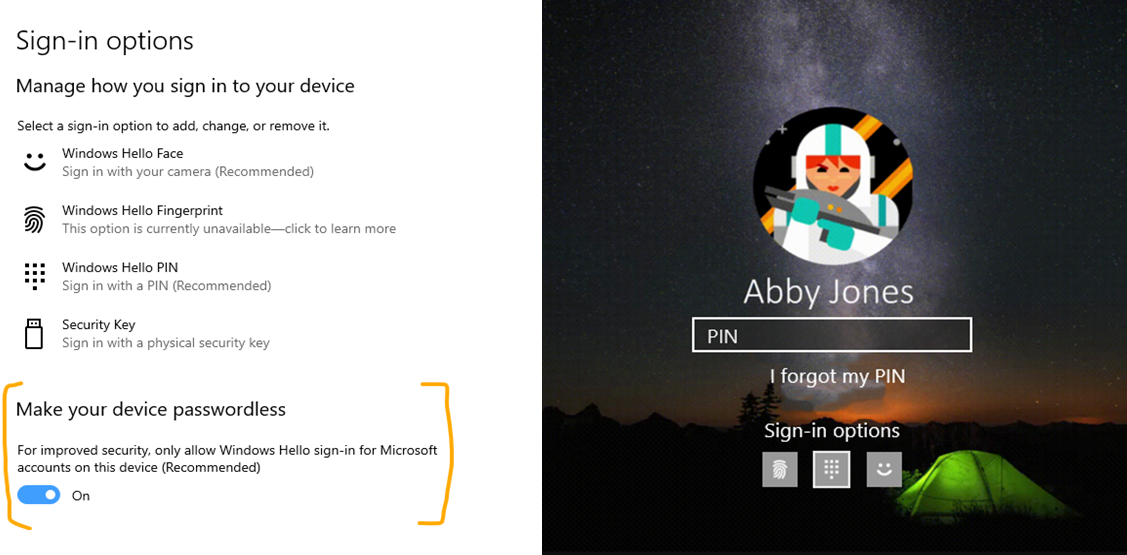
Another improvement to Windows Hello allows you to use it to log in to your Microsoft Account.
To enable passwordless sign-in for Microsoft accounts, follow these steps:
- Head to Settings > Accounts > Sign-in options.
- Select 'On' under 'Make your device passwordless.'
Windows 10 gets Wi-Fi 6 and WPA3 support
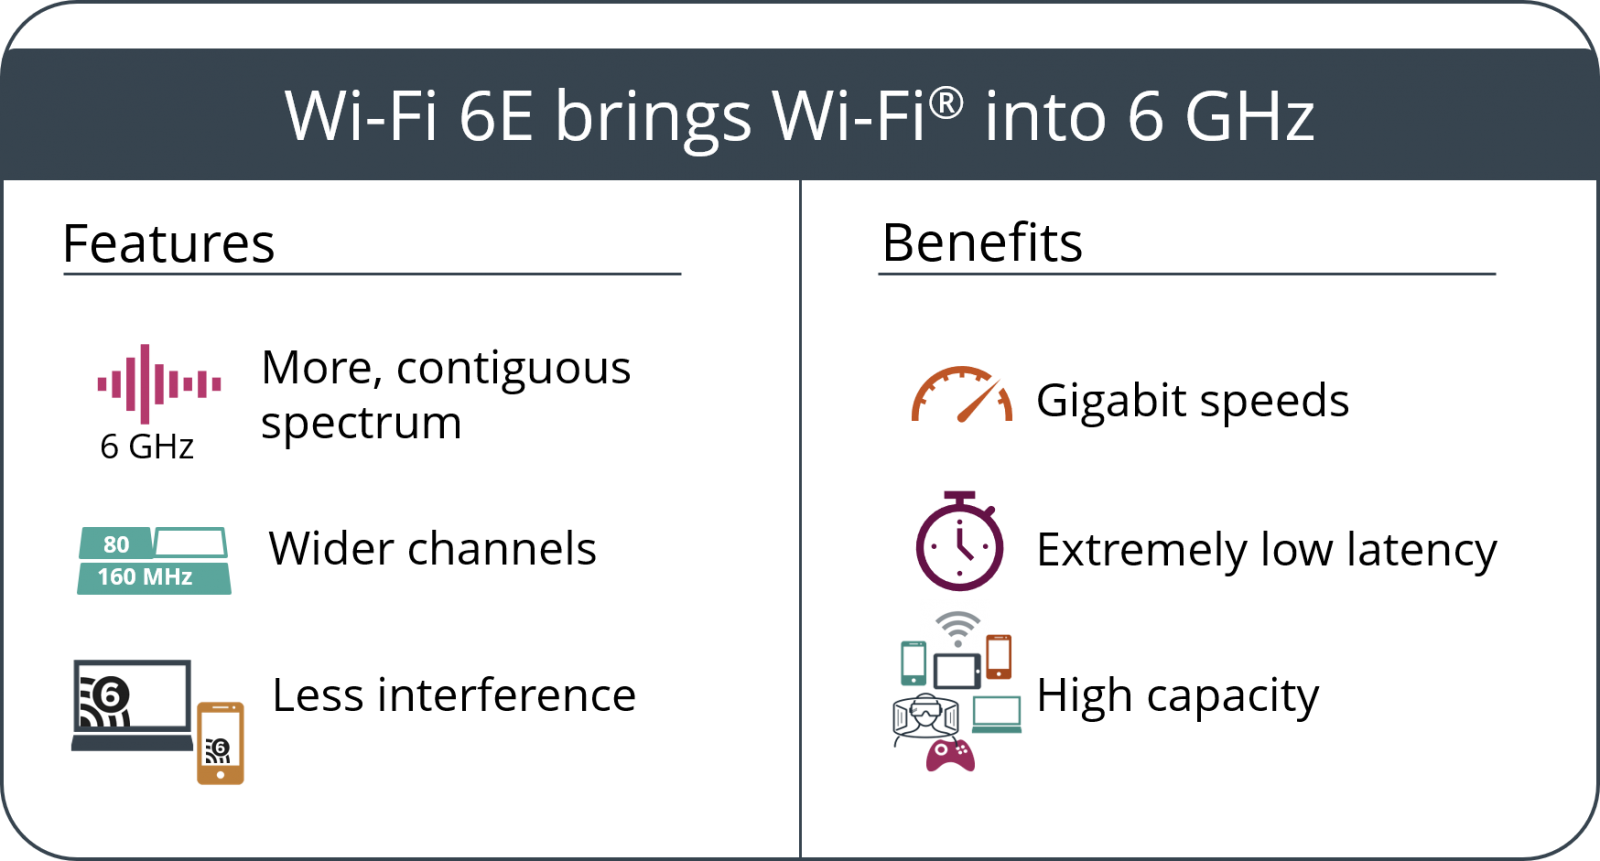
Windows 10 version 2004 now includes support for Wi-Fi 6 and the WPA3 protocol.
The new Wi-Fi 6 technology provides faster speed and better performance when you have multiple devices connected to the same connection.
To check if you're connected to a Wi-Fi 6 network, you can follow these steps:
- Connect to a Wi-Fi network.
- Select the Wi-Fi network icon on the right side of the taskbar and select Properties underneath the Wi-Fi network name.
- On the Wi-Fi network screen, under Properties, look at the value next to Protocol. It will say Wi-Fi 6 (802.11ax) if you’re connected to a Wi-Fi 6 network.
If you are using a wireless adapter that supports Wi-Fi 6, make sure you have the latest Windows 10 drivers installed.
Microsoft has also added the WPA3 wireless security protocol to Windows 10 if supported by your router.
The WPA3 security protocol has been designed to protect against brute-force attacks by blocking the wireless authentication process after several failed login attempts to the device. It also includes new encryption capabilities to encrypt connections between each device and the router.
To see if you’re connected using WPA3 security:
- Connect to a Wi-Fi network.
- Select the Wi-Fi network icon on the right side of the taskbar, then select Properties underneath the Wi-Fi network name.
- On the Wi-Fi network screen, under Properties, look at the value next to Security type. It will include WPA3 if you’re connected to a network using WPA3 encryption for security.
You can learn more about Wi-Fi 6 and WPA3 improvements in our dedicated article.


Post a Comment Community Rules
You need to login in order to post a comment
Not a member yet? Register Now