Many people, including me, have painted their kitchen cabinets and been perfectly happy with the results. Painting cabinets sounds old school compared to today’s emphasis on tearing out the kitchen and starting over. Unless you’ve got the skill set and the tools for that, a complete kitchen redo is a budget buster. And painting your kitchen cabinets makes even more sense today than it did decades ago because today’s paints and painting tools make it far easier to get topnotch results.
And I’m speaking from experience. I first lifted a paint brush in 1972. By the early 1980s, I had a one-man business painting whole houses along with doing the repair carpentry that came with it. Most of the time, I was using traditional alkyd resin paints. These were great coatings, but their chemical makeup had been developed decades earlier. It took a lot of patience, a lot of care, and a sense of timing to work with them. One slip of the brush or roller and there went your meticulous paint job.
Contrast that to today’s paints. Many of the best are a blend of water- and solvent-based paint resins, such as acrylic-alkyd hybrids and acrylic-urethane hybrids. They apply beautifully, are forgiving to work with, and (drumroll) clean up with water.
When you combine those coatings with equally well developed paint brushes and rollers, plus a specialized primer known as an enamel undercoater, you’re well on your way to getting professional results.
Here, we go in-depth on how to paint your kitchen cabinets. Read on for a list of tools and equipment you’ll need, step-by-step instructions, and pro tips to help improve your odds of success.
Cabinet Painting Tools and Supplies
- Sanding block: 3M 055519
- Fine wet-or-dry sandpaper: 3M 2,000 grit
- Medium wet-or-dry sandpaper: 3M 1,500 grit
- Coarse wet-or-dry sandpaper: 3M 1,000 grit
- Flock roller: Whizz 34060
- Flock roller frame: Whizz 72500
- Purdy Nylox fine finish paint brush: Purdy 144380230
- Disposable shop towels: Scott 75190
- Painter’s tape: 3M 2094-36A-4PK
- Latex wood filler: DAP 00585
- Spray bottle: Zep HDPRO36
How to Paint Your Kitchen Cabinets
Step 1: Clean the cabinets.
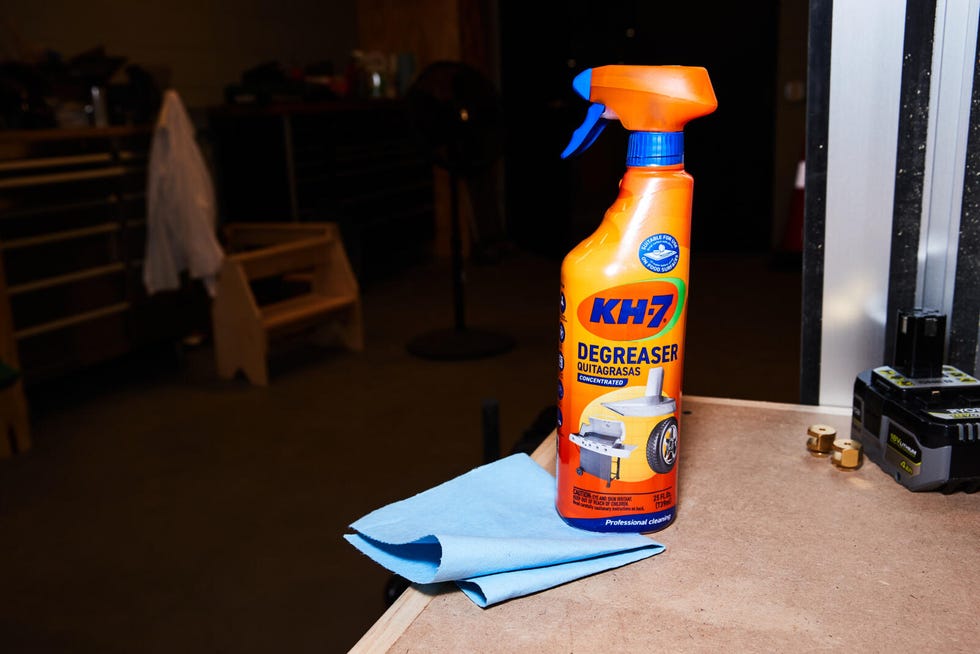
Sometimes, cabinets need nothing more than a wipe down with a damp cleaning cloth. But more typically kitchen cabinets specifically need a thorough cleaning with a degreaser, followed by numerous wipes with a moist cleaning cloth to be sure that every last trace of kitchen grease is removed.
Step 2: Remove the doors, drawers, and hardware.
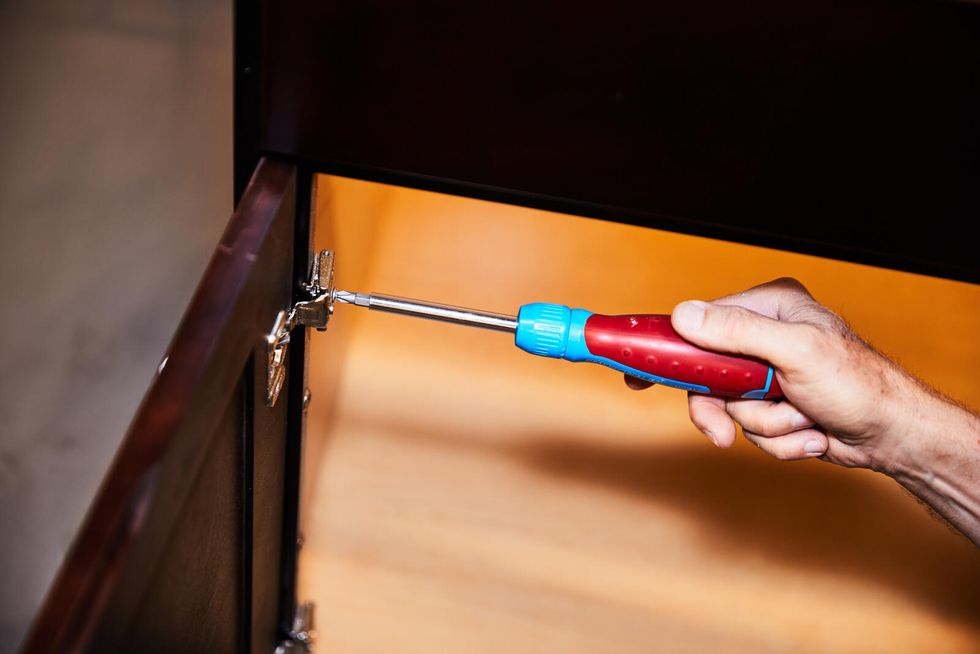
Remove the doors and drawers (or just remove the drawer faces). Also remove any drawer pulls and door knobs.
Step 3 : Suspend the doors.
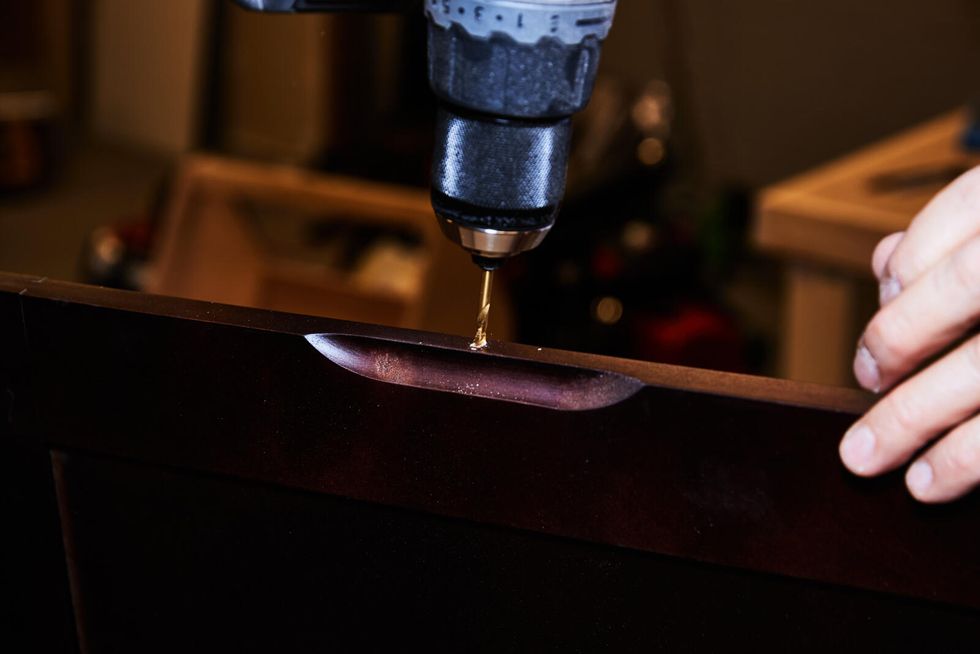
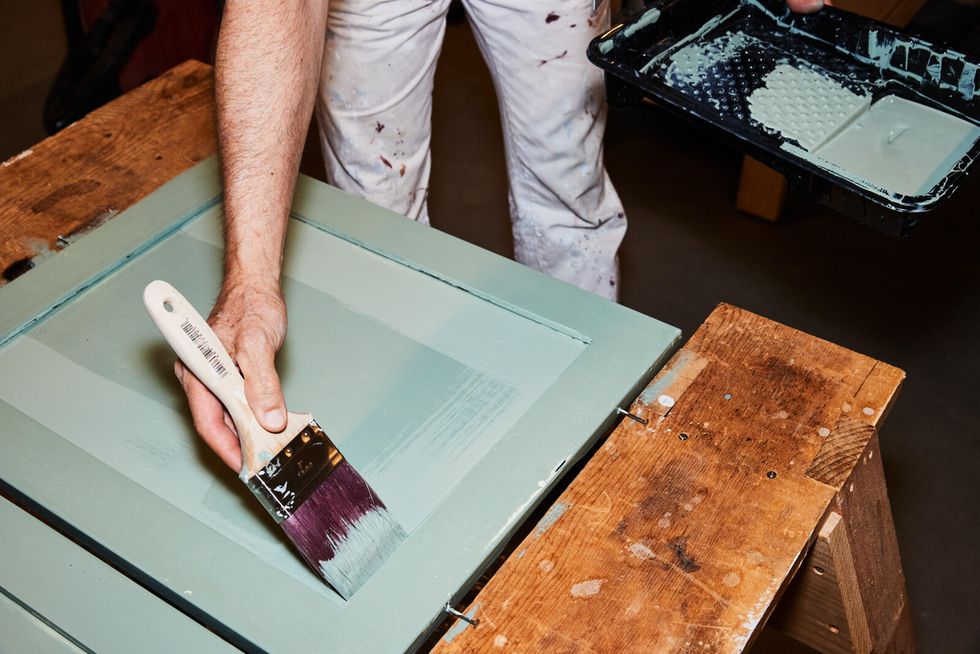
You’ll need to hang the doors so that you can paint one side and turn them over the moment the paint is just dry enough to allow a light touch. To do that, suspend the doors from a pair of sawhorses (or blocks of wood standing on edge). Drill one 9⁄64-inch hole at the center of the top edge of the door and two at the bottom edge. Press 8d common nails into the holes. Another benefit of the three-nail arrangement is that it automatically alerts you if you are applying to much force with a paint brush or roller; the door will tip.
Step 4: De-gloss and repair any damage.
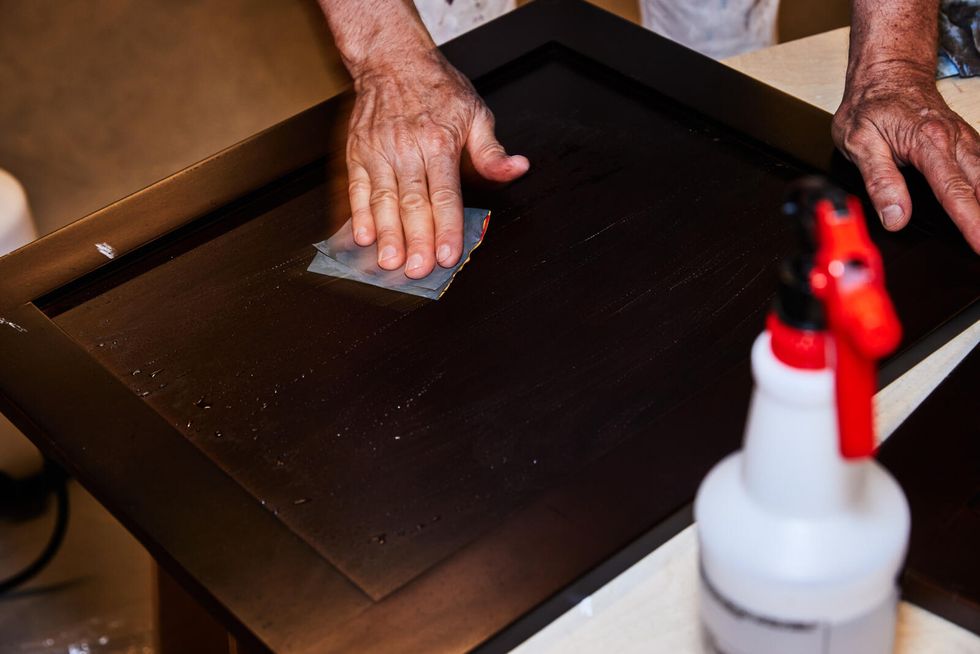
Fill a spray bottle with water and prepare three sanding blocks, one with 1,000 grit, the second with 1,500 grit, and the third with 2,000 grit. There’s no single magic number for the coarseness of the grit that you will need to de-gloss a finish—it depends on the cabinet. Your goal is only to dull the finish, not remove it. Try the least-abrasive grit first (2,000). Moisten the surface with a spray bottle, and try the abrasive paper, If the paper slides over the surface without cutting, try the next most coarse.
Use only enough moisture to help the sandpaper cut. When the resulting slurry dries, wipe it off with a clean moist cloth.
As you’re doing this work, use latex wood filler to fill any gouges, dents, and screw holes (but not the screw holes for the hinges). The cabinet shown here had a variety of these holes in its door frames. Squeeze wood filler into the holes, strike it off with a putty knife, then sand it smooth with 1,000-grit sandpaper.
Step 5: Apply the enamel undercoater.
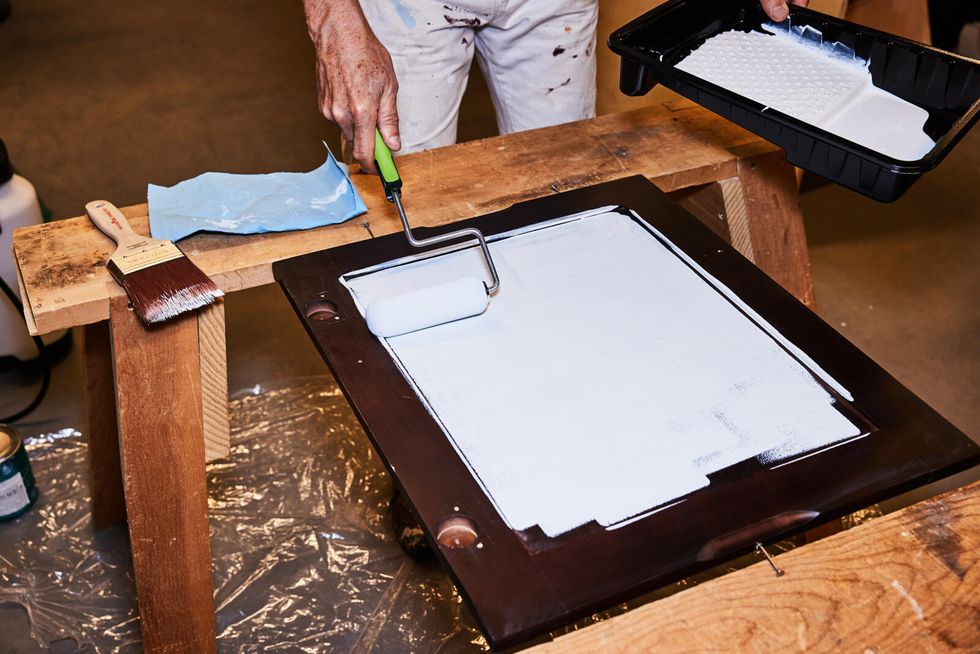
With everything wiped clean, roll or brush on a layer of undercoater. Whether your roll or brush the undercoater, do your best to apply a smooth, consistent film. Don’t panic if you get a small run or other imperfection. You can remove drips and uneven areas when the undercoater is dry by careful wet sanding. Do your best to make the undercoater as even and as smooth as possible. The better job you do with this, the easer it will be to apply the top coat.
Step 6: Smooth the undercoater.
Imperfections creep in no matter how hard you try. When the undercoater is dry, wet sand it with 1,500- or 2,000-grit sandpaper. Be careful to only remove brush or roller marks and runs; don’t sand through the undercoater. Let the wet sanding slurry dry, then remove it thoroughly with a clean, moist cloth.
It’s possible that after wet sanding, the undercoater seems rough or uneven. In that case, apply a second layer of it.
Step 7: Apply your first top coat.
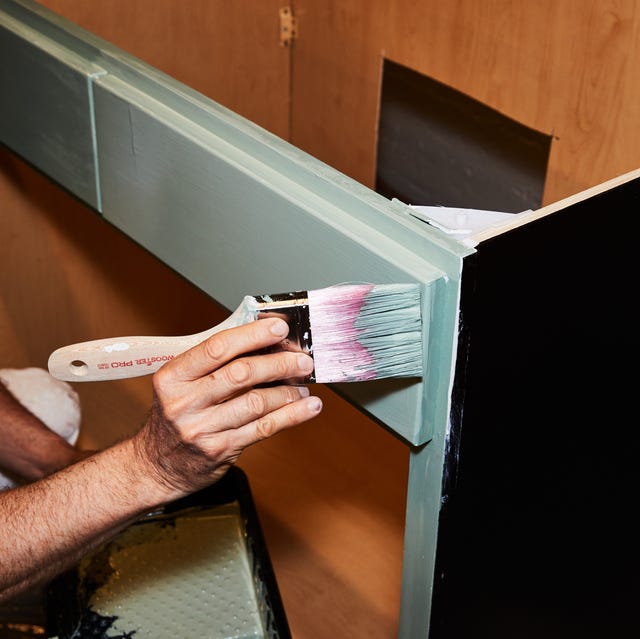
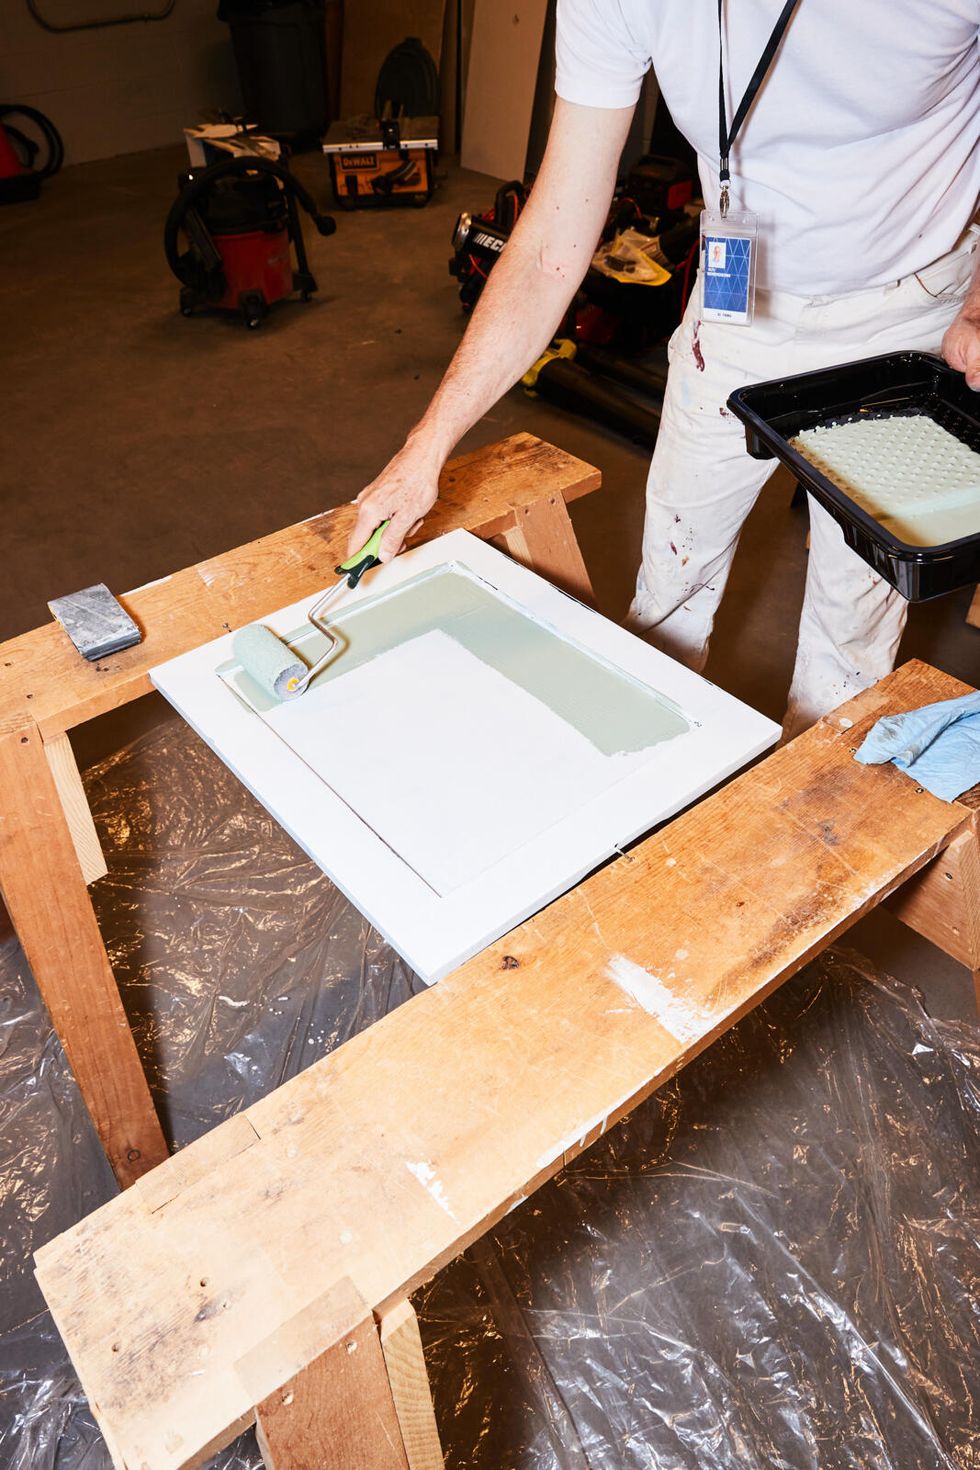
Assuming the first layer of undercoater is smooth, clean, and dry (and doesn’t require a second application), make your first application of top coat. You can apply the top coat by roller, brush, or a combination of the two (roll the paint on and then remove the roller texture by brushing over the surface).
When using a brush, remember to “tip off” the paint layer that you just applied. After you make your first pass, you complete the application by holding the brush at a shallow angle and pulling it toward you with almost no downward pressure. This leaves very fine straight brush marks.
Many people, both amateurs and professionals, prefer a roller. Regardless of whether you brush or roll, apply the least amount of paint that will neatly cover using the least amount of pressure that will spread it evenly.
Step 8: Smooth your top coat.
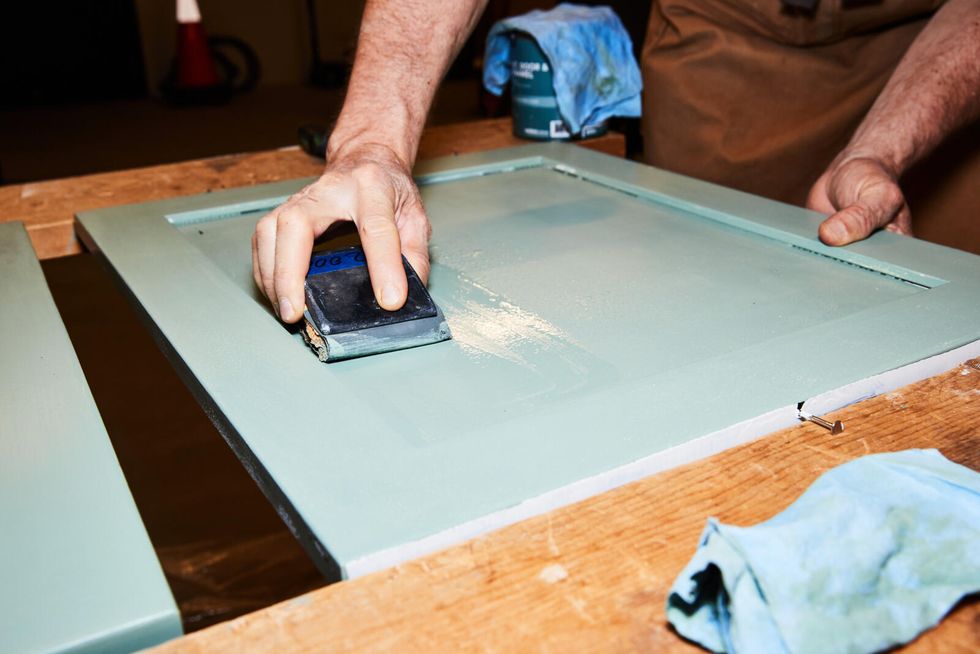
When the first layer of top coat is dry, wet sand it using 2,000-grit paper. Keep the sandpaper moist as you work. Let the slurry dry and then remove it with a clean moist cloth. Keep wiping until every bit of slurry has been removed.
Step 9: Paint you final top coat and touch up.
With the surface wiped clean, apply your second layer of top coat and tip it off as before. Let the paint dry.
The edges of the doors, especially the top and bottom edges, will require touching up. Remove the nails from the edge, wet sand it with 2,000-grit paper to level out any runs and rough areas, and wipe it clean. Fill the nail hole in the top edge and the two holes in the bottom edge. Sand the filler smooth and touch up paint these edges. Note that for doors on bottom cabinets and sink bases, you don’t have to be particularly fussy with touching up the bottom edges. Imperfections there aren’t noticeable.
Step 10: Reassemble.
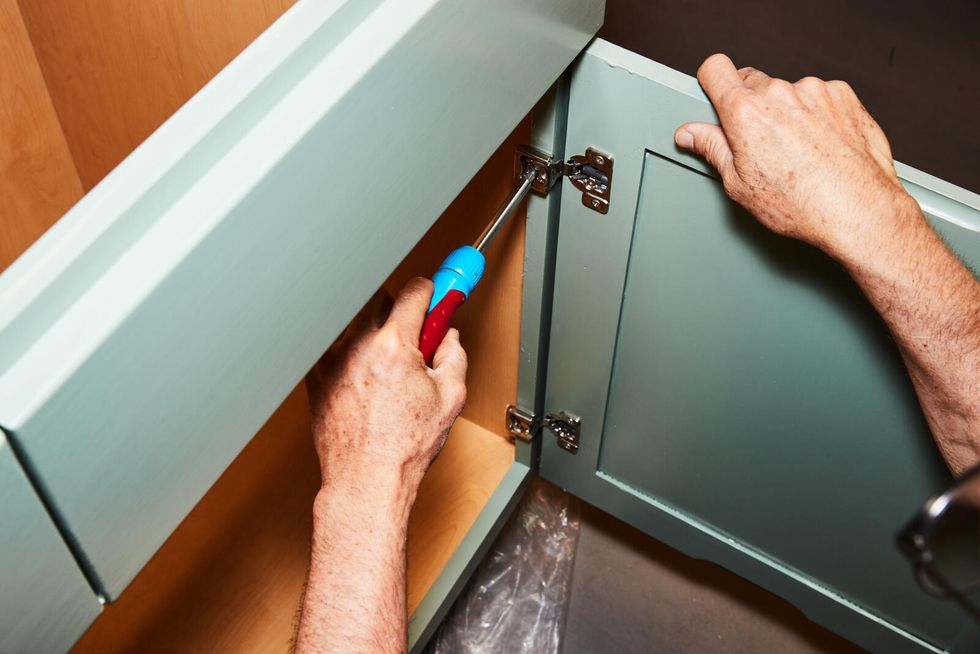
Remount the doors on the cabinets and install new knobs and pulls to complete the look of fresh new cabinets.
If you missed a couple of nail holes until after the door is mounted, there’s no need to dismount the door for that touchup. Press some filler into the nail hole, strike it off with a putty knife, and wait a few minutes for it to set up before you touch it up. Mission accomplished.
Ten Tips For a Fantastic Paint Job
Test your gloss.
The more gloss a paint has, the more difficult it is to apply. Higher gloss cabinetry looks a bit institutional, but if that’s the appearance you’re shooting for, apply a gloss enamel. In most cases, however, you’re better off applying a semi-gloss or a satin. Of those two, a satin is far more forgiving of painting errors.
If you can get a sample of your paint color, apply it to a piece of birch plywood or medium density fiberboard (MDF). Remember, to apply undercoater before the sample of top coat. The undercoater helps the top coat level to a consistently thick layer with a uniform sheen.
Test drive your painting technique/tools.
Buy a 2-foot x 4-foot piece of MDF and make some test stripes. Lay down the enamel undercoater first, then apply your top coat. There are three ways to apply both the undercoater and the cabinet enamel: roll it on with a foam, velour, or flock roller; brush it on; or roll it first and then back brush it.
If you don’t want to spend the money on the MDF test panel, you can experiment on the backs of the cabinet doors.
Note that many people like the slightly dimpled orange peel uniformity that a roller produces. If you paint the inside of your cabinets, rolling is definitely the way to go.
Paint the backs of the doors first.
Even after you select your method of painting, take the extra precautionary step of painting the backs of the doors first. You want to do any final working out of your method there, before you paint the fronts.
Thoroughly clean your tools after each session; no soaking.
This isn’t house painting. This work requires flawlessly clean tools at the start of every painting session. Clean your tools thoroughly after every paint session. Wrap your paint brush when you’re done, and stand your roller on end.
Activate velour and flock rollers before use.
Read the wrapper that your roller came packaged in. Some require you to moisten the outside of the roller with a little water before using it. That’s true on the first use and every use thereafter.
Use a fresh utility knife blade to scrape off paint globs.
You’re bound to get a little enamel splattered on the inside of the cabinet as you work. The easiest way to remove it is with a fresh utility knife blade held vertically and moved over the glob in a scraping action.
Watch the water content when wet sanding.
Wet sanding is not a sloppy mess. It’s precise. Use just enough water applied with a spray bottle, either to the sanding block, the surface, or both. If the paper sticks as you’re sanding, add water. If a puddle forms somewhere, you’ve added way too much water, wipe it up immediately.
Spray the sanding block frequently with water and wipe it clean with a clean piece of shop towel or clean painting rag. The more slurry that builds up on it, the more difficult it will be move over the surface
Let the slurry dry.
Slurry can have a tendency to disappear into the surface when it’s moist, and it’s possible you might not completely remove it when you wipe it at this stage. Let wet sanding slurry dry, and when it becomes more visible, wipe it off with a clean, moist cloth. Check your wiping rag. When it no longer shows residue from wet sanding, the surface is ready to paint.
Optimize your effort.
Painting kitchen cabinets is a lot of work, and if you’re not careful, it can wear you down. The doors at eye level and in the most obvious locations require the most intense work and the fussiest attention to detail. Lower doors require slightly less attention to detail (as mentioned, you don’t have to bother filling the nail holes in their bottom edge).
This isn’t an excuse for sloppy workmanship, as if runs in paint or other gross imperfections are acceptable on these doors. They’re not. However, a slightly lower quality level is acceptable on the backs of these doors, on their less visible edges, and on their bottom edges.
Unless you have all the time in the world to paint these cabinets, you have to put your best effort into the most visible parts of the job. And no matter how you look at it, these are not professionally spray-painted doors. You can get a perfectly nice crisp and acceptable level of finish with hand tools. So do your best work, but don’t obsess over every minor imperfection.
Roll the inside of the cabinet.
Although we didn’t show it here, if you want to, you can paint the inside of the cabinet as well. Use a mini 4-inch roller. This leaves a slight orange peel texture, but that’s desirable inside cabinets (again, achieving a dead smooth finish is just not realistic with hand tools). Do a neat job rolling the inside of the cabinet and call it a day. Most of the inside surface is not particularly visible anyway when the cabinet’s contents are stacked inside.

Roy Berendsohn has worked for more than 25 years at Popular Mechanics, where he has written on carpentry, masonry, painting, plumbing, electrical, woodworking, blacksmithing, welding, lawn care, chainsaw use, and outdoor power equipment. When he’s not working on his own house, he volunteers with Sovereign Grace Church doing home repair for families in rural, suburban and urban locations throughout central and southern New Jersey.
