This week’s column is aimed at restaurant owners who would like to improve the overall concept of their eating establishments, without it costing an arm and a leg (well done, of course).
The first interaction between diner and dinner is the menu. Especially those dog-eared, laminated if you’re lucky, with small stickers over the printed price with a new price penned in. If you can’t be bothered to have a good, clean menu, you don’t deserve to have a restaurant.
You should always have a photographic menu, because not every customer reads English, but photos are easy to understand.
Now I know costs must be kept down and a food photographer is one of the highest paid professionals in the visual arts, who comes with an assistant and a food stylist as well. As a dedicated reader, here are some tips to make your food look appetizing on your menu.
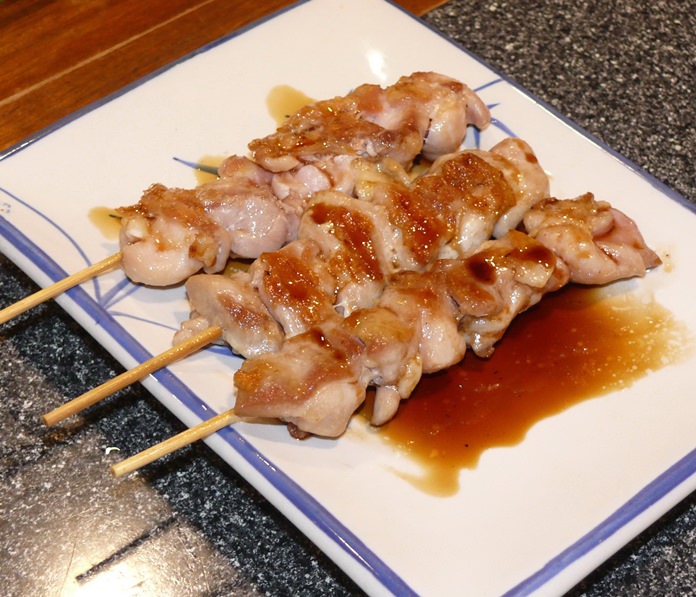
First off, select the plates which will be used. Try to avoid white plates as white can make the camera confused. Any light color will do. It is important that the food is the “hero” and not challenged by anything else.
Let’s look at the lighting first. Fluorescent lighting is a no-no as it gives a green tinge to everything. The best? Not your on-camera flash either. The best is natural daylight towards the late afternoon with the light coming across the plated food. Colors will be natural and there will be some shadows to give depth to the photograph.
Another important item is placing the camera. So many places give you a photo taken from directly above the plate, but that is not the view that the customer gets! The customer sees the plate of food on the table at about a 45 degrees angle. So, do the same with the camera, shoot from 45 degrees to get a more realistic photo.
The other important factor is not to get too close to the food, or otherwise your camera will “blow out” the whites (plate and highlights). Step back and use your zoom to fill the frame again.
Another little trick – if the plate is square, turn the plate so that one quarter faces the camera. Makes your eye follow it into the food.
Want to show a bottle of wine? This is very difficult as it will come out thick dark maroon or even black. Amateurs who have tried photographing red wines will be nodding their heads in agreement. So what does the pro shooter do? Well he has a couple of courses of action. First is to dilute the red wine by about 50 percent and secondly place a silver foil reflector on the back of the bottle. You can light it from the front and the silver foil reflects the light back into the wine. Try drinking the half bottle first with the assistant and then shoot the bottle.
Have you ever tried photographing champagne to put in your photos? Have you then noticed that there’s never enough bubbles to make it look sparkling. Fortunately, the champagne (or Prosecco or Method Champenoise) can be coaxed into producing as many bubbles as you might want. All you have to do is drop some sugar into the glass. Only a few crystals are enough to give the almost flat glass of champers that “just opened” fizz look to it.
There are many other tricks in food photography, but those simple items will make your food look inviting and help the customer make the decision to come back to your establishment.
 |
 |
 |


