How to backup your Gmail account to your Mac using Mail Archiver X

Last week, I updated my annual guide to backing up Gmail for 2020. As always, this is a guide that gets a lot of interest. This time, I also got a letter from ZDNet reader Carmela, who asks:
I don't like the idea of backing up Gmail to another cloud provider. I don't want to pay another fee and I don't want yet another cloud provider to have my email. Is there a simple-to-use app that can actively backup my personal Gmail account to my Mac?
As it turns out, there is a program that does just what Carmela asks for. It's called Mail Archiver X. I brought in a copy and put it through the test. Here's a step-by-step walkthrough on getting started.
Mail Archiver X
There are several versions of Mail Archiver X, including a free 10-day demo mode and a pro server mode. But, according to the program's author, the version most folks will want is the Standard edition that has a one-time $44.95 fee.
Mail Archiver X will archive emails from many email clients (Apple Mail, Outlook, and Thunderbird) as well as cloud accounts like Gmail and Exchange (although you can only backup Exchange via your email client).
I, of course, was concerned specifically about personal Gmail account backup.
The program will store emails in a variety of formats. It will store it in a mbox format, which allows the Mail Archiver X client to browse and search messages as if it were an email client. That format also allows message conversion to other client formats.
Two other formats, Evernote and FileMaker, intrigued me, but I ultimately decided to skip them. Evernote wouldn't meet Carmela's requirement of keeping the messages entirely local. FileMaker, for those who aren't familiar, is one of the longest-running Mac database apps, owned through Apple spinoff Claris International, Inc. Yes, Claris still exists. Surprised the heck out of me, too.
Finally, Mail Archiver X will export to PDF. This is the format I set up because this is the one format that allows you to get at your messages right from the Finder interface and Preview.
Installation
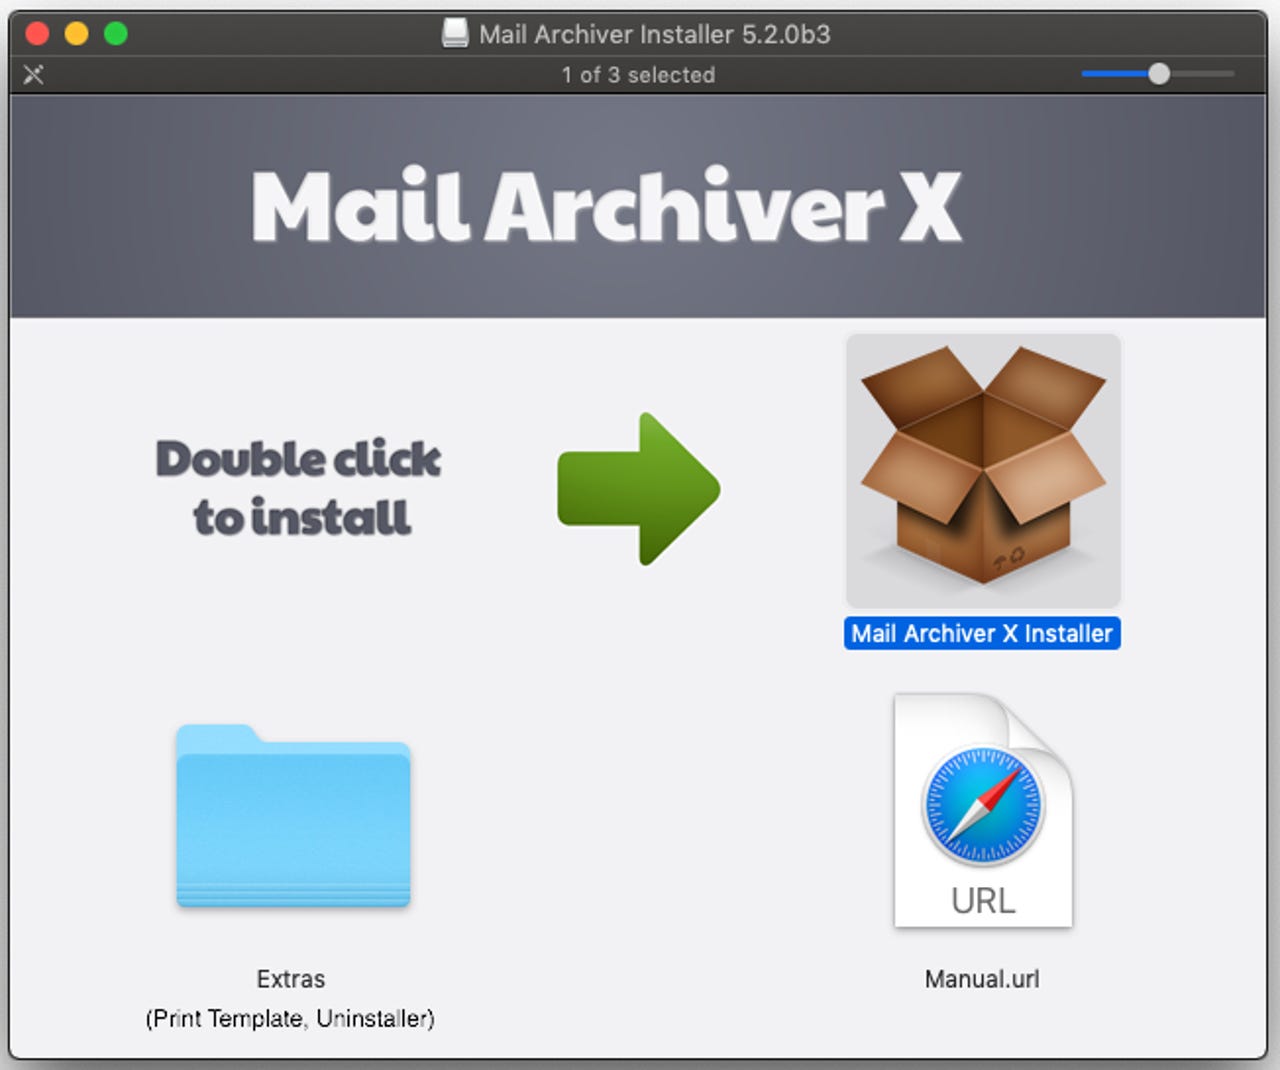
Installation was simple. Once I downloaded the application from the company's online site, I ran the installer. It took a double-click and the application was ready to run.
I then dragged and dropped the license registration file onto the registration screen to enable unrestricted use of the Standard edition:
Preparing for Gmail
The way Mail Archiver X does its magic with Gmail is using Gmail's IMAP (Internet Message Access Protocol) interface. Before you try to connect Mail Archiver X to Gmail, you'll need to make sure you can use this interface.
To do so, go to your web-based Gmail interface. Find the Settings item under the Gear icon and select it. Then, go to the Forwarding and POP/IMAP tab. You'll want to scroll down and make sure IMAP is enabled as shown below. Once you do, scroll to the bottom of the page and click Save Changes.
Next, you'll want to set up an App password for Gmail. This is how you can let third-party apps connect to your Gmail account without giving them your primary password. It's also the only way you can let outside applications access your Gmail if you have multi-factor authentication enabled.
Still in Gmail, hit your user profile icon and then choose Manage your Google Account:
Choose the Security tab at the right, then click App passwords:
You'll want to select "Other" from the Select app dropdown, and then enter the name Mail Archiver X.
You'll be presented with a one-time-use password. Keep track of this. You'll need it in a few minutes.
Connecting Mail Archiver X to Gmail IMAP
Once you launch Mail Archiver X, you'll be presented with this start screen:
You'll want to tap the Setup Wizard and you'll be given a choice. Choose IMAP Account:
You'll first need to enter your IMAP information from Gmail:
Here are a few notes. First, the Account Name becomes the folder where your PDFs are stored. You can backup multiple Gmail accounts, so it's a good idea to make this clear and simple.
Your username is your Gmail email address and your password is that one-time-use password you created earlier. Gmail presents the one-time-use password with spaces, but you don't need them. Make sure Server Name is set to imap.gmail.com, Authentication is set to Password, Port is set to 993, and SSL is checked.
Then hit Next.
This is where you choose the mailboxes you want to backup. I strongly recommend you select Archive All Mailboxes because that's why you're doing this whole process. Just check that one option and hit Next.
This is where you choose your format. I initially chose Internal Database, but quickly stopped the process and changed my mind. Here's that initial choice in a screenshot:
I hit Done to finish the wizard then opened up the Settings panel. Tap the Format icon to change the format.
Let's look at a few things here. First, note that I put my Gmail Archives directory on my external Drobo 8D RAID. I didn't want the super-fast (and super-expensive) internal storage on my Mac to be used, and since this is meant to be a backup, putting the data on a RAID is a good practice.
If you ever really want to know the strengths and weaknesses of an application, take a tour of the settings. It's here with Mail Archiver X that I have my biggest complaint. You can see it with the red question mark above. Mail Archiver X will store PDF emails either in one big folder or one folder per email.
That's almost insane. And not in a good way.
While Apple's newish APFS file system can theoretically handle a nearly infinite number of files in a folder, we know that systems bog down when folders are over-stuffed. It's unreasonable to expect that an ongoing archive will just continue to pump tens of thousands of more files into a folder on a regular basis.
Conversely, how does one email message per folder help anyone? You still have a single folder with tens or even hundreds of thousands of items. It's just that each item has one item in it (or possibly a few, with attachments). Even so, why?
Look, this approach is workable, but it's not exactly smart. I'd recommend offering the ability to break emails up into folders organized by year and month, at the very least. But, hey, for now, it's working. So far, I have about 13,000 emails downloaded (it's going to take me a few days to fully download my Gmail), and I can open the folder and browse messages.
OK. Let's move on. Let's talk about scheduling.
Automating Gmail backup
The final setup element is the Schedule tab. This is where you can tell Mail Archiver X how often to backup. I've set mine for Daily and 4am.
I did not enable Quit when finished because I always want backups to run. I'll talk more about that in a moment.
One failure point on this tab is the Email Notification option. I put in my email address, but without a Test Email option, I can't be sure email from the app can be delivered to me. So, if the backup fails, I really don't know if I'll find out.
Oddly enough, Mail Archiver X doesn't have a menu bar icon or a built-in way to launch the application when you boot your machine. Fortunately, that's an easy fix. From your Mac's System Preferences pane, select Users and Groups.
In this pane, first click the lock icon and enter your password to unlock the form. Then click Login Items at the top of the pane, and finally, click the plus sign.
This will give you the option to choose an application to launch. In your Applications directory, find the Mail Archiver X folder (it's installed in a folder) and then choose the Mail Archiver X application.
Now, the program will launch when you reboot your Mac.
Overall impressions
Mail Archiver X is OK but doesn't seem quite as solid as I'd prefer for something so mission-critical. As I pointed out earlier, there are some odd and missing settings. The version I'm running is 5.2 beta 3. That's because there was no designated stable release available for download.
That said, the product is the effort of an individual developer, Beatrix Willius, located in Germany. We like supporting the efforts of individual developers, and Mail Archiver X only has a few nitpicks against it. Overall, it seems to do the job.
Are you archiving your email? What tools are you using? Let us know in the comments below.
You can follow my day-to-day project updates on social media. Be sure to follow me on Twitter at @DavidGewirtz, on Facebook at Facebook.com/DavidGewirtz, on Instagram at Instagram.com/DavidGewirtz, and on YouTube at YouTube.com/DavidGewirtzTV.