POP Projects is a collection of new and classic projects from more than a century of Popular Mechanics. Master skills, get tool recommendations, and, most importantly, build something of your very own.
After surviving the plastic laminate revolution of the 1960s and 70s, butcher blocks have enjoyed a renaissance for decades. These attractive hardwood surfaces are durable, versatile and—as you'll see—easy to make.
Butcher blocks are most commonly used for active work surfaces such as kitchen countertops, chopping blocks, and workbenches. The warm, handcrafted look of butcher blocks also makes them a popular choice for furniture. And virtually any hardwood species can be used to make butcher blocks, either alone or in combination with other species for a contrasting appearance.
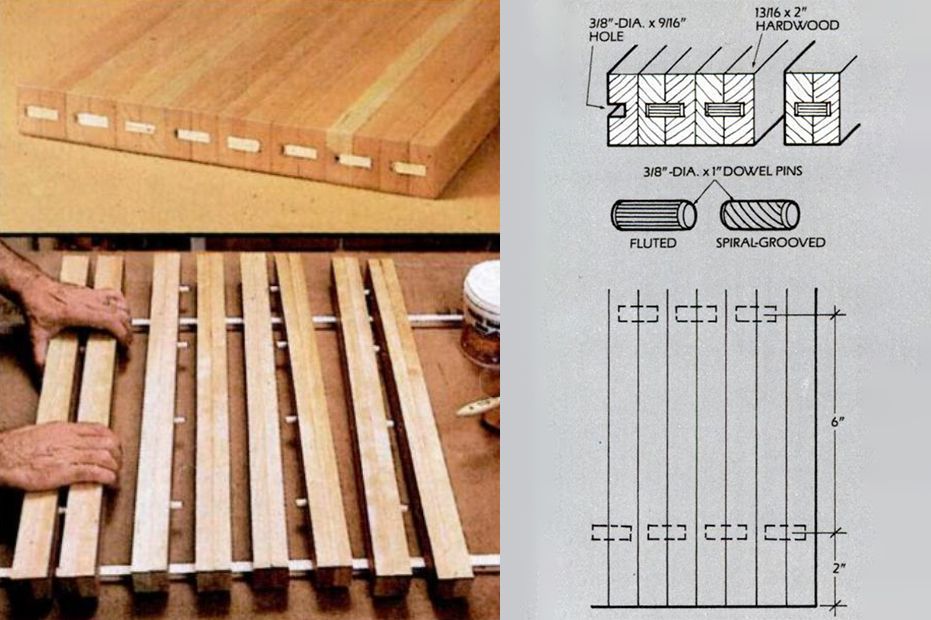
The seven butcher block techniques shown here are: dowel pins, throughbolt, spline-joint, nail pins, glue-joint, direct-nailing, and a top made using teak parquet flooring. Each technique provides an easy way to assemble strong, durable butcher block tops. The particular technique you choose depends on the size and function of the butcher block, the available tools and the desired finished appearance.
For example, the through-bolt technique provides the strongest top and is recommended for large surfaces subjected to heavy poundings. If thin boards are used to make a smaller butcher block top, try the easy, direct-nailing method. In most situations, though, many of the techniques shown would be suitable.
These Tools Will Help
Pick a Style
Assembly
After milling the butcher block pieces to the same width and thickness, cut them 1⁄2 in. longer than needed to allow for final trimming with a portable circular saw or radial-arm saw. Next, arrange the pieces on edge with the best side up. Then orient the pieces so that the wood grain of each piece is pointing in the same direction. Mark an arrow on each piece to indicate grain direction. By pointing the grain in the same direction, the plane won't gouge the wood.
Now mark each board with a number or letter to aid in rearranging for final assembly and to assure that you machine each piece from the same face or edge. This is especially important for techniques that require boring holes or cutting grooves.
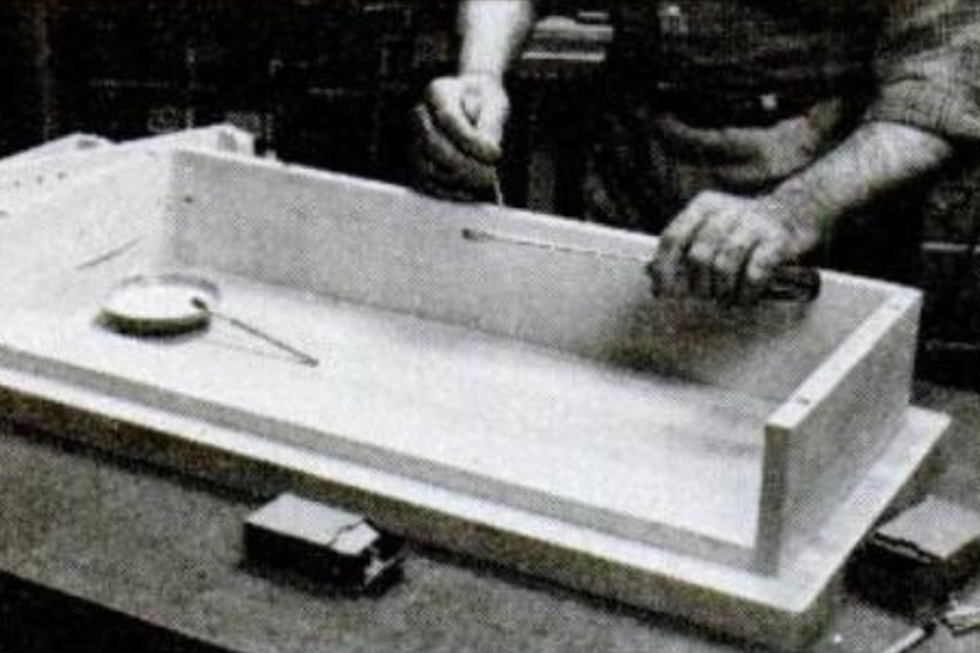
Since most butcher block surfaces are exposed to water, use a water-resistant glue during assembly. Use a miniature paint roller to apply the glue evenly and quickly. After planing and sanding the assembled top smooth, apply several coats of mineral oil or a food-safe wood finish.
A Kitchen Cart for Your DIY Butcher Block
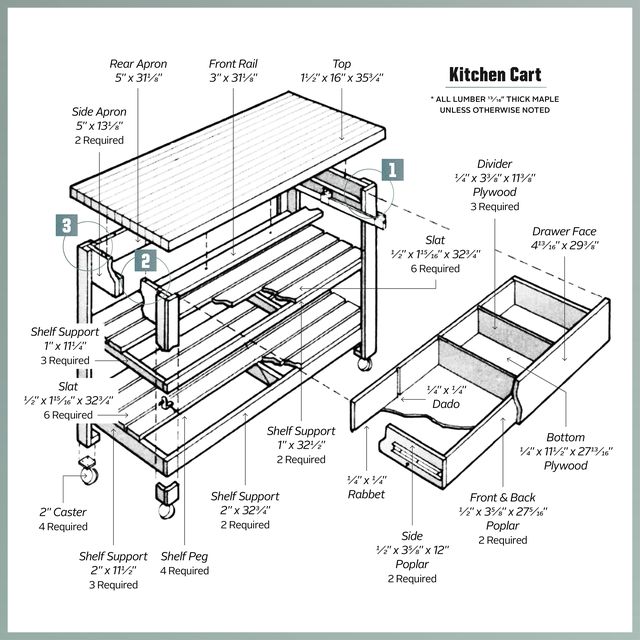
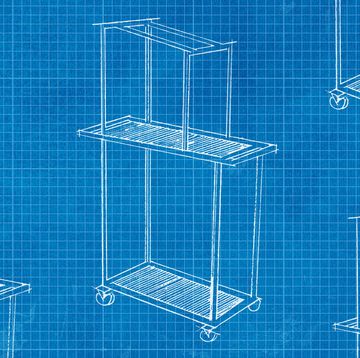
This easy-to-build maple kitchen cart is a stylish way to gain additional counter space and storage in your kitchen. The roll-about cart also serves as a barbecue wagon or cocktail bar for use on a sun deck, porch, or patio.
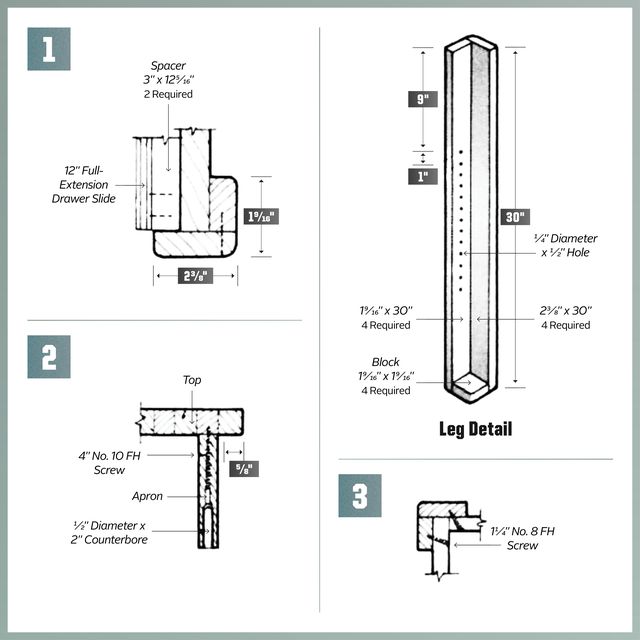
Start by making the butcher block top from 1⁄4 X 1⁄2-in.-thick maple. Nail pins were used to assemble the butcher block. Cut the remaining cart members as shown. Note that the side and back aprons are counterbored to receive 4-in. No. 10 mounting screws. Install the front rail in place of a front apron. This creates space for installing the drawer.
Next, make the four L-shaped leg assemblies. Bore the 1⁄4-in.-dia. shelf peg holes in the legs before nailing the leg assemblies together. Then, with the butcher block upside down, screw the apron in place. Now screw the back legs to the apron, install the fixed shelf and add the two front legs.
Next, make the drawer sides, back and front from 1⁄2-in.-thick poplar or birch plywood. Use 1⁄4-in. birch plywood for the drawer bottom and dividers. Add spacers to each side apron for mounting 12-in. drawer slides. Install the drawer and then add a maple drawer face. Add 2-in.-dia. casters and finish all wood surfaces with several coats of mineral oil.
The Simple Butcher Block Cutting Board
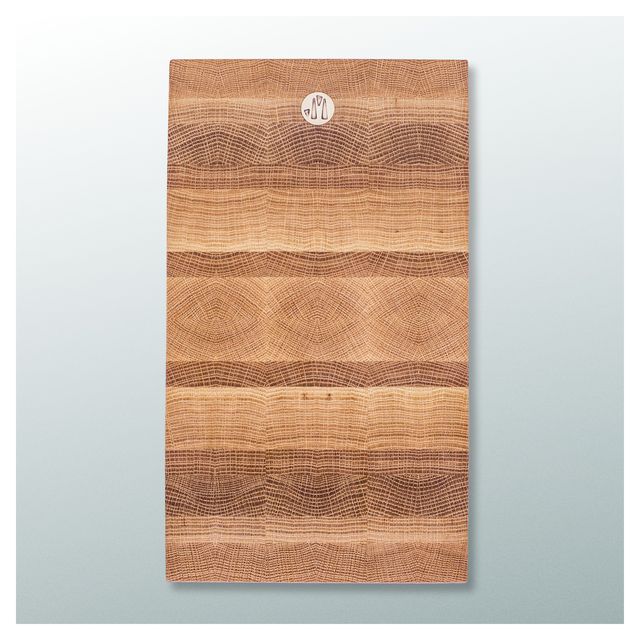
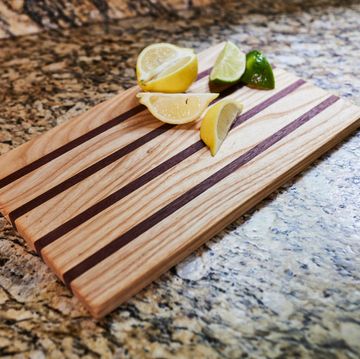
With end-grain butcher’s blocks, the blade of your knife slips between the fibers instead of cutting across them. Your knife stays sharper longer, and it’s harder to scar the cutting board.
Also: They’re pretty.
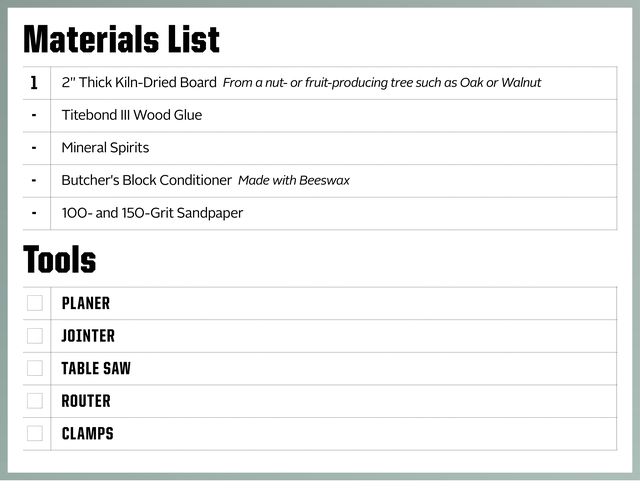
Some Things You'll Need
- Plane the boards, trying to keep them as thick as possible.
- Use a table saw to rip 1 5⁄8-inch strips of board.
- Rotate each strip 90 degrees so the cut edges are on the top and bottom. The width of your cutting board is determined by the number of strips you line up. You can combine strips from different boards if they are the same dryness.
- Make sure the strips are as even as possible, then glue them together with waterproof Titebond III. Clamp the wood for two hours, then unclamp it and let it sit for another 24.
- Plane the board.
- Crosscut glued board every two inches. (The distance between each crosscut determines the thickness of your cutting board.) Make sure to keep the pieces in order.
- Rotate each crosscut section 90 degrees, alternating between turning them to the left and the right to create a mirrored pattern in the grain.
- Glue the crosscut pieces together. Clamp for two hours, then unclamp and let sit for another 24.
- If your jointer is wide enough, jointing then planing the cutting board will create the best cutting surface. Otherwise, plane both sides, ensuring that the board won’t rock.
- Sand the board with 100-grit paper, followed by 150-grit.
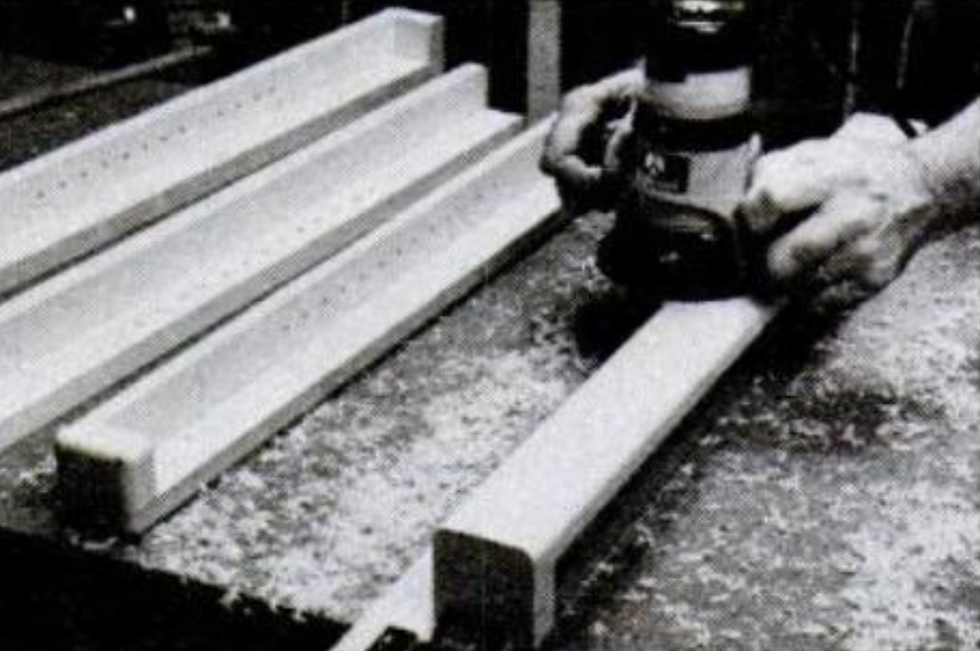
- Use a round-over router bit and router to soften the edges on the top of the board. If you don’t have a router, sand vigorously to remove sharp corners.
- Soak the finished product in mineral oil for half an hour. Wipe off the excess and apply conditioner.
How To Make That Old Butcher Block Look Like New
One of the most popular features of today's contemporary kitchen is a solid-wood butcher block cutting surface. Similar in purpose to a small cutting board, a butcher block is the ideal surface for all cutting chores—from slicing bread to chopping vegetables. And, in addition to absorbing knife cuts without dulling the knife edge, a natural wood butcher block enhances the appearance of the kitchen by complementing the more typical countertop materials with the warmth and character of wood.
Originally, a butcher block was a massive piece of wood set on end and used by butchers as a chopping block to cut meat. The end-grain surface absorbed knife cuts and cleaver blows without chipping. Today, the term butcher block more often refers to hardwood strips laminated together to form countertop inserts or dedicated cutting tables. Some countertops are made entirely of laminated wood and then varnished or lacquered. In this case, however, the wood is strictly decorative, and the surface is unsuitable for cutting.
[editorial links]
If you have a butcher block countertop insert that serves as a cutting board and food preparation area, you may have noticed that continued use has left the wood scarred, dirty and stained. You can give new life to this surface with a lot less work than you might imagine.
Before you start, be realistic in your expectations. The techniques that we're about to describe handle minor stains, discolorations and knife cuts. If you follow them carefully, you'll be rewarded with a fresh, clean surface and a seasoned look. Deep stains, burns and gouges are much more difficult—if not impossible to remove completely. If you try, you'll probably sand and scrape away so much wood that the surface will become uneven. Unless you have the tools and experience to either remove the butcher block and resurface it or replace it entirely, it's best to leave this job to a pro.
Preparing the Area
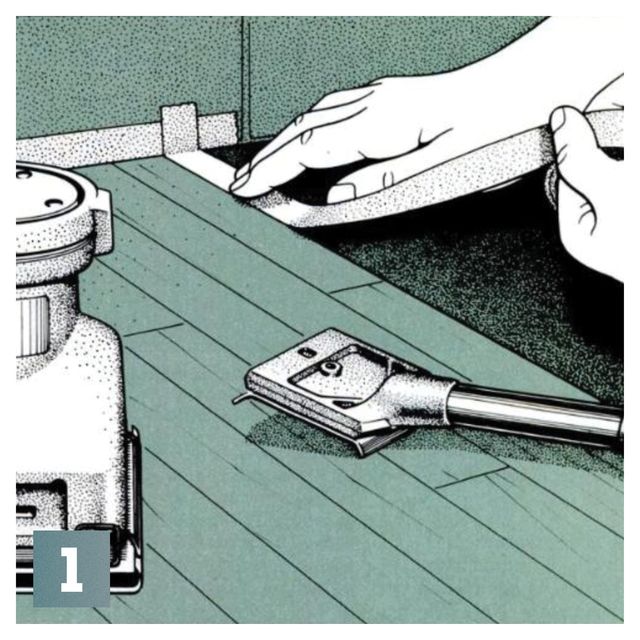
The butcher block insert that we worked on fits into a plastic-laminate counter with oak edge trim and a tile backsplash. In addition to the normal accumulation of grime and knife marks, ours had a burn mark from a hot pan. Before starting to resurface your butcher block, protect the adjoining surfaces from the work by carefully masking off the surrounding area. Use a double layer of 1-in., or wider, masking tape. Then, remove all nearby objects [1].
Scraping the Surface
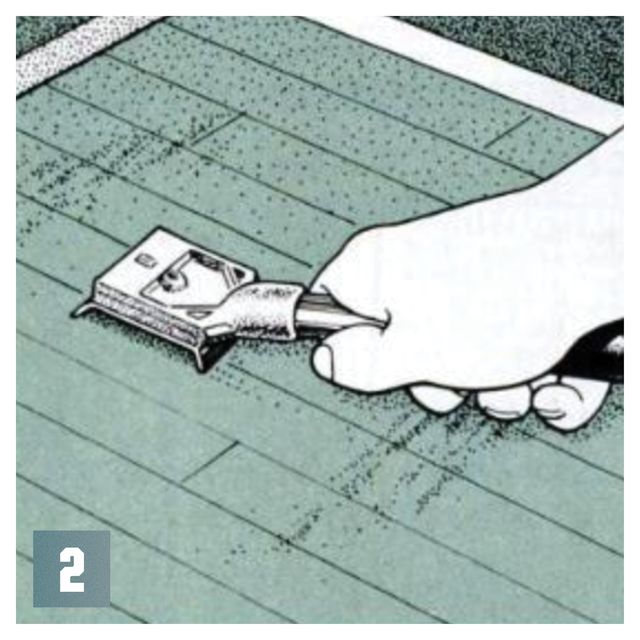
A hook scraper (also called a wood or paint and varnish scraper) removes dirt and any old finish remaining on the butcher block. This type of scraper works much faster than sandpaper, which tends to clog until bare wood is exposed. For best results, use a new blade or make sure to sharpen the old one. Don't use a scraper with a serrated, bent or badly nicked blade because it will gouge the wood.
Hold the scraper firmly with the blade perpendicular to the wood. Press down on the scraper as you pull it toward you in a long, controlled motion. Always scrape with the grain and lift the blade off the wood on the return stroke [2].
After you've scraped the entire surface, go back and work on any dark areas and deep knife cuts. To avoid excessive hollowing, scrape the area around the affected spot as well. Remove as much of the grime and old finish to make the sanding easier.
Sanding It Smooth
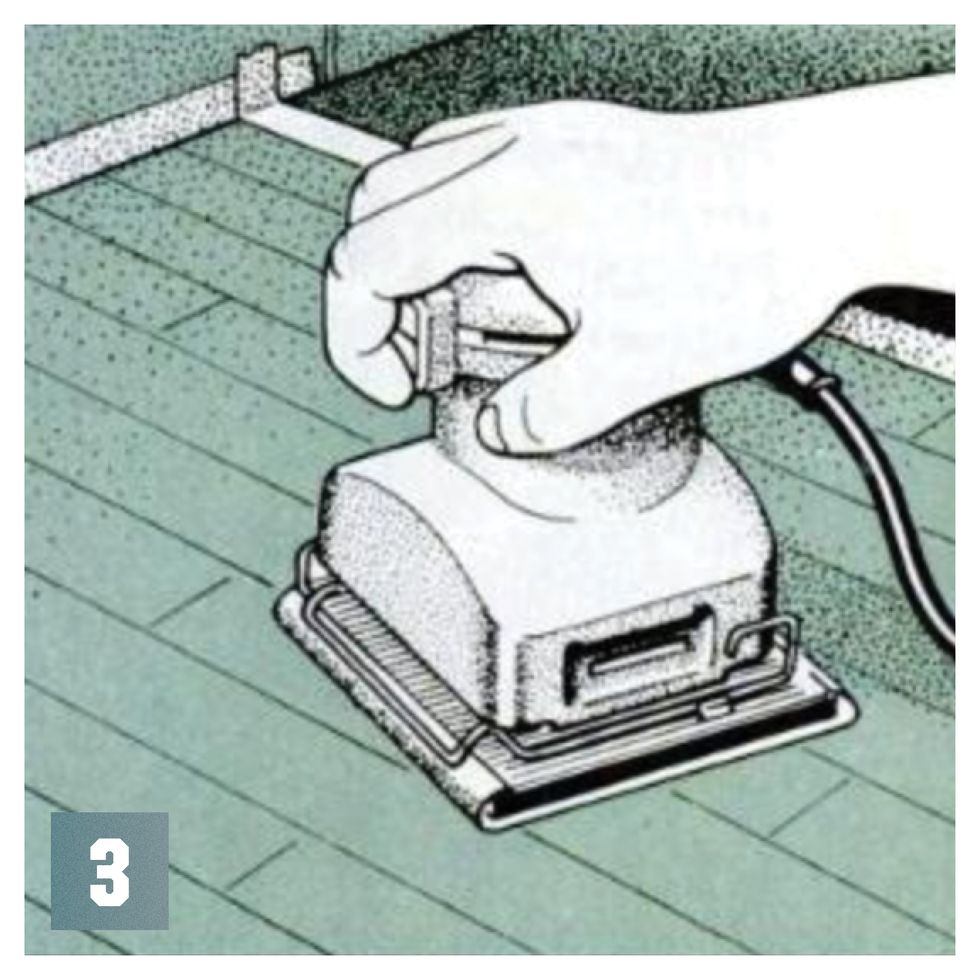
An orbital palm sander, especially one with a dust collection bag, is your best sanding tool because it's lightweight and easy to control. You can also use sandpaper and a sanding block—it'll simply take longer and be more work.
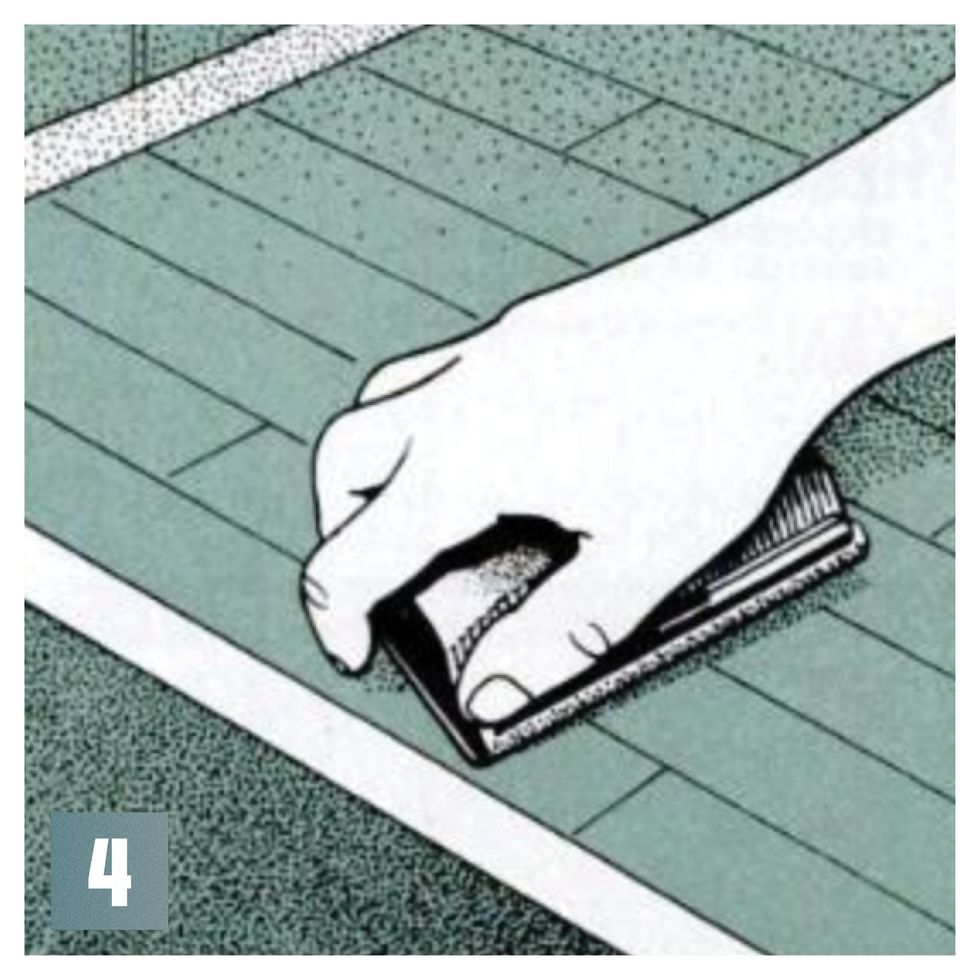
Begin sanding with 80-grit paper, changing the paper often, especially if it clogs [3]. To prevent marring the adjacent countertop surface and backsplash, use a sanding block near all edges [4]. When most of the dark areas and cuts are gone, switch to 120-grit sandpaper, and finish the job. Be sure to always sand with the grain.
You'll find that some of the surface blemishes sand out easily, while others, such as deep knife marks that remain after scraping, take time to feather out. As you sand, vacuum the dirt and grit so you can see the true condition of the wood.
Bleaching
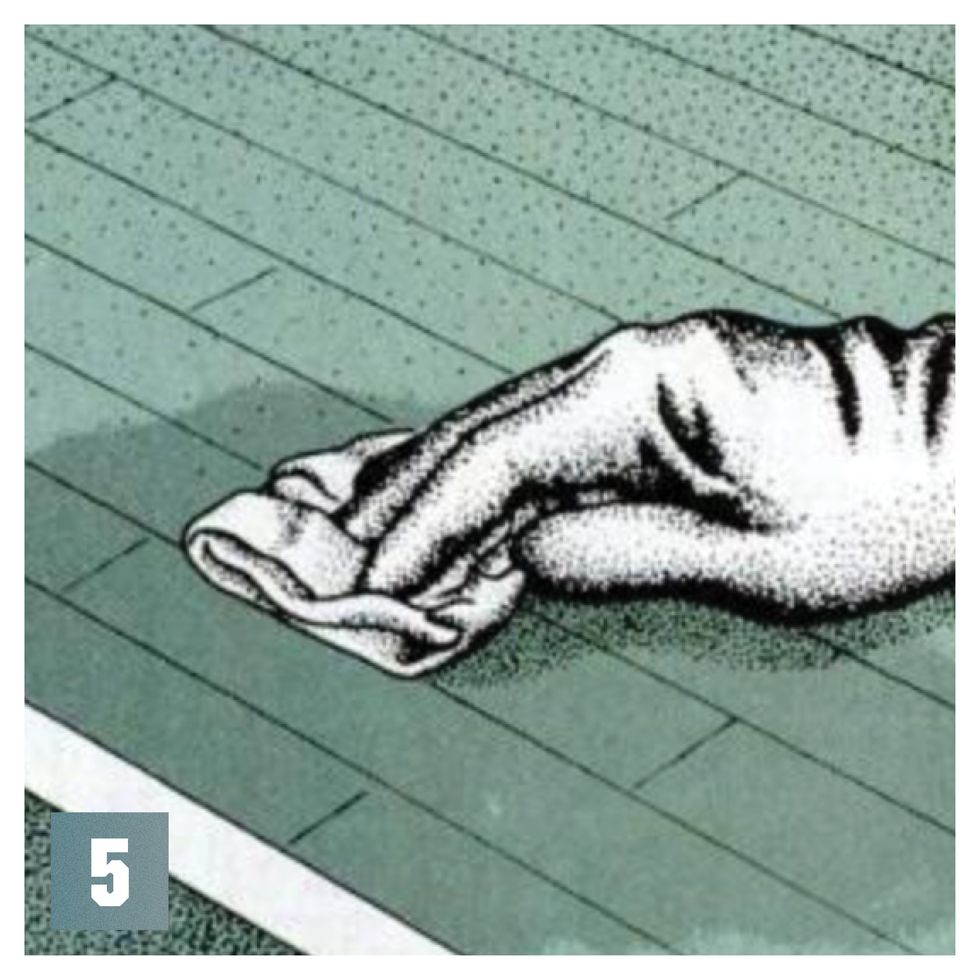
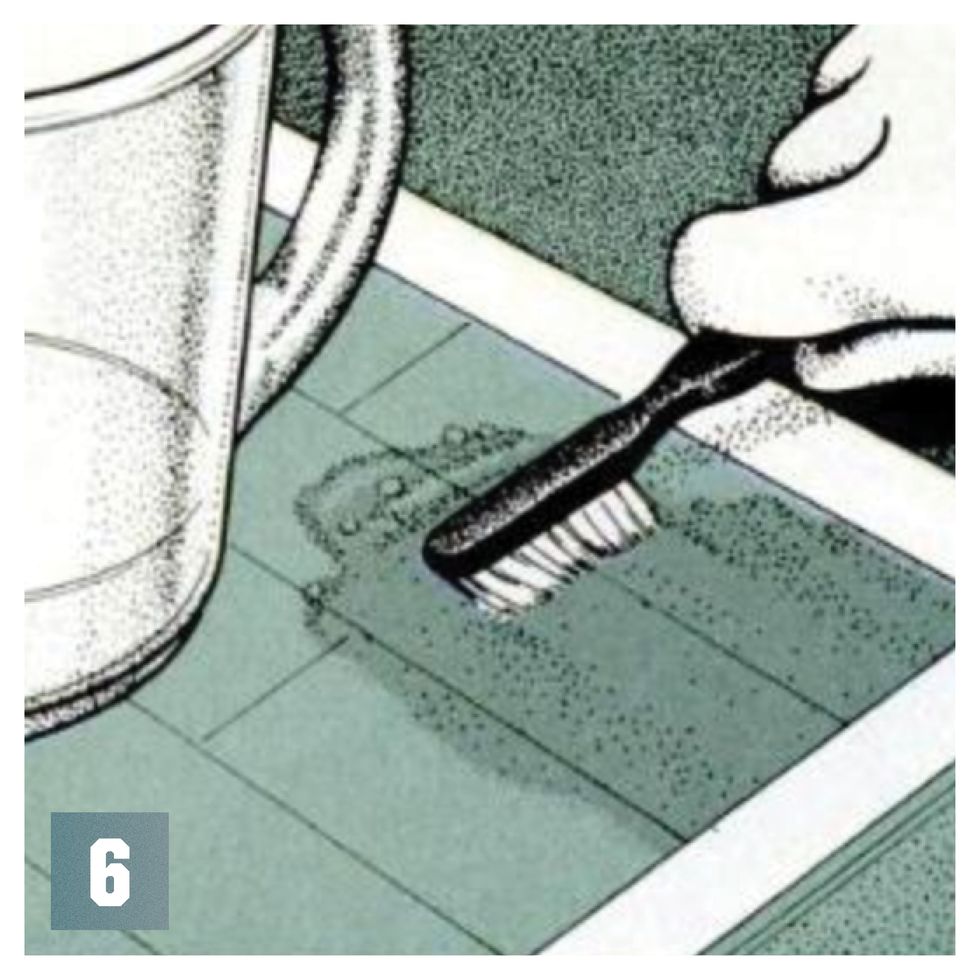
Use a solution of household bleach mixed 1-to-1 with water to brighten the whole surface. Wear protective gloves, and generously wipe the solution onto the surface [5]. For any remaining stained areas and burn marks, use the bleach full strength, working it into the wood with an old toothbrush, wire brush or other stiff brush [6]. Let the surface dry completely, and then decide if another application is needed you may have to repeat the process several times to lighten the dark spots.
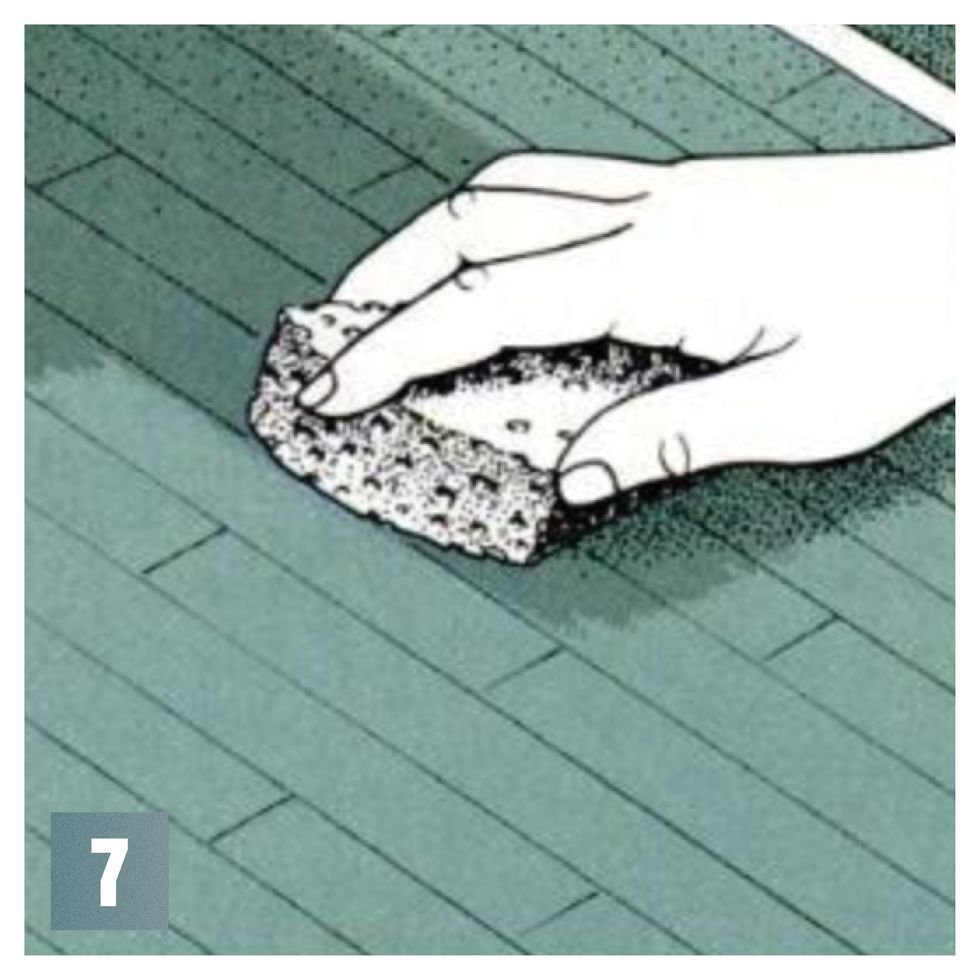
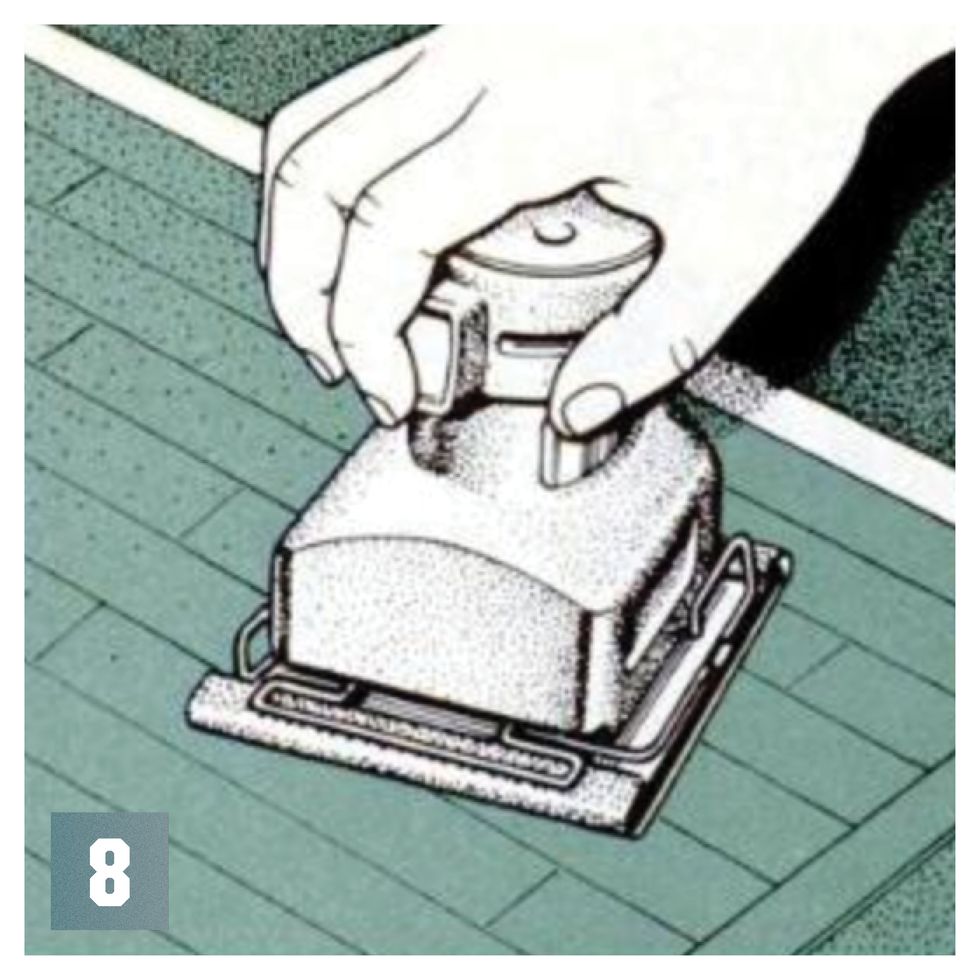
When you're satisfied (remember, it may be impossible to get out all the dark areas), wipe the surface with a rag soaked in white vinegar to neutralize the bleach [7]. Wash the area with dish soap and water, and let it dry thoroughly. Then, give the surface a final sanding with 120-grit paper [8].
Finish
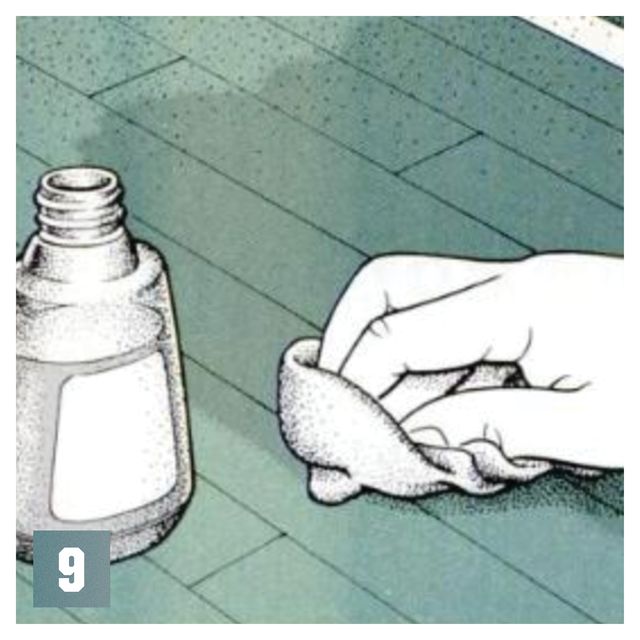
Because butcher blocks are used as cutting boards, any traditional surface coating will eventually break down and wear away. Also, typical wood finishes contain compounds that aren't suitable for contact with food. Mineral oil is one inexpensive, easy-to-apply finish that's safe to use. Although it won't form a hard surface coating, mineral oil can enhance the appearance of the wood and provide some moisture protection. To apply, set the bottle in hot water for 10 or 15 minutes to heat and thin the oil. Then, use a clean, dry rag to wipe on as many coats as the wood will absorb [9].
After the last application, wipe away the excess with a paper towel.

